Having owned several Windlass in the past, I was eager to buy a sword with a “real” edge geometry (no secondary bevel) and a peened pommel at that price point. The glowing reviews I had read on various forums including myArmoury finally convinced me to give it a shot.
I received the sword a couple of month ago and even though the design showed great improvements compared to the previous Gen2 I had seen in the past I was still not impressed:
Cons:
Aesthetic concerns mainly:
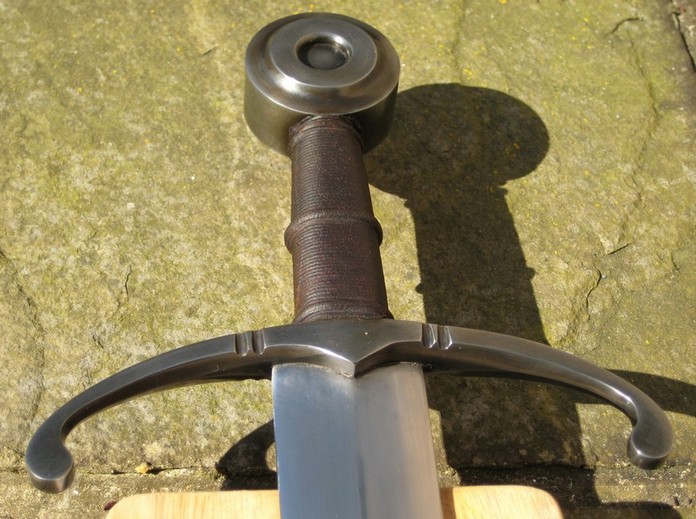
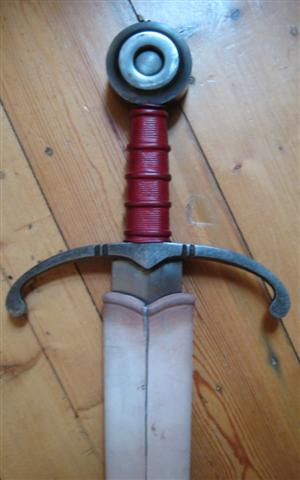
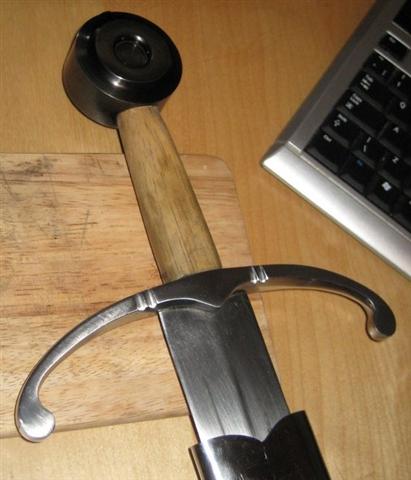
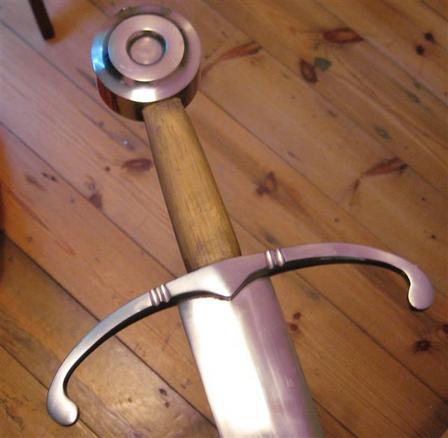
Bulky guard of very odd design to say the least (weirdly shaped around the ricasso area - see first picture below). Now most pics I looked at showed the guard on its attractive side (shots facing the sword laying flat) and I was much surprised to find out how the guard was shaped on its other sides. I owned some windlass before that had way more subtle hilts.
The middle of the guard featured round metal bulges on each sides, making the guard twice as thick.
Handle: round as a baseball bat, uncomfortable to hold, and way too thick for a guard that wasn't slim itself to start with, showing the round wood section under the leather at the point of junction with the guard.
Blade: very little if any hollow ground was noticeable, mainly due to the mirror polish finish (factory looking, showing grind marks etc).
Pros:
Edge by blade geometry, no secondary bevel
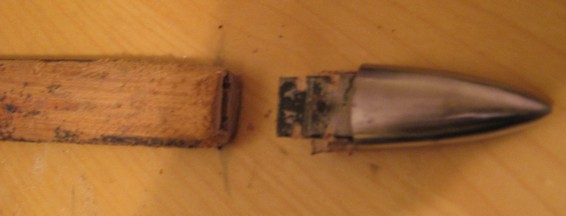
Peened pommel
Handles very well (after the grip was reshaped)
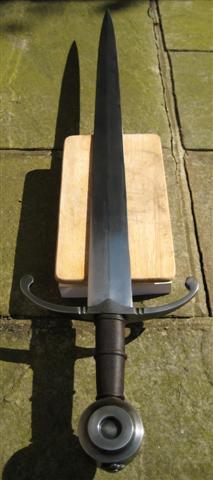
Performs well: highly efficient and sturdy cutter but also very efficient at thrusting (as far as thick cardboard and bottles are concerned, and I don't plan to confront the tip to anything tougher yet)
Though and solidly built, as Gen2 swords are known to be
Includes a genuine wood core scabbard (the "leather looking" coating isn't pleasant though, but compromises are to be expected at that price point)
So overall, despite a disappointing "out of the box" experience, a little backyard cutting cession convinced me that the sword was still worth the money, and that it was the perfect candidate for further home improvements.
1-first I removed the leather on the handle (and stripped the scabbard as well), then spent some time reshaping the grip using a file and sand paper. I removed a lot of wood, aiming at an oval grip, 3 mm thinner than the guard on each side. This simple alteration already made a big difference in terms of handling.
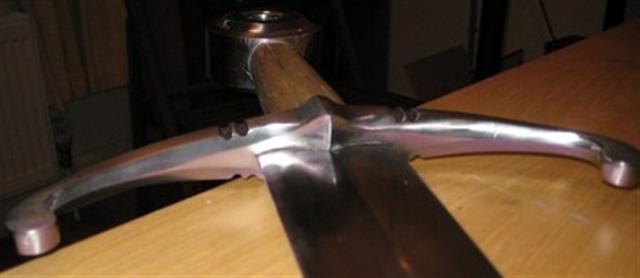
2-the grip now being thinner, the bulges on each sides of the guard became an issue. When holding the sword in hand and swinging it around, the metal bulge was pressing hard on my fist knuckle, and that was painful and dangerous. For that reason and in order to improve the looks of the hilt, I decided to try to get rid of those and to reshape the guard, using the file I used for the wood handle.
3-a few days later, one millimeter at a time (make that 8 hours or so!) the guard was flattened (remember that the sword cannot be taken apart, because of the peened pommel (unless you are better equipped and more daring than I am).
4- I redid the finish/polish of the entire hilt after the file work. At that point the sword started to appeal to me.
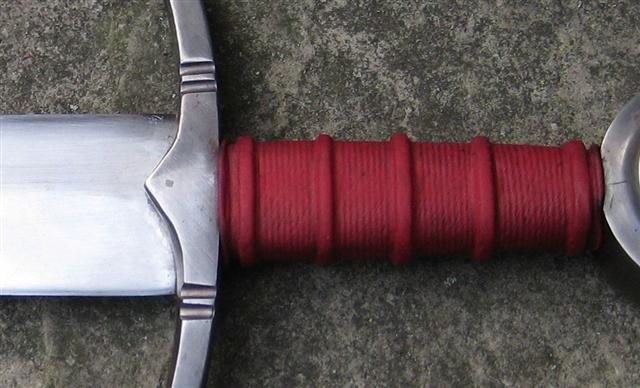
5-I blued the hilt using blueing paste to create some contrast with the blade. It was charcoal black at first (after 15 passes or so). Rubbing the hilt with oil and steel wool gave a dark grey patina that I really like.
6-I placed raisers on the wood grip, bought some chamois leather (I didn’t bother looking for more expensive Veg tanned on the web). I wrapped the grip after cutting to size and I used a shaving razor to thin the leather at the edges. This technique worked remarkably well and saved me a lot of time. The leather overlap is almost invisible.
7- Changed the finish of the blade from mirror to satin. Work in progress.
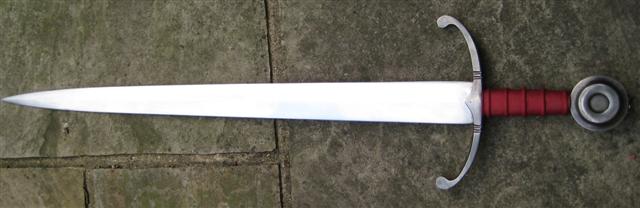
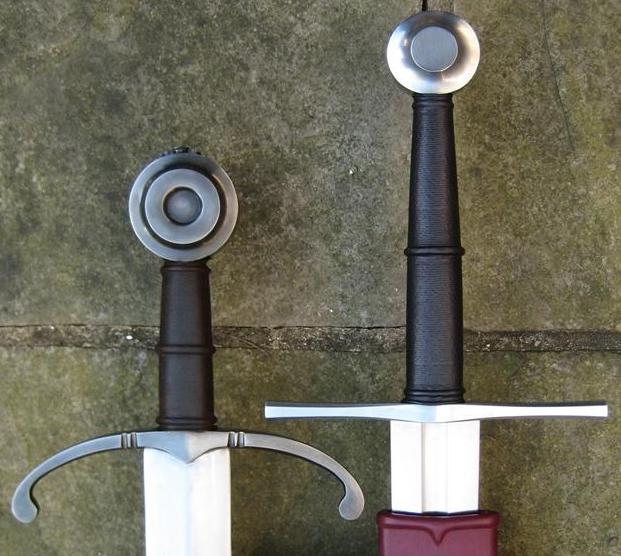
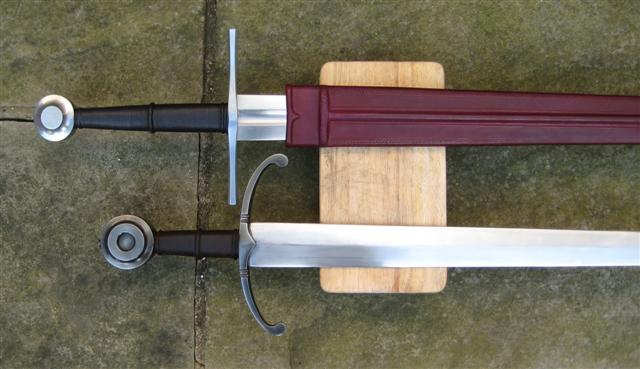
I am very happy with the results so far, and I find that this revamped Gen2 doesn’t look bad at all next to my Crecy now. Even if chamois leather is convenient to use, I won’t use it again. It is easy to find and dirt cheap, but I’m not too found of the finish (even coated with Lexol and quality dye, it has a “grainy” finish, but you have to look closely to notice it).
Pics are below; scabbard wrap and suspensions to follow soon (should be easy since Gen2 provides a genuine wood core)
Hope you like it,
J
original guard
blueing the pommel

reshaping the guard
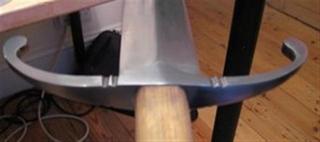
reshaping the guard