| Author |
Message |
|
Kenton Spaulding
|
 Posted: Sat 25 May, 2013 5:45 pm Post subject: English Longsword Scabbard Project Posted: Sat 25 May, 2013 5:45 pm Post subject: English Longsword Scabbard Project |
 |
|
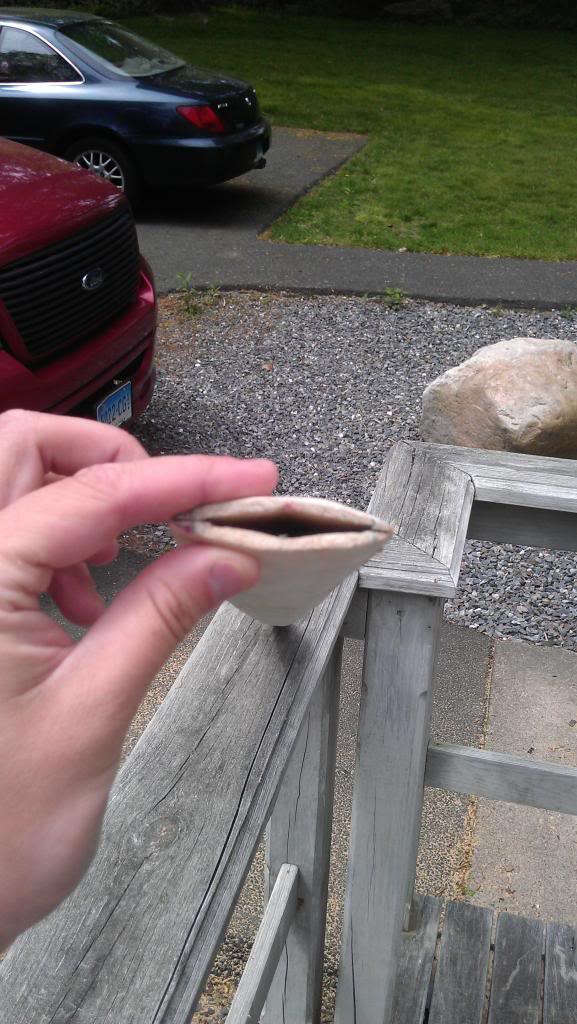
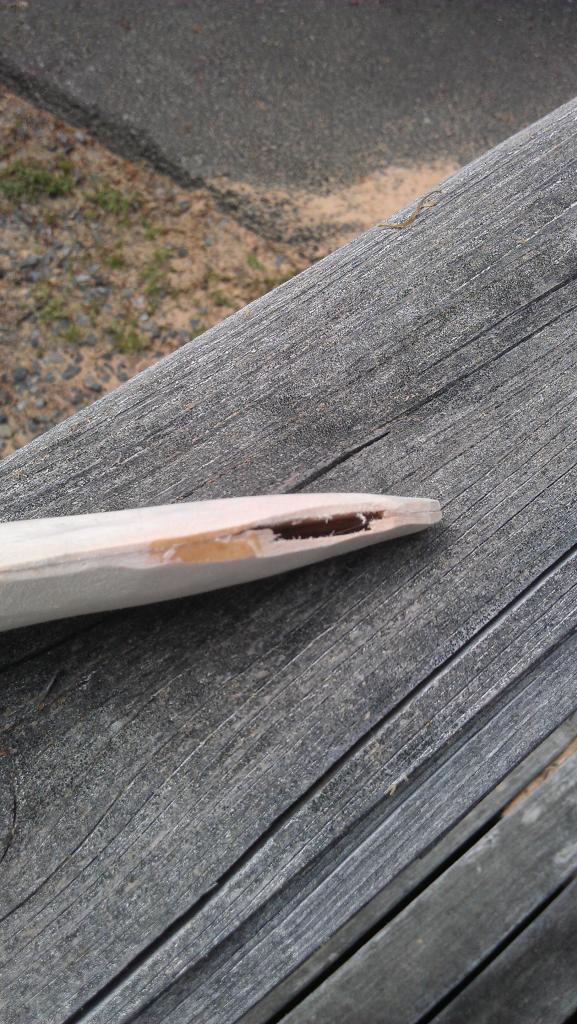
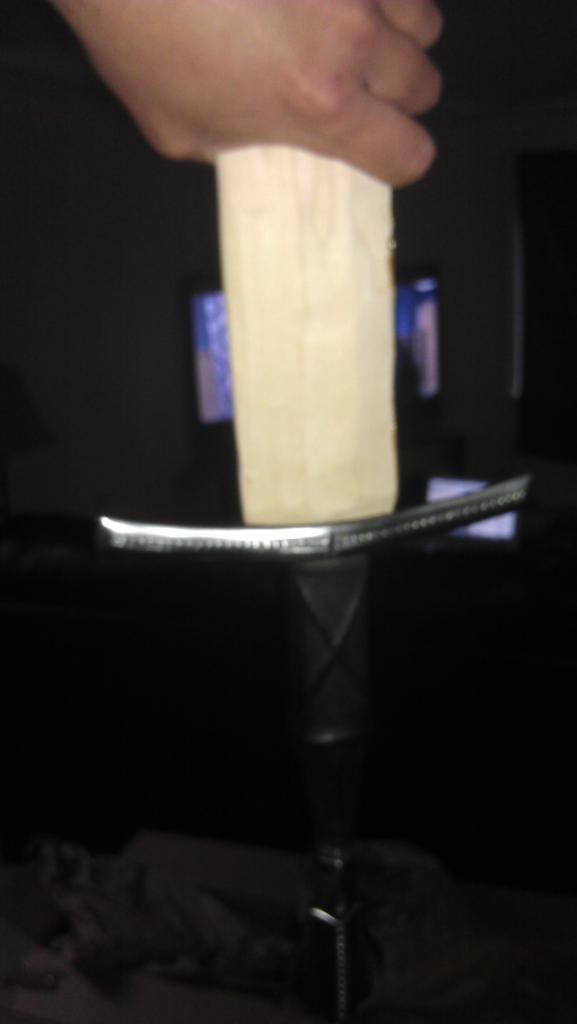
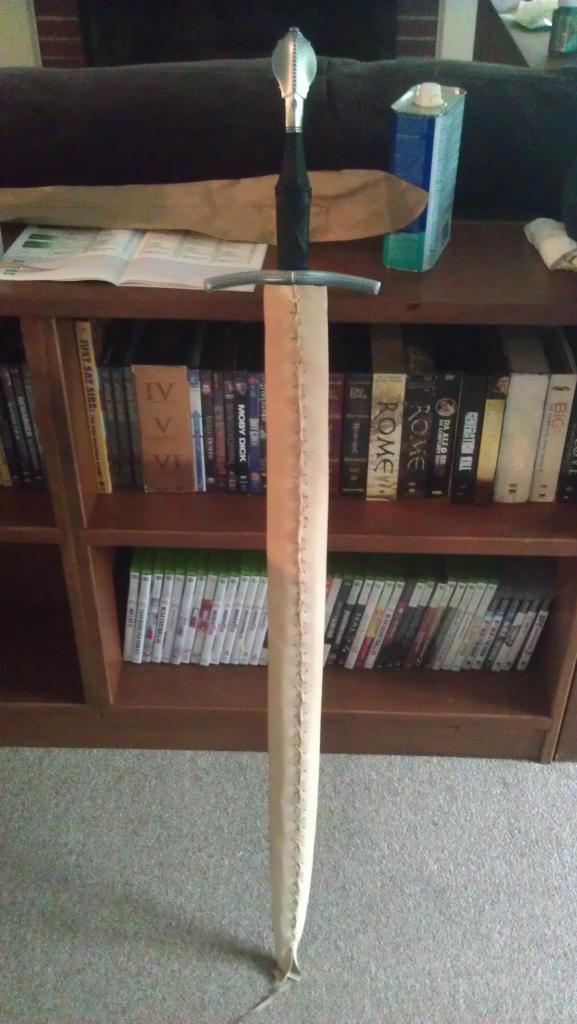
Having acquired an Arms and Armor English Longsword recently, I set out to build it a scabbard to call home. I completed a wood core for my Gaddhjalt about 6 years ago, but this is the first attempt at doing any leather work. The project hasn't been without complications, I've run into little problems left and right, mostly due to rushing I think. I carved two poplar slats to fit the blade profile, but I did a poor job of gluing them together, which caused one side of the core to come apart during sanding. I slipped glue into the crack, but I think I must have got a glob of glue on the inside, because after that, the sword no longer fit. I decided to attempt to salvage the core by jamming a chisel through the joint and prying around. I guess that worked, because the sword fits again. The sanding is kind of rough and the core isn't particularly even. I decided that this being a first attempt, I'd just continue on and if it turns out badly I'll chock it up to a learning experience.
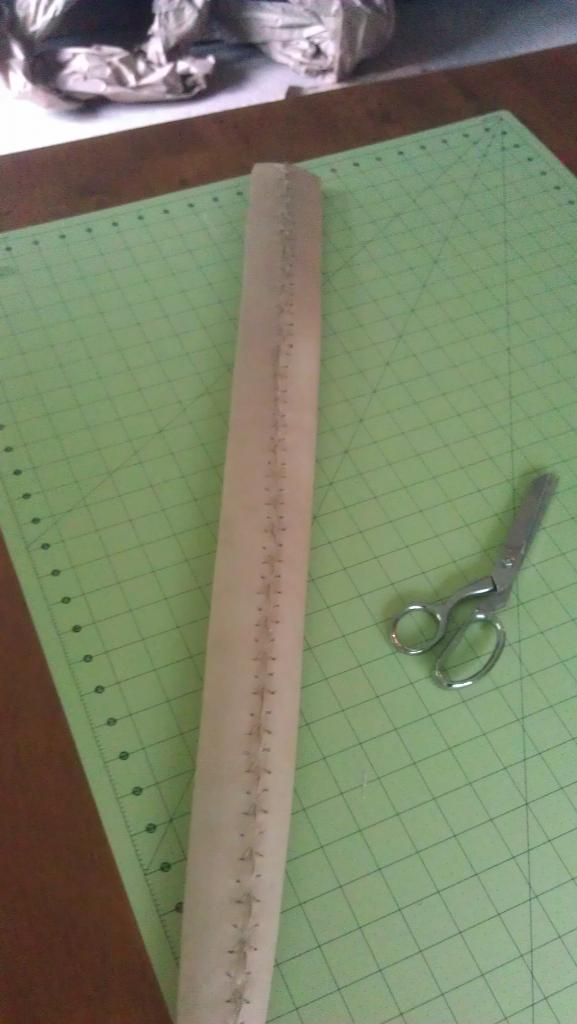
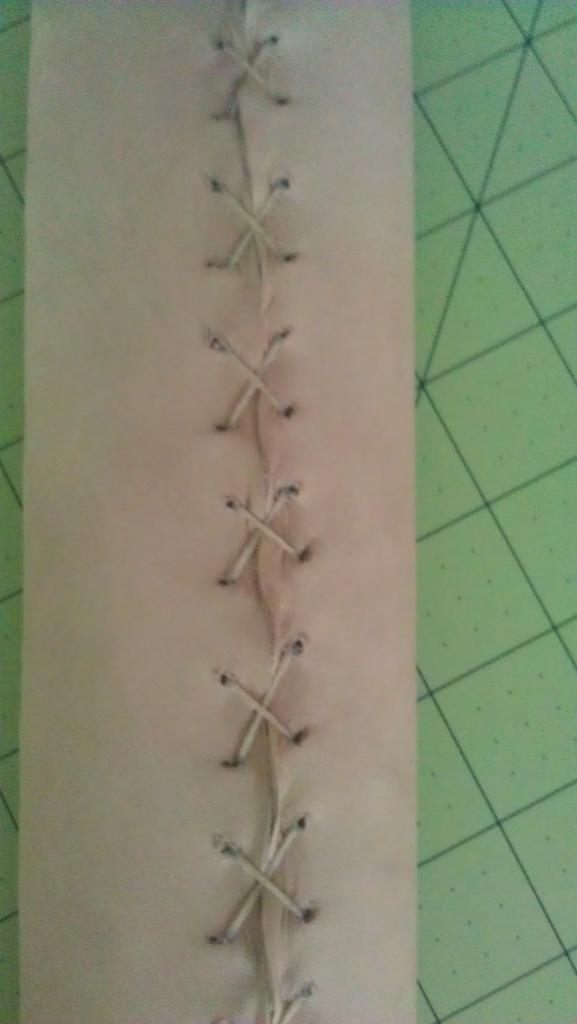
Today I set about cutting the leather and sewing it on. I did not use an adhesive inside the leather. I also decided I would just go simple, so I didn't put on any risers and I don't plan to attempt any tooling. I wish I'd have trimmed the leather a bit more, when damp it stretched a bit more than I thought it would. The seam was difficult to get even, probably in part to the fact that the core isn't very even. It wobbles and overlaps. All together, I've learned a good bit from the project, and I'm not devastated with the look thus far, though it could certainly be better. Tomorrow I will probably attempt to dye it. We'll see how that turns out 
|
|
  |
 |
Quinn W.

Location: Bellingham, WA Joined: 02 May 2009
Posts: 197
|
 Posted: Sun 26 May, 2013 8:30 am Post subject: Posted: Sun 26 May, 2013 8:30 am Post subject: |
 |
|
For what it's worth, I do leatherwork professionally and I think your seam looks just fine for a personal project. I'm about ready to start on my first scabbard and while I try to be more precision oriented on the items I sell, if my own leather wrap job came out like this I wouldn't be upset.
Nicely done, and thanks for bringing up the problems you ran into as well! It's helpful to know what to look out for when I try it for myself.
"Some say that the age of chivalry is past, that the spirit of romance is dead. The age of chivalry is never past, so long as there is a wrong left unredressed on earth"
|
|
   |
 |
|
Peter Messent
|
 Posted: Sun 26 May, 2013 8:45 am Post subject: Posted: Sun 26 May, 2013 8:45 am Post subject: |
 |
|
Not bad at all, particularly for a first try. You did a great job cutting out a diamond-section recess. If I may, as one hobbyist to another, give you some suggestions for the future:
My first scabbard wrap wound up too small, and from that experience, I started doing the final trimming of the leather while it was on the core. I trim, poke holes, stitch and repeat as I go along, working with about a 4 or 5" section at a time - this also helped to make sure that the holes lined up, preventing the leather from twisting from the sides being uneven. I also poke holes every foot or so and just tie the leather closed at these points, which helped me to see how close the leather was to being the right size and keep the seam running straight.
For the record I find that it helps for there to be a bit of excess leather, 1-2mm or so - as the leather shrinks, you can get small gaps if it fits too perfectly when wet.
Hope that helps some, look forward to seeing it with dye and a chape!
Pete
|
|
  |
 |
|
Kenton Spaulding
|
 Posted: Sun 26 May, 2013 9:09 am Post subject: Posted: Sun 26 May, 2013 9:09 am Post subject: |
 |
|
Thanks guys. I attempted in a few spots to trim the leather as I went, but I found that I was still a bit overly conservative with my cutting. All in all, I'm not too worried about the result, it will suit my needs. I have a sneaking suspicion that not all historic scabbards were created equal anyway.
I was surprised to see how well the leather molds the woods and how the inconsistencies of the wood show through the leather. I thought the cover would, well, cover up some little goofs. I didn't do a great job getting an even finish on the wood, partially because I didn't think you'd be able to tell through the leather anyway. Next core I'll put more effort into finishing nice and even. Working with the belt sander and having already sanded through a spot (not to mention the terrible weather lately and not wanting to run a belt sander in the house) made me decide that it was "good enough" when it probably could have used a bit more shaping and finishing.
I used JB Weld Wood epoxy on the core. I think I'll go with gorilla glue in the future. It was probably due to user error, but I didn't have great results with the JB Weld.
|
|
  |
 |
|
Kenton Spaulding
|
 Posted: Sun 26 May, 2013 2:20 pm Post subject: Posted: Sun 26 May, 2013 2:20 pm Post subject: |
 |
|
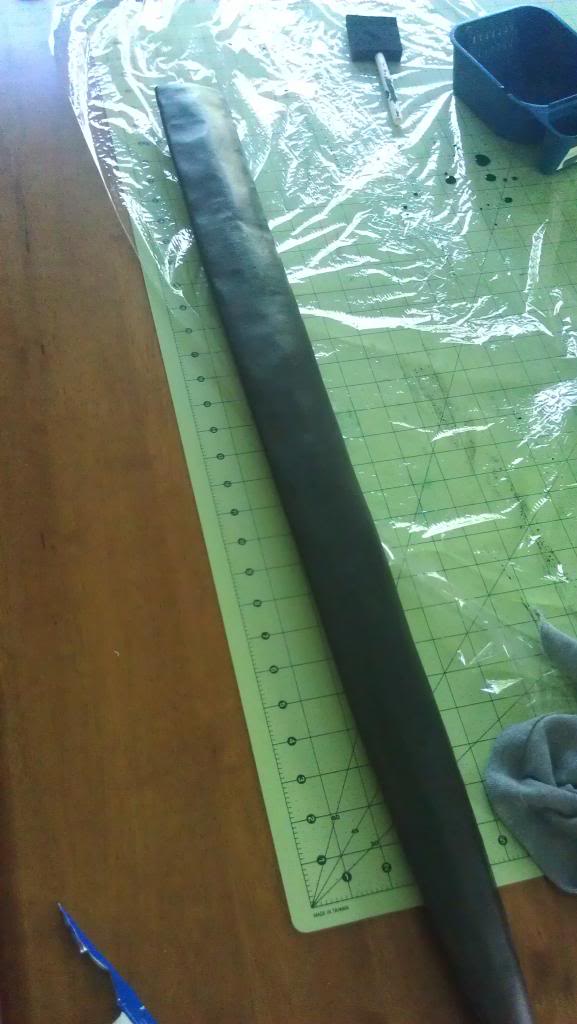
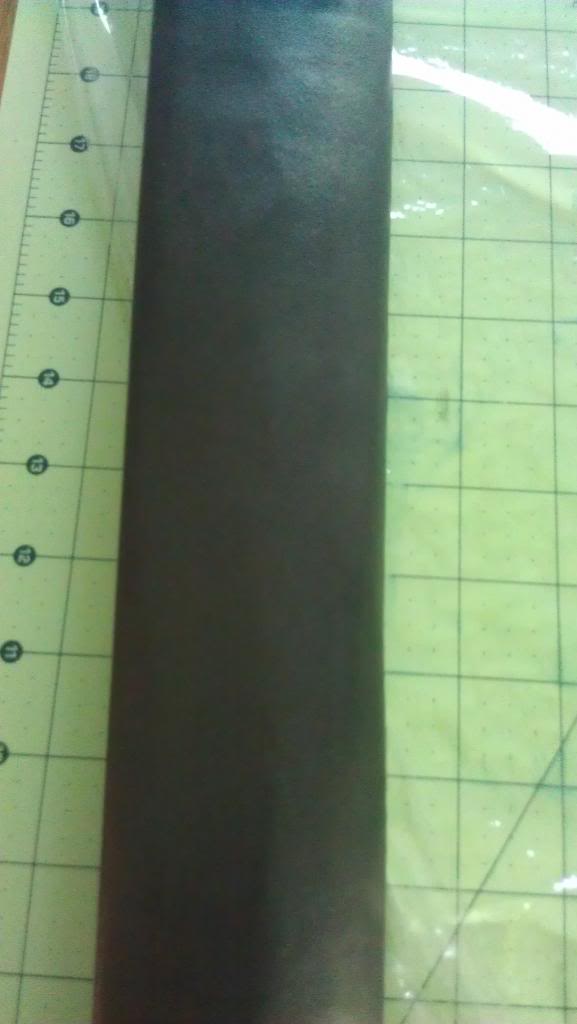
Got the dye job done today. Went easily and I think I got a nice dark black. The pictures really show the bumpiness, so advice to any prospective scabbard makers out there: sand good!
As far as treating the leather, I was looking for neatsfoot oil, but couldn't find any. I picked up some Howard's Feed-N-Wax, which is for wood, but it seems to me (based on very limited reasoning) that it would be good on leather too. It's made up of bees wax, orange oil and carnauba wax. It seemed like the best hope that I could find at Lowes or Home Depot. Does anyone know if this is potentially harmful?
 [img] [img]
 [/img] [/img]
|
|
  |
 |
Quinn W.

Location: Bellingham, WA Joined: 02 May 2009
Posts: 197
|
 Posted: Mon 27 May, 2013 1:05 am Post subject: Posted: Mon 27 May, 2013 1:05 am Post subject: |
 |
|
I'm not so sure about the orange oil, but those other two ingredients are totally acceptable for use on leather. There are a lot of finishes out there and what one to use really depends on the look you're going for.
"Some say that the age of chivalry is past, that the spirit of romance is dead. The age of chivalry is never past, so long as there is a wrong left unredressed on earth"
|
|
   |
 |
Thomas R.

|
 Posted: Mon 27 May, 2013 8:37 am Post subject: Posted: Mon 27 May, 2013 8:37 am Post subject: |
 |
|
Hi Kenton,
the holes of the seam look quite big. What did you use to make them? Don't use a punch but an awl. The holes made with an awl tend to close themsevelves if they are made in damp leather. If you are using linnen thread for the seam, pull it through a piece of bees way before sewing. So the thread will go smoothly through the holes, sealing them up afterwards.
In respect of dyeing I have experienced good results with dyeing the leather before sewing. Especially if you are usin a lighter tone, it's better to dye it first, then let the leather dye dry. Wet it right before sewing: the color will become more even this way.
Thomas
http://maerenundlobebaeren.tumblr.com/
|
|
   |
 |
|
Kenton Spaulding
|
 Posted: Tue 28 May, 2013 11:44 am Post subject: Posted: Tue 28 May, 2013 11:44 am Post subject: |
 |
|
|
Thomas, I used an awl for the holes, however when I started sewing, I had a lot of difficulty passing the needle and thread through them, so I widened then out with a punch. I was using waxed linen thread. I didn't wax it, I just bought it.
|
|
  |
 |
|
|
You cannot post new topics in this forum
You cannot reply to topics in this forum
You cannot edit your posts in this forum
You cannot delete your posts in this forum
You cannot vote in polls in this forum
You cannot attach files in this forum
You can download files in this forum
|
All contents © Copyright 2003-2026 myArmoury.com — All rights reserved
Discussion forums powered by phpBB © The phpBB Group
Switch to the Basic Low-bandwidth Version of the forum
|

