| Author |
Message |
|
Lukas MG
Industry Professional
|
 Posted: Sun 20 Apr, 2014 8:10 am Post subject: WIP - XVIIIb longsword Posted: Sun 20 Apr, 2014 8:10 am Post subject: WIP - XVIIIb longsword |
 |
|
Hey guys
I usually post WIP pics and stuff over at Don Fogg's forum but with all the amazing DIY work being shown on this forum, I thought this might interest some people here, too. I've always found the DIY projects here very helpful so maybe someone will find this useful as well.
Because I'm busy with med school and spend most time at university, I rarely have to time to work on my projects so don't expect the sword to be done anytime soon... the last one took me a full year including the scabbard (here's a link: http://www.bladesmithsforum.com/index.php?showtopic=23889)
Anyway, here we go. I only do stock removal on long blades (don't have a pass-through forge, just a wood-burning oven that luckily gets plenty hot enough for forging and heat treating small blades and axe heads). Long blades like this I send to a heat treater.
This is the blade after rough grinding with the angle grinder:
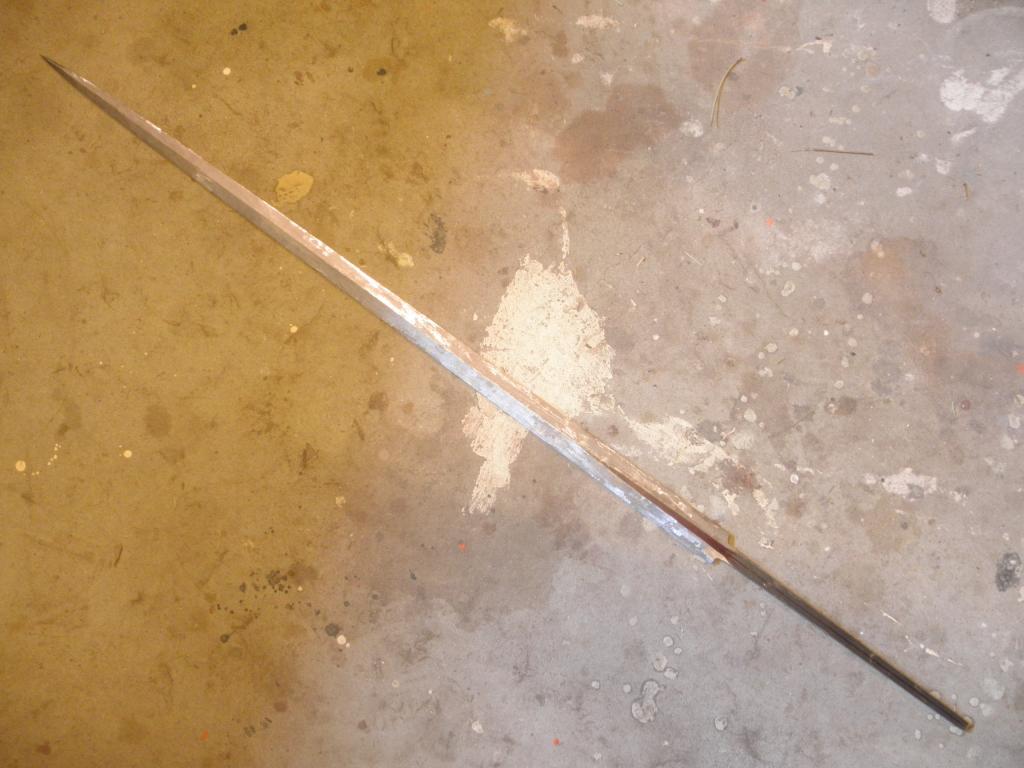
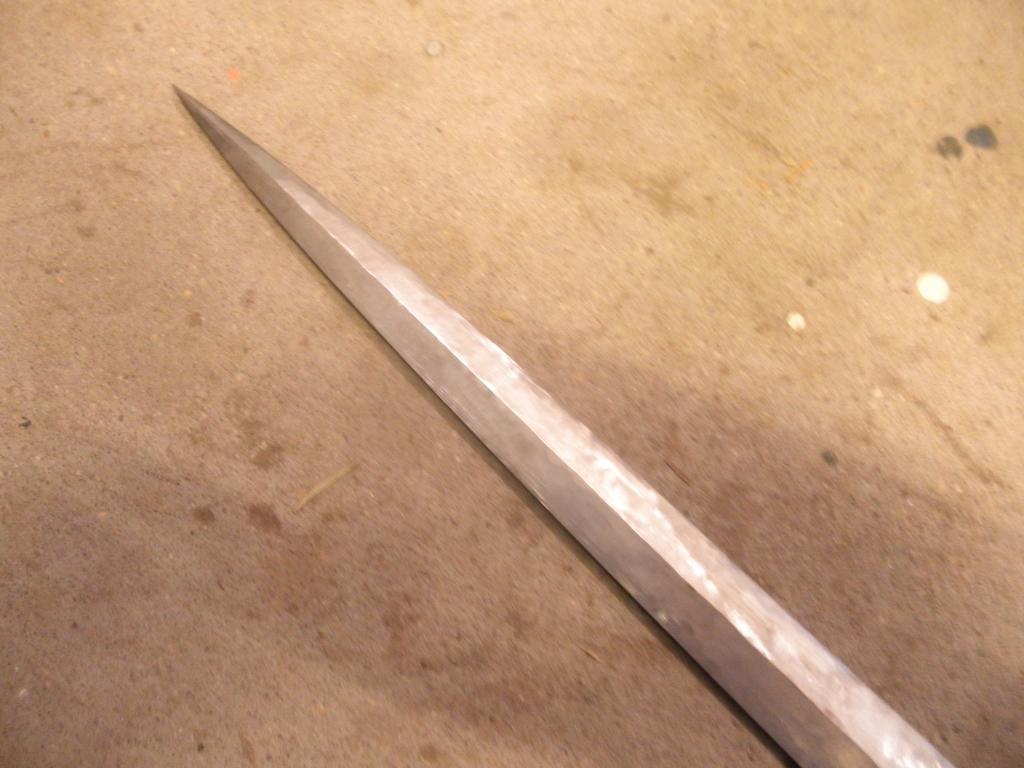
I started with 8mm stock and set the distal taper so that the finished blade would sport a convex distal taper to about 4mm before the tip. Overall length is around 133 cm btw, with the blade being about 100cm long. Classic 3:1 blade to handle proportions.
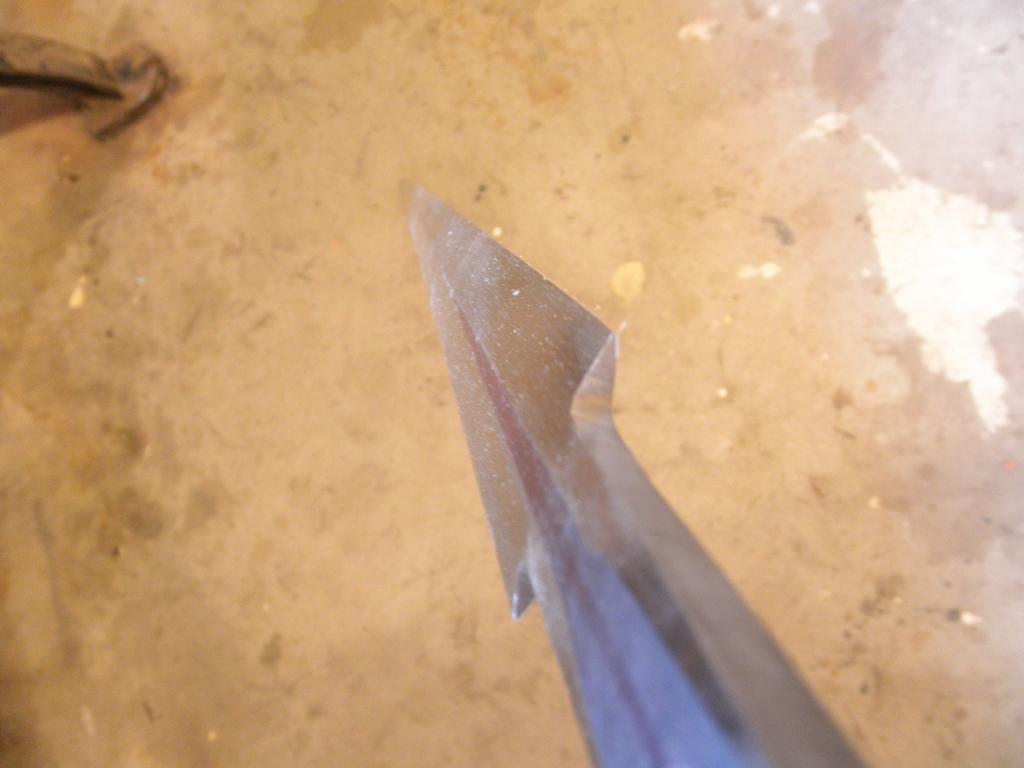
A couple hours at the belt sander (I found a 40$ one from ebay clamped into the vice works very nicely) and some draw filing at the tip later, I got this:
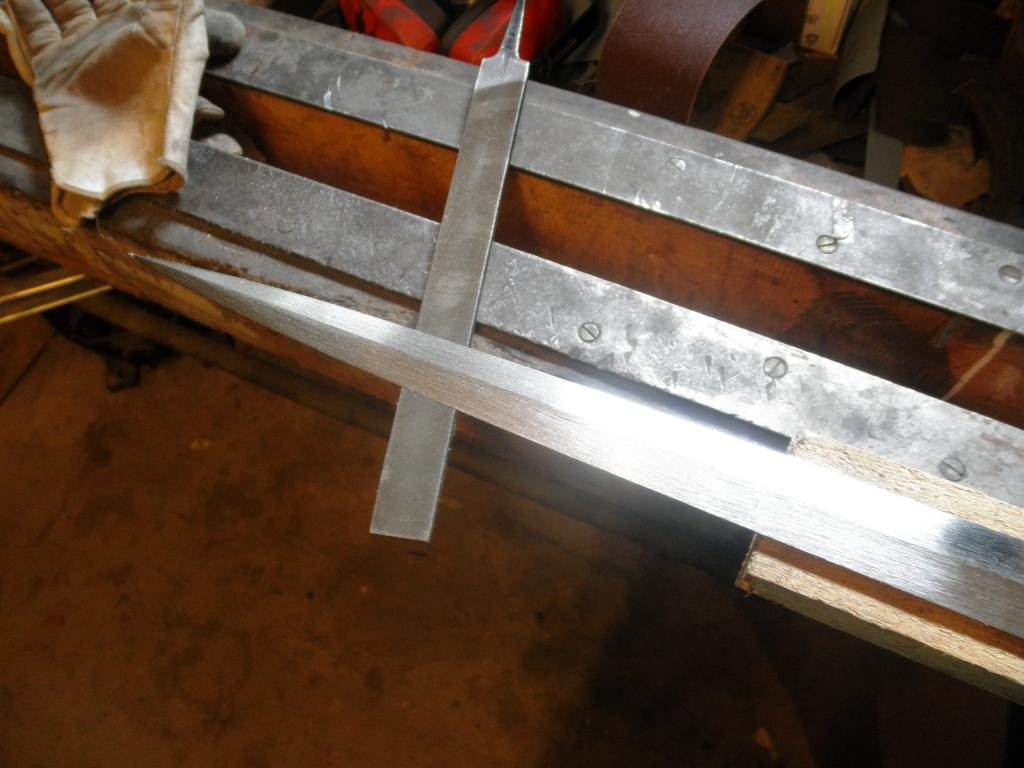

This is my set up for sanding btw (excuse the blurry photo, the light isn't too good in my workshop and nor is my camera)
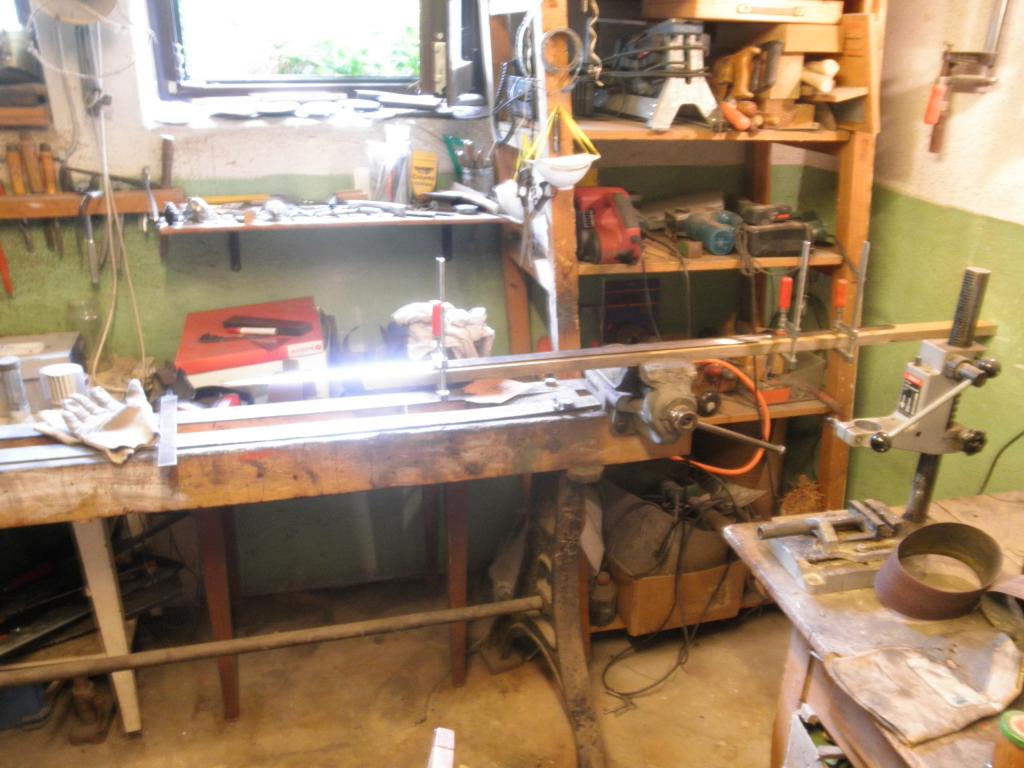
I'm hoping to be able to continue working on the blade next week. I still have some small amounts of grinding to do, then it'll be onto hand sanding, my favorite part  That should keep me busy till summer That should keep me busy till summer 
I appreciate all comments! Thanks for looking...
Last edited by Lukas MG on Sun 20 Apr, 2014 1:00 pm; edited 2 times in total
|
|
   |
 |
|
Peter Johnsson
Industry Professional
|
 Posted: Sun 20 Apr, 2014 12:50 pm Post subject: Posted: Sun 20 Apr, 2014 12:50 pm Post subject: |
 |
|
|
This looks promising.
|
|
   |
 |
|
Lukas MG
Industry Professional
|
 Posted: Mon 21 Apr, 2014 12:23 am Post subject: Posted: Mon 21 Apr, 2014 12:23 am Post subject: |
 |
|
Thanks  I can't wait to get back to working on it! I can't wait to get back to working on it!
|
|
   |
 |
Julien M

|
 Posted: Mon 21 Apr, 2014 1:22 am Post subject: Posted: Mon 21 Apr, 2014 1:22 am Post subject: |
 |
|
Hi Lukas,
You did an awesome job with your type XVIII last time, I remember it well thinking - damn, I need to try a full stock removal blade one of these days. I believe I've also seen a tactical falchion of sorts some time ago you'd made using stock removal - equally well done.
You are off to a great start it seems. Are you attempting a shallow fuller at the base? Are you going to rough cut with the angle grinder and dremel the final shape?
Will stay tuned (and as far as having little time and stretching projects for a year I just completed a DIY project that took me 4 so you are fast for my standards  ) )
|
|
  |
 |
|
Lukas MG
Industry Professional
|
 Posted: Mon 21 Apr, 2014 2:06 am Post subject: Posted: Mon 21 Apr, 2014 2:06 am Post subject: |
 |
|
Thanks!
Indeed, stock removal is a great way to make a blade. I like forge work but am not too unhappy that I have to grind long blades. It takes an equal amount of skill, just a bit different. In the end it also makes things a bit easier because there's no such danger of a blade not surviving the quench because of faulty normalizing circles, etc.
There won't be a fuller at the base but a flat section, giving the blade a hexagonal shape there. I've seen that on the famous longsword in Munich and quite like it but I won't go for such a long hexagonal section (it's almost the first third), just a few inches. I had planned for a bit longer than it seems to turn out but I underestimated the material I had to grind away with the belt sander to get rid of the angle grinder marks. Live and learn  At least I don't think it'll hurt the aesthetics much, just a bit different. At least I don't think it'll hurt the aesthetics much, just a bit different.
|
|
   |
 |
|
Peter Johnsson
Industry Professional
|
 Posted: Mon 21 Apr, 2014 2:47 am Post subject: Posted: Mon 21 Apr, 2014 2:47 am Post subject: |
 |
|
Your choice to have a narrow flat midrib over a short length of the blade is a good one.
You can easily make this section longer by draw filing or sanding with emery paper on a hard block.
Since this kind of narrow flat is so narrow, you do not have to remove much material at all to make it longer.
In fact, you may find it easiest to save this adjustment to after heat treat, saving this to last few steps after the main bevels are well established and the edges just about sharp.
Then you can reestablish the narrow flat midrib with a sanding block.
|
|
   |
 |
|
Lukas MG
Industry Professional
|
 Posted: Mon 21 Apr, 2014 3:16 am Post subject: Posted: Mon 21 Apr, 2014 3:16 am Post subject: |
 |
|
That's good advise, thanks. The blade is still a bit too thick over almost the entire length so it's shouldn't be a problem to lengthen (and widen) the flat section a bit. Doing some of that after heat treat is a good idea.
The problem I currently struggling with is how thick I want to have the blade in the upper half. Right now it's still 5.5mm where the CoP will fall. I originally planned to take it down to 4mm but am now considering leaving it thicker. I went through what data I have on originals and it seems 5mm isn't unusual for this type of sword. What do you think?
|
|
   |
 |
|
Lukas MG
Industry Professional
|
 Posted: Thu 24 Apr, 2014 8:31 am Post subject: Posted: Thu 24 Apr, 2014 8:31 am Post subject: |
 |
|
So, progress! Finished grinding, now onto hand sanding.
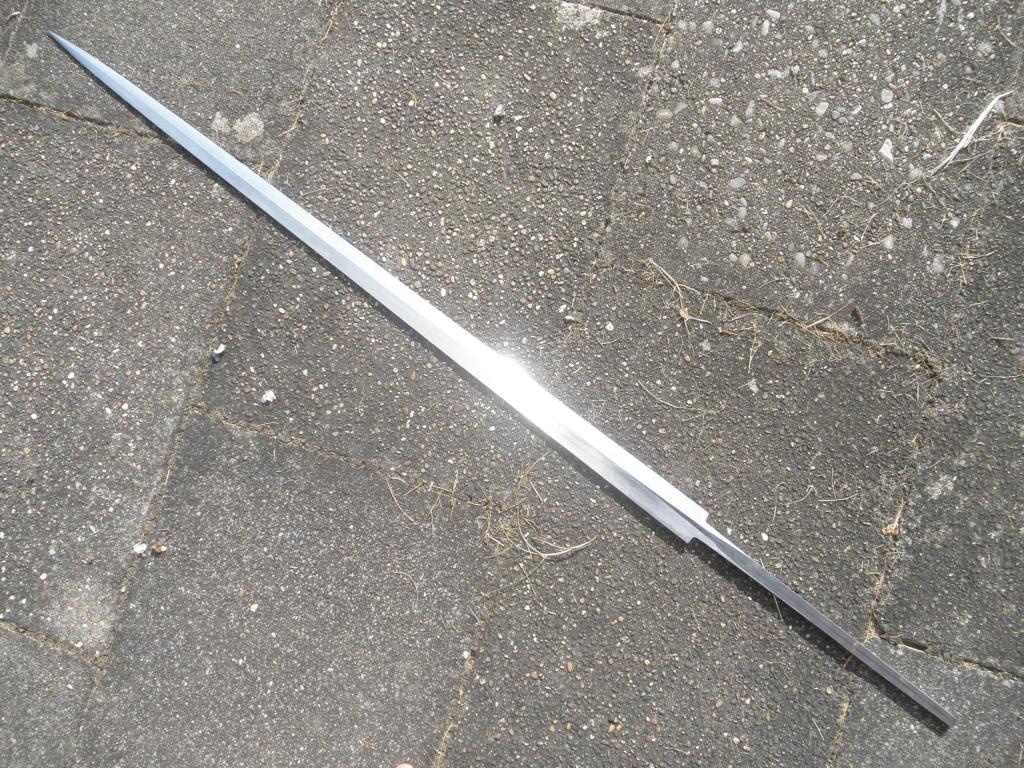
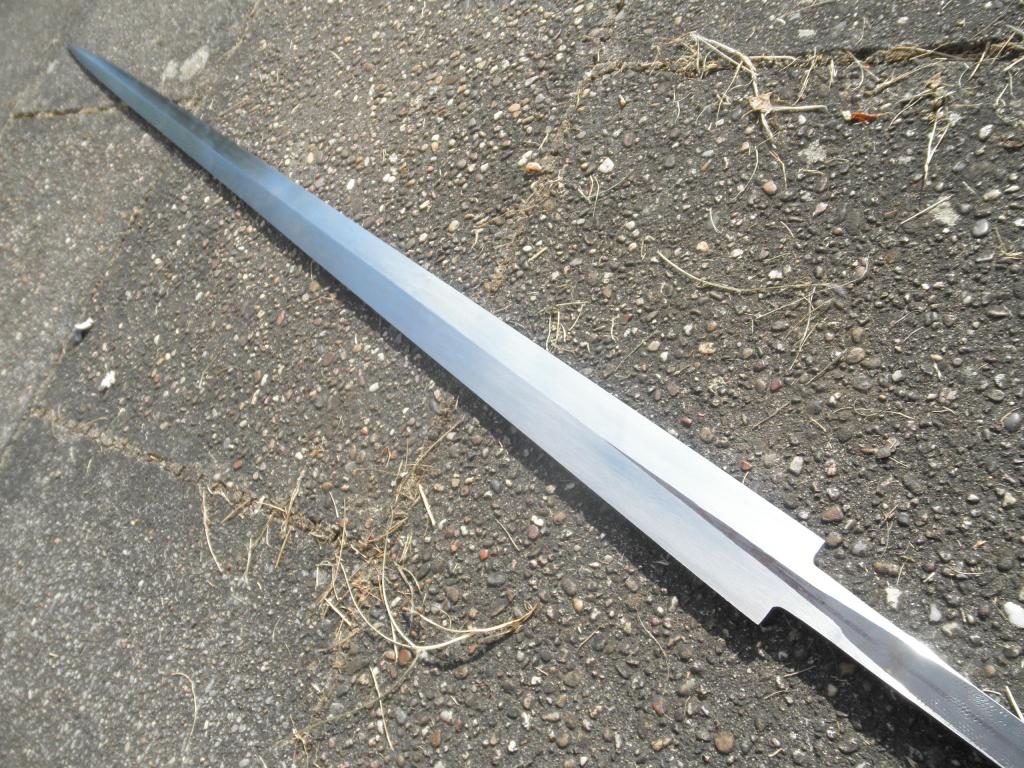
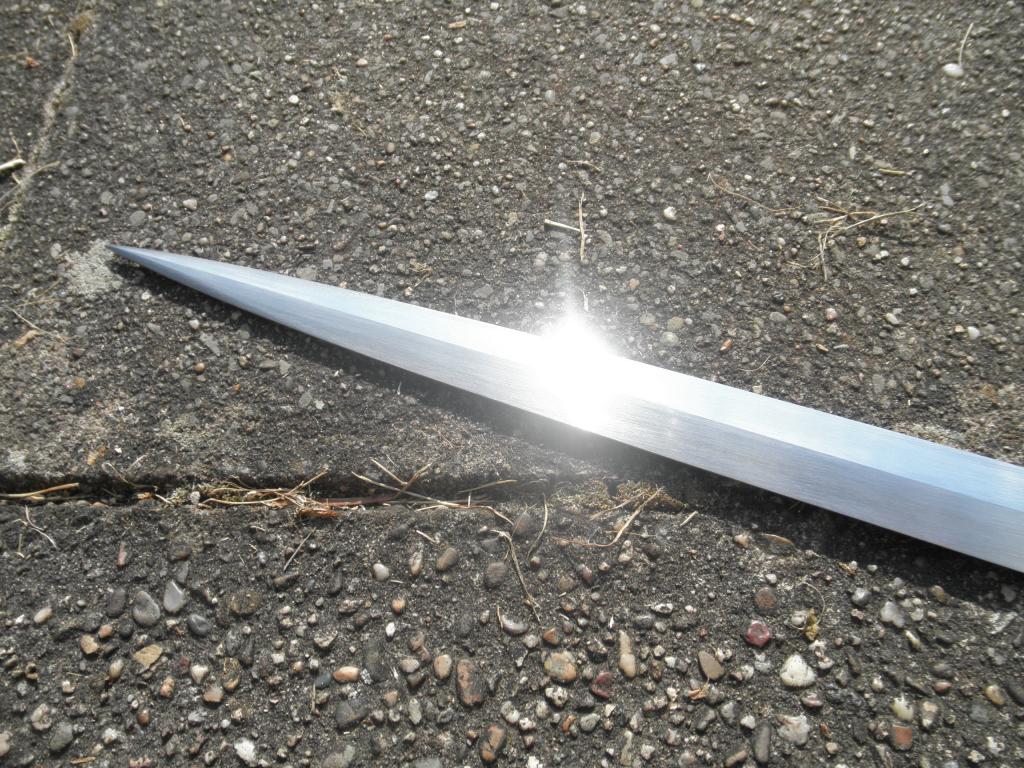
|
|
   |
 |
|
Peter Johnsson
Industry Professional
|
 Posted: Fri 25 Apr, 2014 10:17 am Post subject: Posted: Fri 25 Apr, 2014 10:17 am Post subject: |
 |
|
Donīt make it to thin. Leave it as it is!
You will want this blade to be fairly thick.
If necessary you can thin it down after heat treat.
|
|
   |
 |
Ian Hutchison

Location: Louisiana / Nordrhein-Westholland Joined: 27 Nov 2007
Posts: 626
|
 Posted: Fri 25 Apr, 2014 11:42 am Post subject: Posted: Fri 25 Apr, 2014 11:42 am Post subject: |
 |
|
Lukas,
Even unfinished this blade looks incredibly lively. I think it will be a good one!
'We are told that the pen is mightier than the sword, but I know which of these weapons I would choose.' - Adrian Carton de Wiart
|
|
  |
 |
|
Lukas MG
Industry Professional
|
 Posted: Fri 25 Apr, 2014 2:29 pm Post subject: Posted: Fri 25 Apr, 2014 2:29 pm Post subject: |
 |
|
| Peter Johnsson wrote: | Donīt make it to thin. Leave it as it is!
You will want this blade to be fairly thick.
If necessary you can thin it down after heat treat. |
Thanks. Yes, that's what I figured, I left the blade as it was and am now almost done with hand sanding. I'll soon send it to the heat treater. Then I'll be playing the waiting game. At least partially, got the fittings to work on after all.
@Ian: Thanks. I sure hope so, it already feels quite alive in hand 
|
|
   |
 |
Julien M

|
 Posted: Fri 25 Apr, 2014 2:39 pm Post subject: Posted: Fri 25 Apr, 2014 2:39 pm Post subject: |
 |
|
Very clean work!
Couple of questions:
How long does the heat treatment compagny take to do the job?
What happens if the blade warps? Do they know how to fix, straighten etc?
Why sanding by hand prior to sending to heat treatment?
Cheers,
J
Oh and last one: How did you put your process together? There are some nice and detailled tutorials on SBG by BBonzai and another one by Tinker. Just wondering if you started there.
|
|
  |
 |
|
Lukas MG
Industry Professional
|
 Posted: Fri 25 Apr, 2014 11:59 pm Post subject: Posted: Fri 25 Apr, 2014 11:59 pm Post subject: |
 |
|
Well, it's not a heat treat company but a knife- and swordsmith here in Germany (one of only a few and the only one offering that service). How long it takes depends on when he has enough blades to make heating up the salt baths worth it. I talked to him yesterday and he told me 1-2 months. I wouldn't bet on it though. Patience is your friend 
He straightens the blades if they warp but I can also do it myself, done it a couple times. Really only need a vice and a torch. And good nerves  Of course it's best done right after or in between tempering cycles. Of course it's best done right after or in between tempering cycles.
Hand sanding is for me the best way to get the bevels truly flat. My belt sander does a decent job but there are always a few rough spots. Depending on the blade, I can get it about 90% done before heat treat, salt baths are pretty great as there's very little or no decarb I need to grind off. Edges can be almost sharp (though that leaves little room for error and I prefer going a bit thicker, usually 1mm).
My process has developed over the last few years and only now do I think I have got to a point where everything pretty much fits. It was mostly trial and error but I asked plenty of questions in Don Fogg's forum and SBG to take a shortcut  . BB's tutorial had a few nice pointers as well. . BB's tutorial had a few nice pointers as well.
Last edited by Lukas MG on Mon 05 May, 2014 5:14 am; edited 1 time in total
|
|
   |
 |
|
Lukas MG
Industry Professional
|
 Posted: Sat 26 Apr, 2014 1:55 pm Post subject: Posted: Sat 26 Apr, 2014 1:55 pm Post subject: |
 |
|
So, I finished hand sanding and the blade is now ready for the heat treater. I just talked to him on the phone and he said it'll be 1-2 months until he can get to it, so from now on, progress will be slow.
I had a bit of trouble picking the right guard. First I decided on downturned quillons and had the guard already forged out when I realized I wasnt happy with the design. I spend some time not being able to make up my mind when I remembered that I had a guard that used to be on a VA Kriegsschwert in my spare part collection. I picked it up and immediately knew it work wonderfully with some modifications. I reground the facetts to get rid of waviness (there was lots of it... also a very sloppy guard inlet and way oversized tang hole, both I'll fix by filling with weld). Then the side rings were made from 3mm steel.
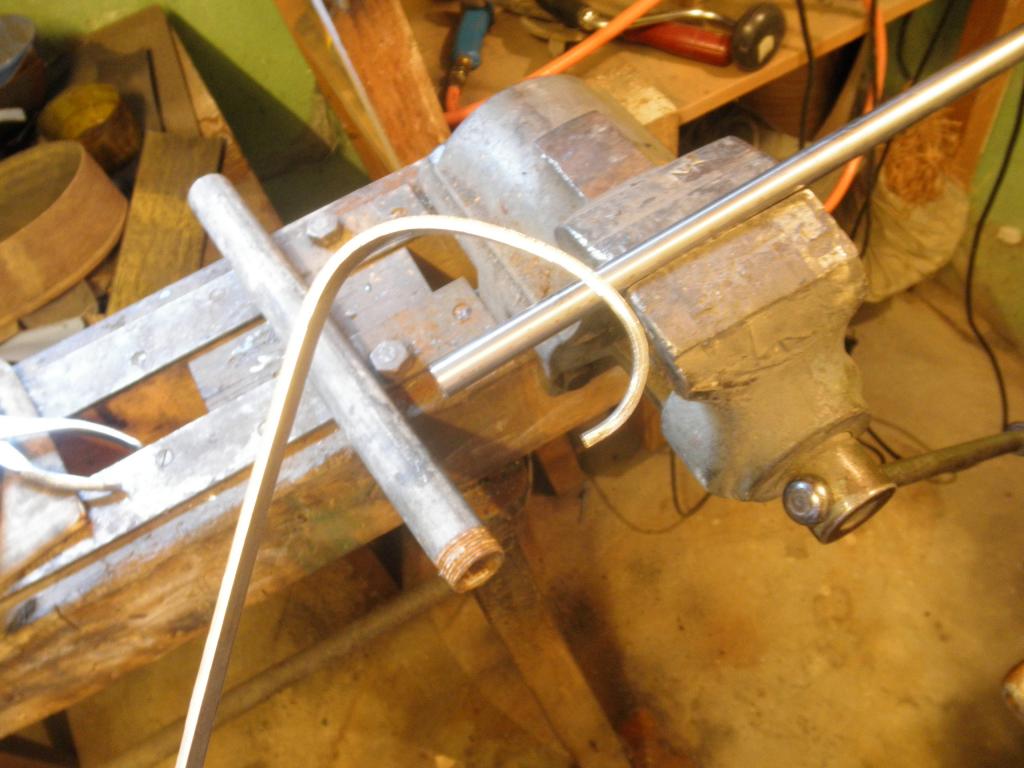
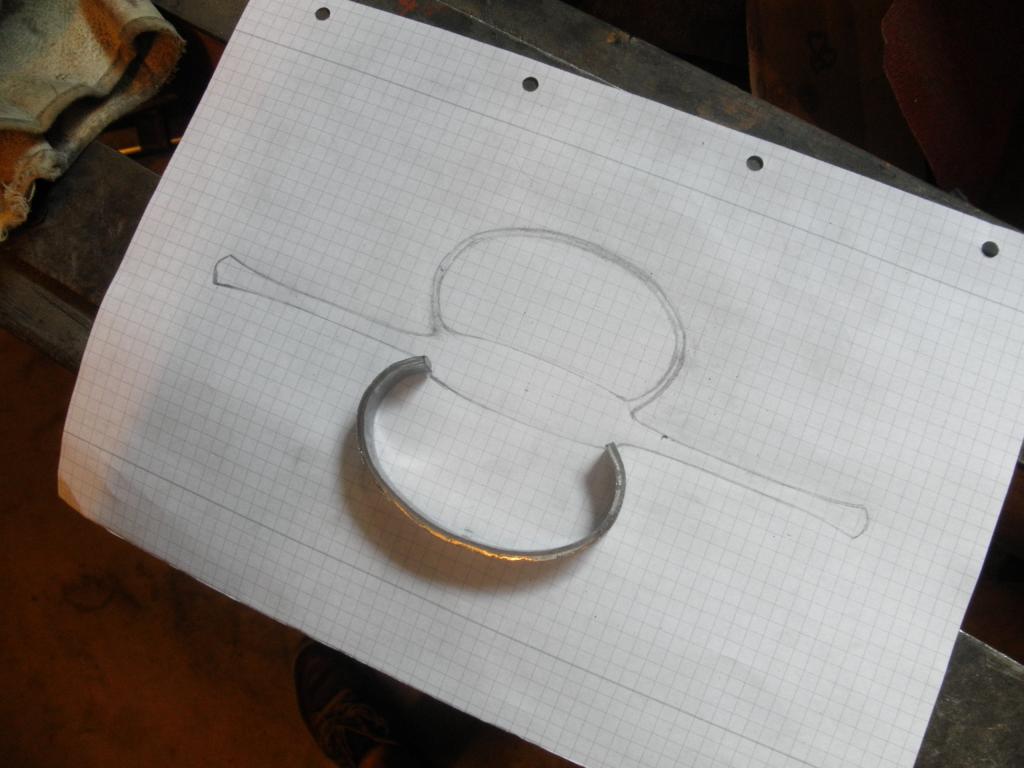

Next step is welding on the side rings, then I'll go over everything with sandpaper and file to get things perfectly shaped.
Since the blade is close to final shape and I know the guard weight, I can now calculate the pommel weight. I do that by taping the guard in its future place and adding metal weights to the tang end where the pommel will sit until I like the feel and harmonics like pivot points and percussion nodes fall into place. This one needs a pommel weight of about 300g. Now comes the hard part, figuring out how big of a pear shaped pommel I need to get the needed weight. Gah, I hate math 
|
|
   |
 |
Dean F. Marino

Location: Midland MI USA Joined: 24 Aug 2011
Posts: 229
|
 Posted: Sat 26 Apr, 2014 2:32 pm Post subject: Posted: Sat 26 Apr, 2014 2:32 pm Post subject: |
 |
|
| Lukas MG wrote: | So,....Since the blade is close to final shape and I know the guard weight, I can now calculate the pommel weight. I do that by taping the guard in its future place and adding metal weights to the tang end where the pommel will sit until I like the feel and harmonics like pivot points and percussion nodes fall into place. This one needs a pommel weight of about 300g. Now comes the hard part, figuring out how big of a pear shaped pommel I need to get the needed weight. Gah, I hate math  |
Don't forget what I always forget.... slap a little WOOD, temporarily, onto the grip portion of the tang. It's light, but with leather, will contribute to your overall POB  . .
In edhil, hai edhil. In edain, hai edain.
|
|
  |
 |
|
Lukas MG
Industry Professional
|
 Posted: Sat 26 Apr, 2014 3:30 pm Post subject: Posted: Sat 26 Apr, 2014 3:30 pm Post subject: |
 |
|
| Dean F. Marino wrote: | | Lukas MG wrote: | So,....Since the blade is close to final shape and I know the guard weight, I can now calculate the pommel weight. I do that by taping the guard in its future place and adding metal weights to the tang end where the pommel will sit until I like the feel and harmonics like pivot points and percussion nodes fall into place. This one needs a pommel weight of about 300g. Now comes the hard part, figuring out how big of a pear shaped pommel I need to get the needed weight. Gah, I hate math  |
Don't forget what I always forget.... slap a little WOOD, temporarily, onto the grip portion of the tang. It's light, but with leather, will contribute to your overall POB  . . |
I never calculate in the handle because when I decide on the pommel size, I take the needed weight (300g) for the pommel and then later drill the hole for the tang so the pommel ends up a little lighter. In the end, it normally comes out close enough. Occasionally I will regrind the pommel a bit or insert small pieces of metal into the handle but that hasn't been necessary more than once or twice. It's also not necessary to hit exactly 300g, there's a bit of leeway.
|
|
   |
 |
Zach Luna

|
 Posted: Sun 27 Apr, 2014 9:14 am Post subject: Posted: Sun 27 Apr, 2014 9:14 am Post subject: |
 |
|
As I said on SBG, this is looking spectacular, Lukas.
| Lukas MG wrote: | This one needs a pommel weight of about 300g. Now comes the hard part, figuring out how big of a pear shaped pommel I need to get the needed weight. Gah, I hate math  |
Math at the outset: convert the 300g of steel into a known volume of steel, then find the weight of an equivalent volume of clay or wax. Then you can play around with shapes in your sculpting medium and easily add or remove material to get the right volume by checking your new 'equivalent' weight on the scale. Once you're happy with the pear shape, then you can go back in and take measurements of your sculpted model to reproduce it in steel. That way you only have to do calculations at the beginning and take measurements at the end. You don't need to be bothered with trying to calculate the volume of different sized pear shapes.
|
|
   |
 |
Leo Todeschini
Industry Professional

|
|
   |
 |
|
Lukas MG
Industry Professional
|
 Posted: Sun 27 Apr, 2014 2:42 pm Post subject: Posted: Sun 27 Apr, 2014 2:42 pm Post subject: |
 |
|
Thanks guys.
As I said on SBG (  ), that is way more elegant that my rough estimation followed by "I'll just make it a bit bigger and grind off material until it's right" ), that is way more elegant that my rough estimation followed by "I'll just make it a bit bigger and grind off material until it's right" 
|
|
   |
 |
Zach Luna

|
 Posted: Sun 27 Apr, 2014 6:39 pm Post subject: Posted: Sun 27 Apr, 2014 6:39 pm Post subject: |
 |
|
| Lukas MG wrote: | Thanks guys.
As I said on SBG (  ), that is way more elegant that my rough estimation followed by "I'll just make it a bit bigger and grind off material until it's right" ), that is way more elegant that my rough estimation followed by "I'll just make it a bit bigger and grind off material until it's right"  |
Haha, right on, man. Looking forward to seeing this one come together!
|
|
   |
 |
|
|

