DIY: Albion type X blade with Michael Pikula fittings
This project started with a bare blade from Albion, type X, and fitting purchased from Mr. Pikula years ago. The bare blade is high quality at a good price but you get a very unfinished object requiring lots of grinding for steel removal and blade geometry formation. The blade edge arrives very thick and you have to grind down all that steel without gouging the edge or the fuller lines. I have a little 2 x 42 belt grinder with steel grinding belts for the initial heavy work. I feel lucky to not have buzzed a notch out of the blade or fuller. Then I moved to 120 and 240 grit stones that you can see in a pic for the final stock removal. The fuller also needed a lot of work, arriving with big ridge lines and a few divets so deep from something in production that I couldn't remove them entirely. For the fuller shaping and sanding I made a wood block to nestle in and then placed sand paper over that.

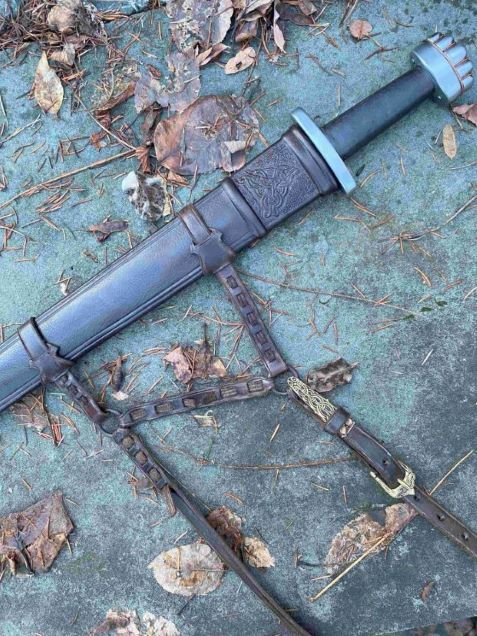
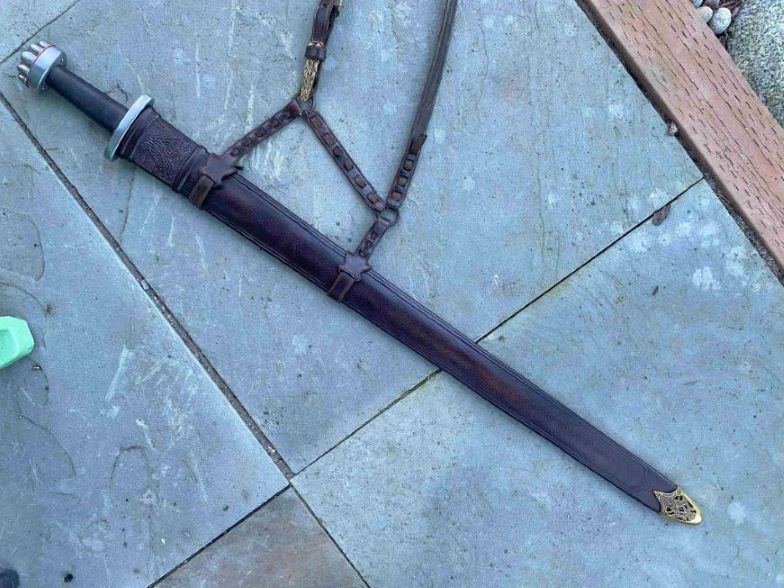
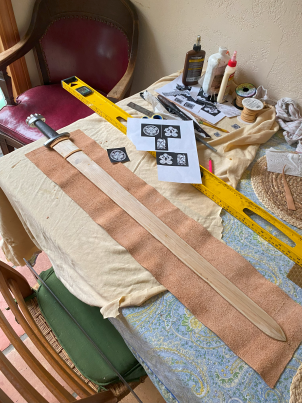
Once the sword was built I followed a few tutorials for the scabbard. There are inner layers of wood slats with felt lining.

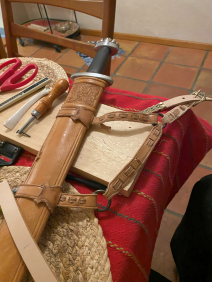
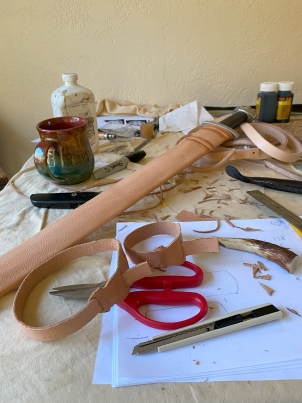
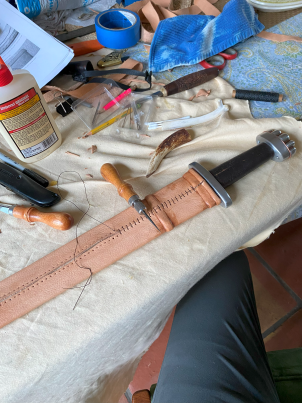
For the leather I used light deerskin. You can see a pic with one of my leather tools, a deer rib with notches and edges for marking the leather and burnishing edges. I copied a Christian Fletcher design for the baldric.

I elected to use a friction fit system for the suspension instead of rivets or stitching. Using techniques comparable to things seen in scandi knife cover builds. The parts hold together with no slippage. You can see I gave a try at design carving in the leather.

I hope you like it!


 Attachment: 98.12 KB
IMG_3907.1.jpg


 Attachment: 99.53 KB
IMG_3908.1.jpg


 Attachment: 130.49 KB
IMG_3867.6.png


 Attachment: 235.15 KB
IMG_3835.6.png


 Attachment: 255.76 KB
IMG_3830.6.png


 Attachment: 268.48 KB
IMG_3823.6.png


 Attachment: 71.79 KB
IMG_3817.1.jpg
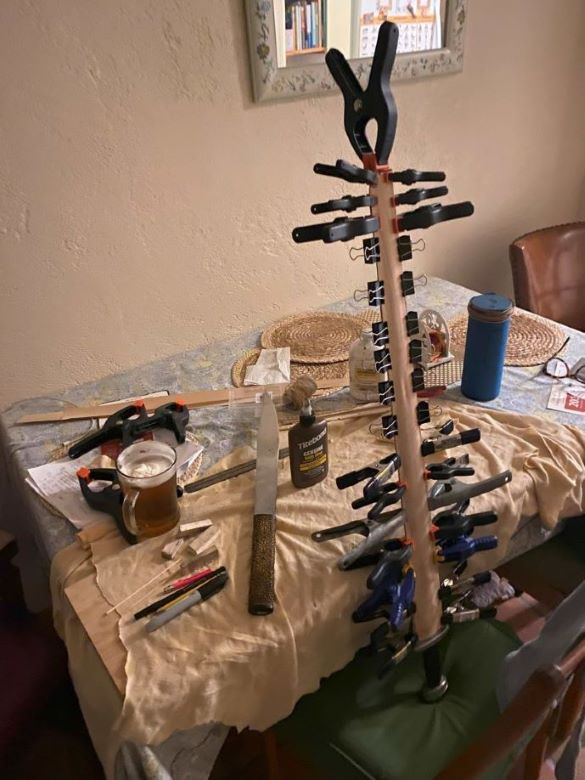
Gluing veneer slats over sword form

 Attachment: 239.1 KB
IMG_3810.6.png
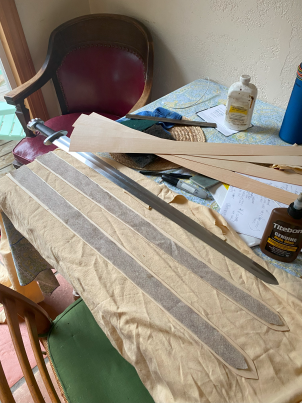
Thin veneer slats sandwich the blade

 Attachment: 242.68 KB
IMG_3805.6.png
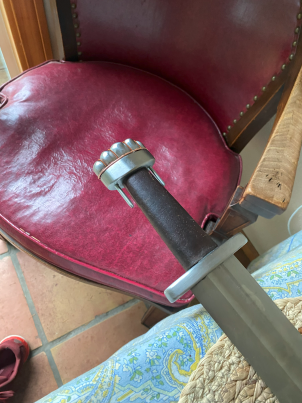
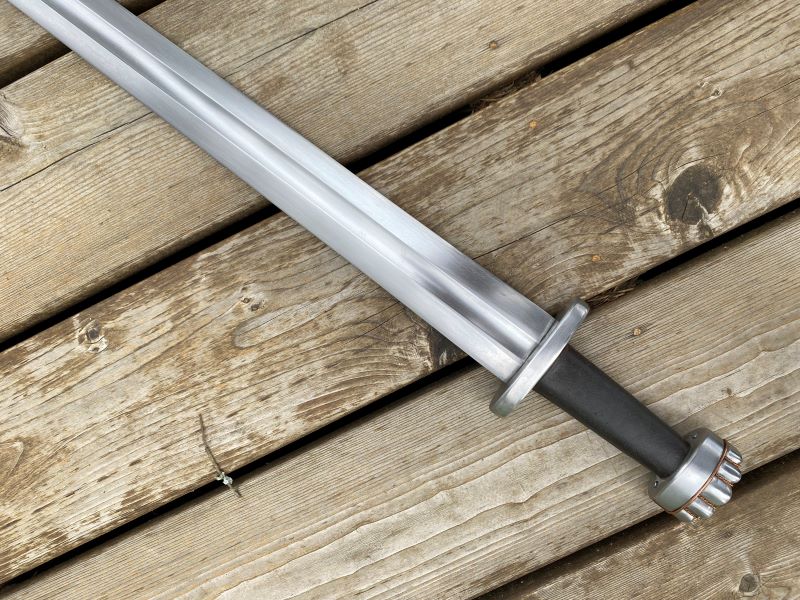
Attaching upper and lower pommel
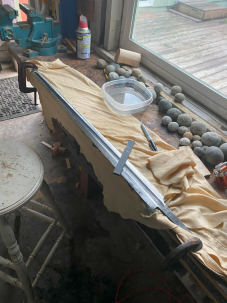
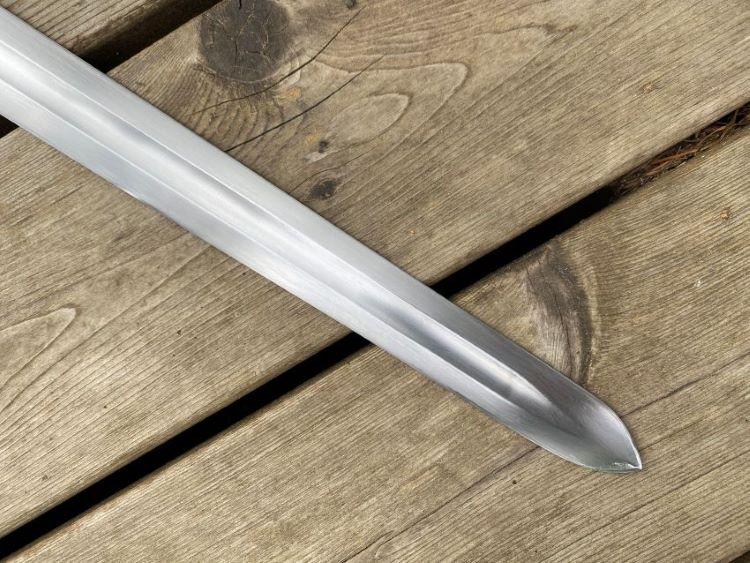
 Attachment: 139.28 KB
IMG_3761.png
Forming blade shape
Fantastic job
Really impressive work! You were lucky to get Michael Pikula fittings before he retired.

Love to see more shots of the blade! Have you done a lot of this type of work before?

Congratulations again on a brilliant DIY job—
Re: Fantastic job
Michael Sandoval wrote:
Really impressive work! You were lucky to get Michael Pikula fittings before he retired.

Love to see more shots of the blade! Have you done a lot of this type of work before?


Thanks Michael! I'm sorry he retired but pleased to get some things he sold off at the end. Including a seax blade mounted as seen in the below pic. Added some blade pics per your request. Got one where you can see the subtle divot near the tip that it came with and seemed too deep for me to sand out. I went with scotch brite finish on the blade.

This is my fourth bare blade sword build with scabbard, and have done several seax builds and numerous knives. A few have been posts you can see from my profile page.


 Attachment: 157.85 KB
Pikula seax 1.1.jpg


 Attachment: 135.34 KB
IMG_3986.1.jpg


 Attachment: 121.2 KB
IMG_3985.1.jpg


 Attachment: 102.27 KB
IMG_3988.1.jpg


Page 1 of 1

Jump to:  
You cannot post new topics in this forum
You cannot reply to topics in this forum
You cannot edit your posts in this forum
You cannot delete your posts in this forum
You cannot vote in polls in this forum
You cannot attach files in this forum
You can download files in this forum


All contents © Copyright 2003-2006 myArmoury.com — All rights reserved
Discussion forums powered by phpBB © The phpBB Group
Switch to the Full-featured Version of the forum