Amazing work all around, and a splendid -slender- sword. What's next?
Looking forward to the review!
Great work - thanks for sharing with us!
BTW - reminds me I have a lonsword to finish also.
BTW - reminds me I have a lonsword to finish also.
Thanks Julien and Boris!
My next project will be the collaboration with the Printed Armoury, a Swiss complex hilted longsword. Though I have started on a small Hauswehr/Ruger...
My next project will be the collaboration with the Printed Armoury, a Swiss complex hilted longsword. Though I have started on a small Hauswehr/Ruger...
Onto the scabbard!
My thanks go to Arno Eckhardt who taught me this method (among many other things :) )
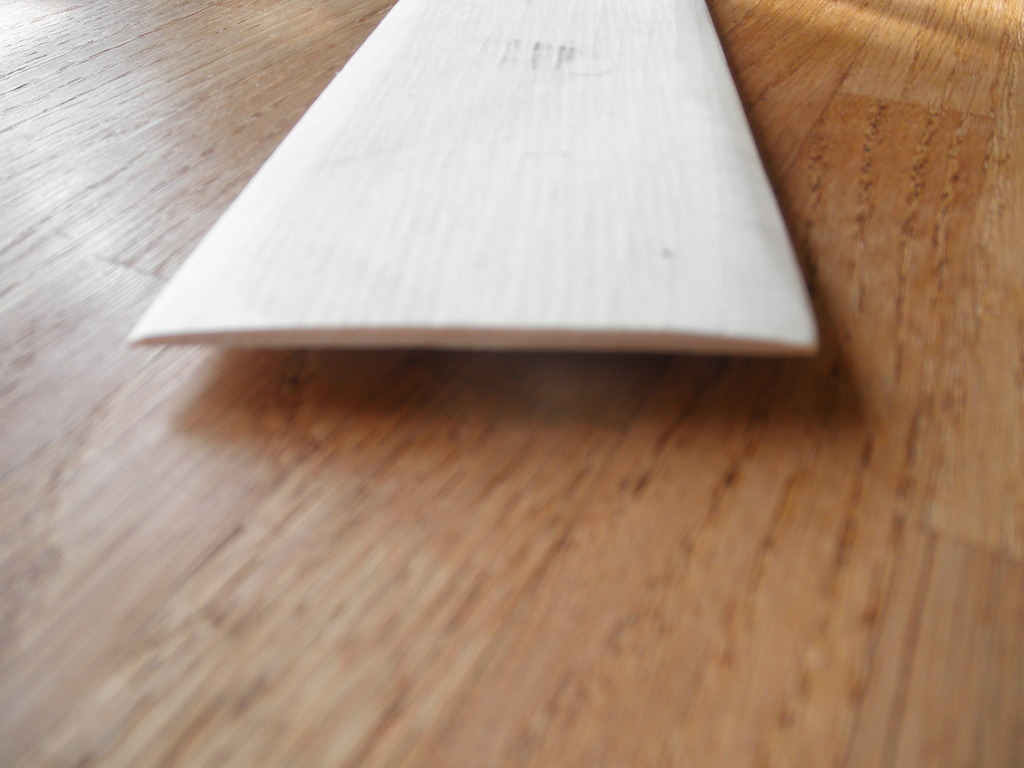
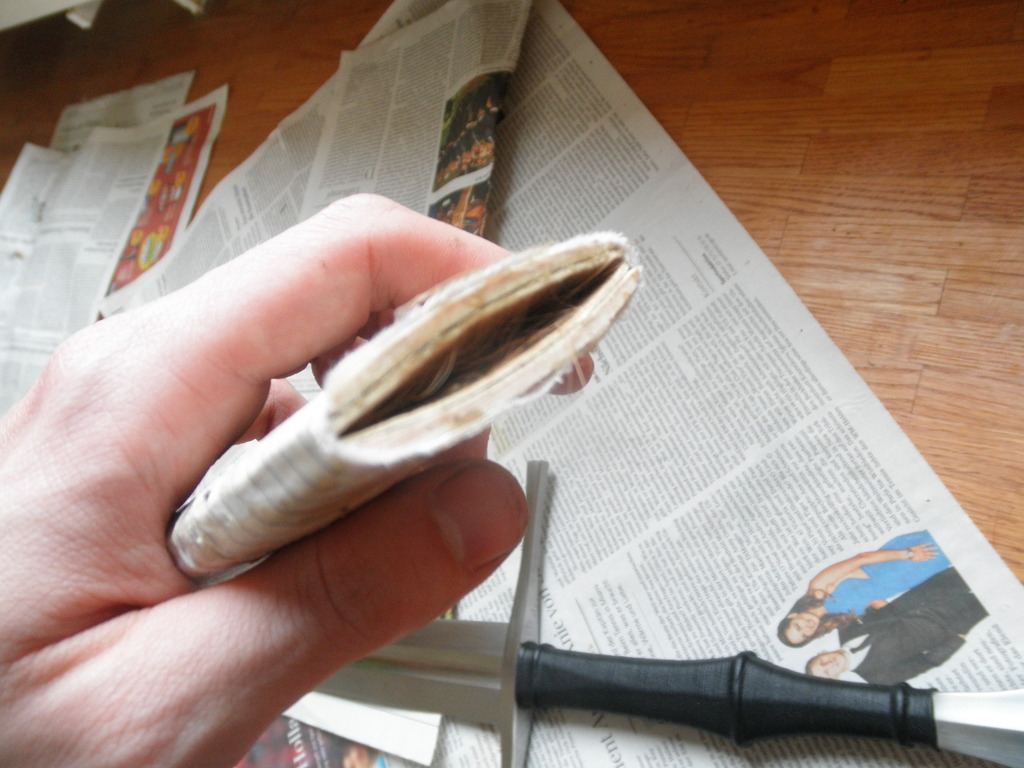
The wooden core is made from two 2.5mm maple slats. On the inside there is goat fur glued on with the hairs pointing to the blade's tip. The fur is oiled before the slats are joined by wrapping with thin linen that is then soaked in hide glue.
As the glue dries with the sword inserted in the scabbard, it forces the wood core to bend, following the shape of the blade. Once the glue is dry, it makes for a sturdy yet thin and light medieval composite material.
The most nerve-wracking part of this is the blade's fit. As the glue dries and the wood takes shape, the fit changes from being extremely tight to (hopefully) just right. It's impossible to influence at this time, the end result will show if the width of the maple slats was chosen correctly. Too close to the blade shape and it will be too tight, too wide and it will be too lose. We'll see in the morning once the glue is dry. Fingers crossed...


The glue has dried and I sanded/filed the core smooth. I'm pretty happy with the blade's fit. The scabbard can easily be turned upside down without the sword sliding out and it doesn't take more than a firm little tug to pull it out. It could bit a tiny little bit easier to draw but it's perfectly acceptable. Next time I will make the core a bit wider in the forte of the blade, then it should be perfect. Always learning ;)
One thing you should all know if you want to try this: GENEROUSLY oil your sword and keep oiling it regularly when you leave the core to dry. I thought I had a good amount of oil on and left it overnight without re-oiling only to discover the blade had developed not a huge, but an annoying amount of "patina" (not red rust but the pattern of the fur was firmly visible on the steel). Took me half an hour with 800 and 1000 grit sandpaper to restore the blade to its former state. I will let the core air out for a few days before inserting continuing with the leather work.


One thing you should all know if you want to try this: GENEROUSLY oil your sword and keep oiling it regularly when you leave the core to dry. I thought I had a good amount of oil on and left it overnight without re-oiling only to discover the blade had developed not a huge, but an annoying amount of "patina" (not red rust but the pattern of the fur was firmly visible on the steel). Took me half an hour with 800 and 1000 grit sandpaper to restore the blade to its former state. I will let the core air out for a few days before inserting continuing with the leather work.


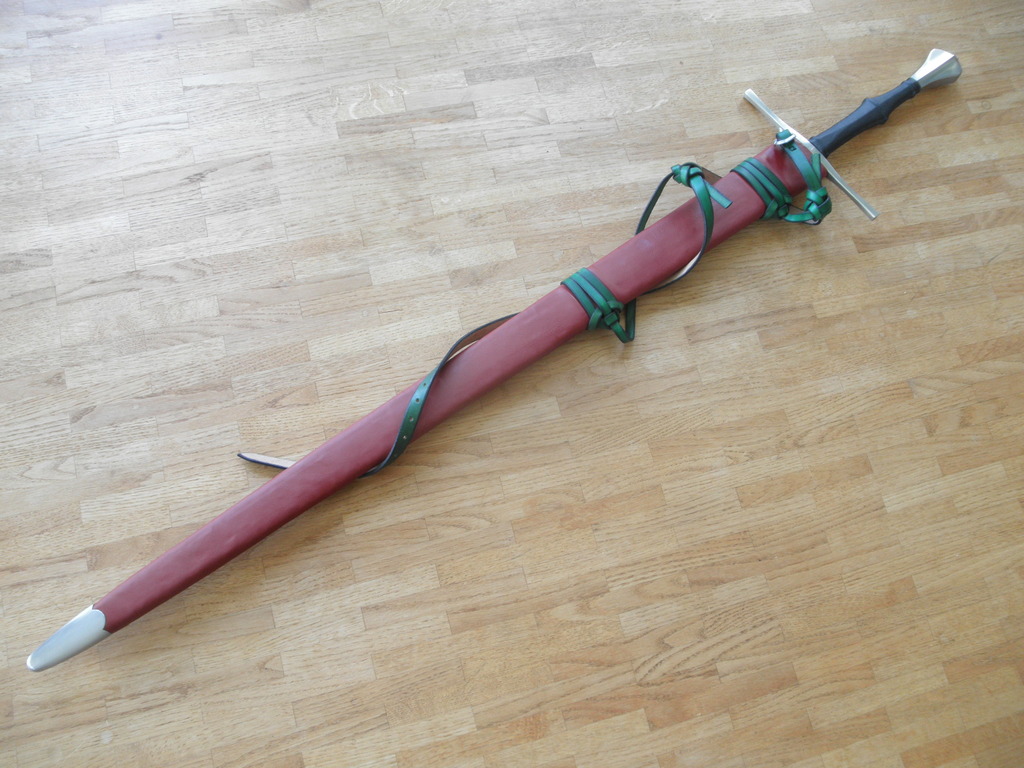
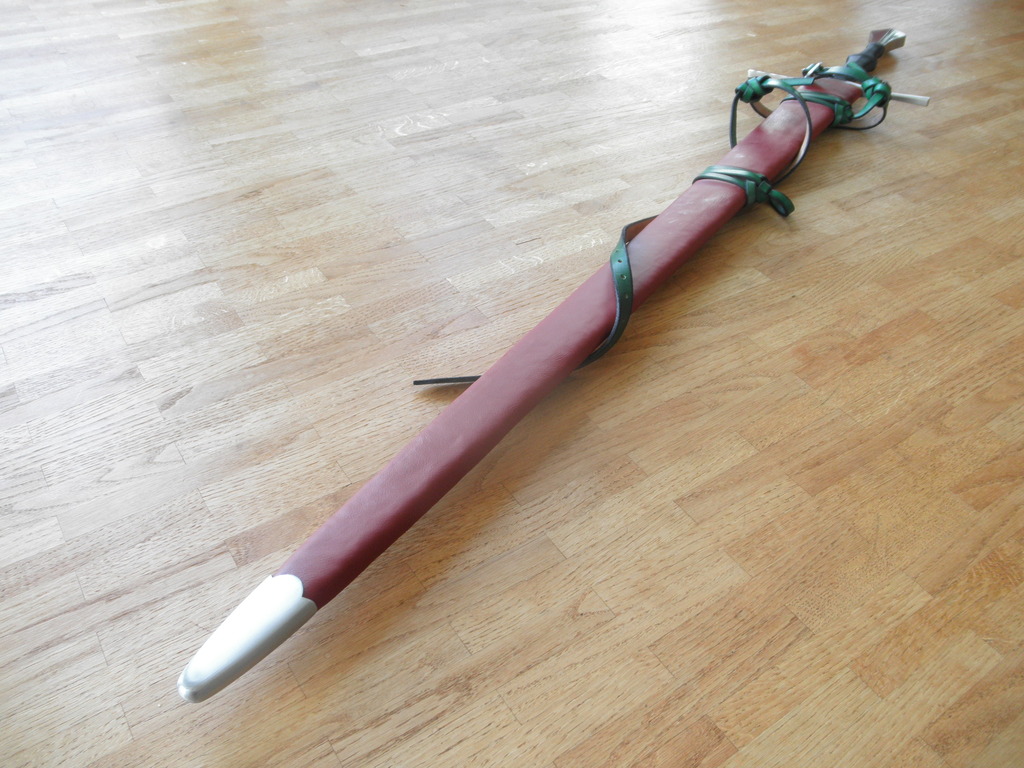
The scabbard is (mostly) finished. It's a very simple design, no embellishments or anything sophisticated. I am not a scabbard maker and do not supply scabbards for my swords, the only reason I made it is because I intend to keep the sword and wanted a full set up for transportation, etc. The scabbard will probably spend 99% of its existence in the closet. Still, it's nice to have.
The sword suspension might not be permanent as it is, it needs some more fiddling around until I am entirely happy with the way the sword rides on the hip. That's why I only used knots to attach everything, they hold securely but can be un-done anytime. The final method of attachment might be different, not yet sure.
I had originally planned to make a black suspension but as I tried out the green, I kinda liked it. So for now, it stays on :) While we usually like to imagine the middle ages in brown or black colors, they actually did have some quite "interesting" color combinations.
The chape is from a Windlass scabbard. I frankly couldn't be bothered to try to make one myself.


These are admittedly not necessarily relevant to most of the traditional European chape designs I've seen, but they're not at all offensive, either. I've been thinking about ordering a few of these myself, and they're CHEAP!:
https://nepalkukri.com/index.php/accessories-add-on/chape-khothi.html
https://nepalkukri.com/index.php/accessories-add-on/chape-khothi.html
Beautiful sword Lukas!
The guard should have to be hammered on the blade I think to prevent future rattling, just a thought. :p :)
The guard should have to be hammered on the blade I think to prevent future rattling, just a thought. :p :)
I think the whole package is quite appealing. Simple functionality, and understated elegance....it works. I quite like the scabbard with your color choices, and the reused chape does a fine job for it's intended purpose...and looks good. Great job all around. I don't blame you a bit for wanting to keep it! :D ................McM
| Fisher Lobdell wrote: |
| Beautiful sword Lukas!
The guard should have to be hammered on the blade I think to prevent future rattling, just a thought. :p :) |
Both guard and pommel are fitted in a way that requires them to be hammered down the last few cm. The guard is then back-peened as well, the pommel hot peened. There will be no rattling in any of my pieces ;)
Sounds very sturdy. :D
Page 2 of 2
You cannot post new topics in this forumYou cannot reply to topics in this forum
You cannot edit your posts in this forum
You cannot delete your posts in this forum
You cannot vote in polls in this forum
You cannot attach files in this forum
You can download files in this forum
All contents © Copyright 2003-2006 myArmoury.com — All rights reserved
Discussion forums powered by phpBB © The phpBB Group
Switch to the Full-featured Version of the forum
Discussion forums powered by phpBB © The phpBB Group
Switch to the Full-featured Version of the forum