Go to page 1, 2, 3  Next

Details from Wallace Collection/Royal Armouries
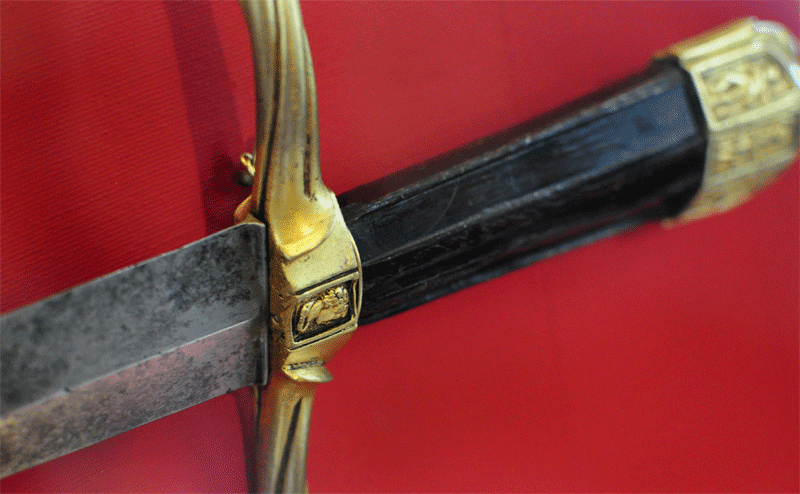
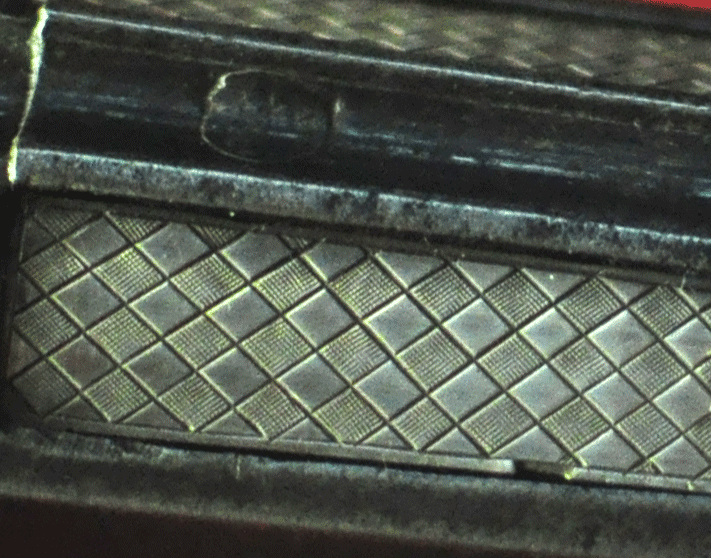
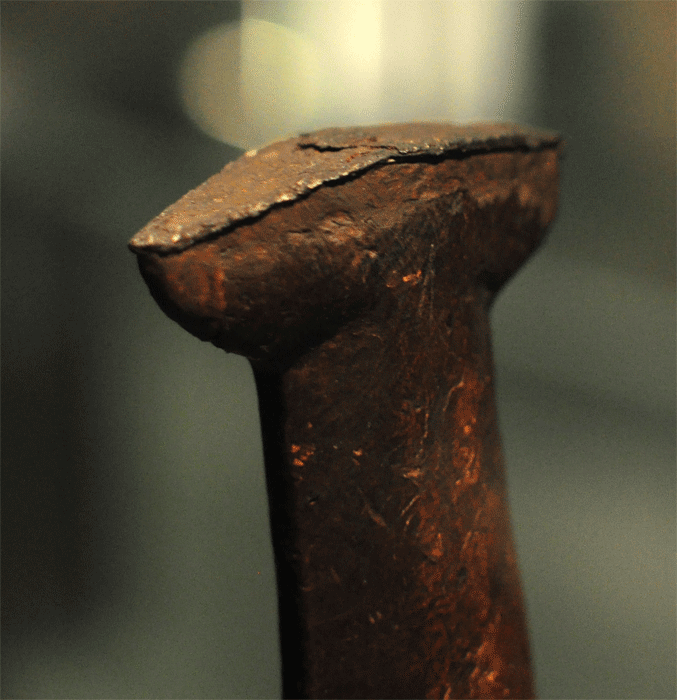
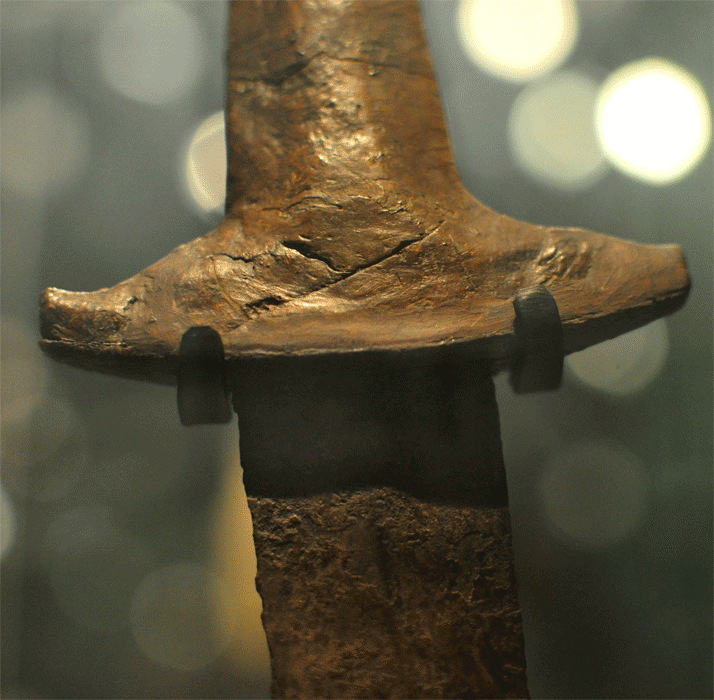
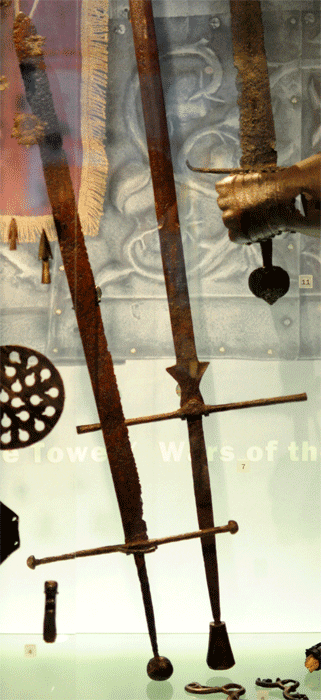
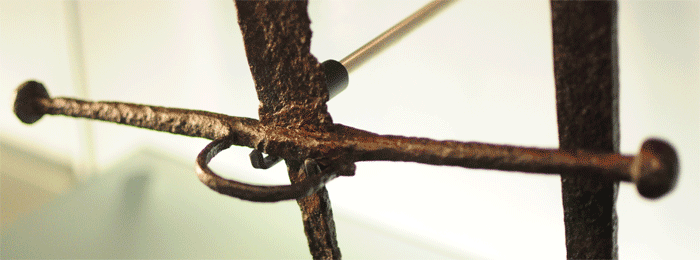
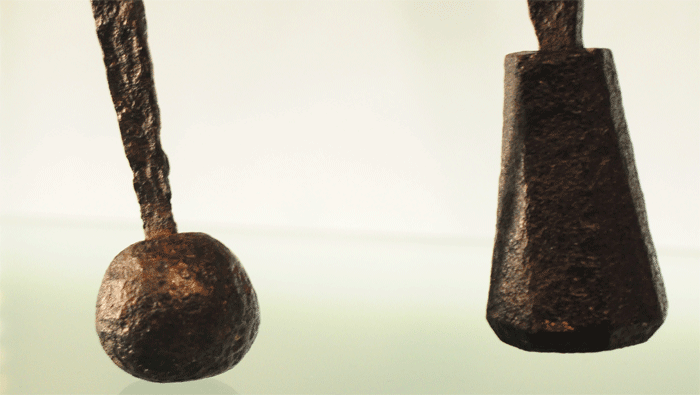
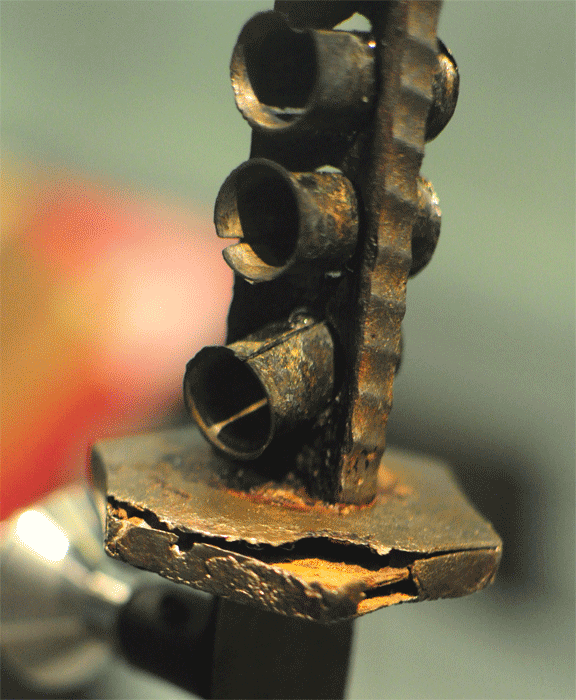
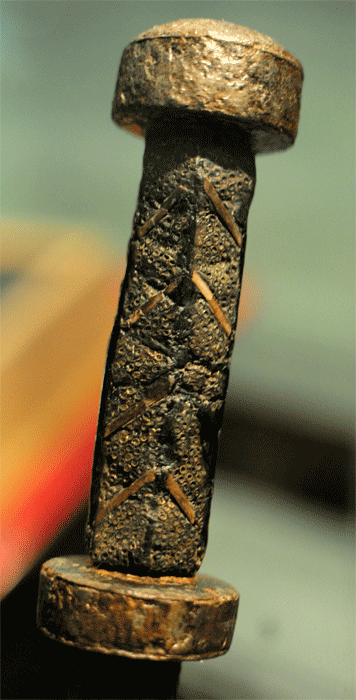
Just spent a great week glued to The Wallace Collection and Royal Armouries-Leeds. For this trip I was interested mainly in photographing details of design, construction, decoration and finish. That's easier said than done because both of these collections are notoriously challenging, photographically. I chose my kit for light travel and difficult shooting.
For those interested in the technical specs:
• Nikon D90
• Nikon 50mm f1.8 and 35mm f1.8 (mainly the 35mm because it gives a "normal" perspective on a cropped DSLR and has fantastic close focus). Some of the armour "landscapes" are 50mm f1.8 without the polarizer. That allowed me to stop down enough to get more elements in focus. I typically shot at sensitivity levels of between 800 and 1600.
• Circular polarizer: It cuts reflections like magic but reduces light. The fast lenses and string tripod help compensate for that.
• String tripod: Eye bolt, wing nut, steel washer and rubber gasket. Nut, washer and gasket go over the bolt. Paracord tied to eye of bolt. Knots in free end of cord. Screw bolt into camera tripod socket, step on knot(s), pull taught against body to damp vibration, compose, hold breath, squeeze release, follow through, exhale. Nobody ever questioned my use of this old stabilization trick and it often made the difference between a useable shot and nothing. Of course, it does not mar floors, obstruct other visitors, smash cases, etc. :D
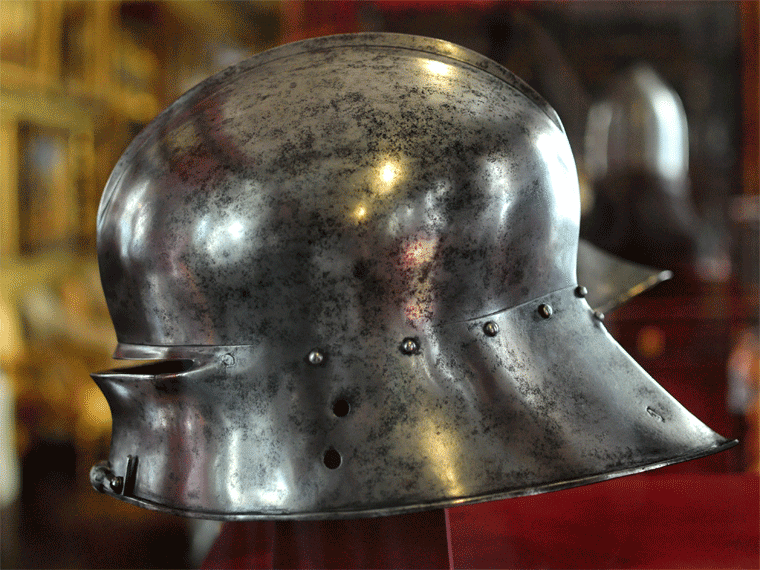
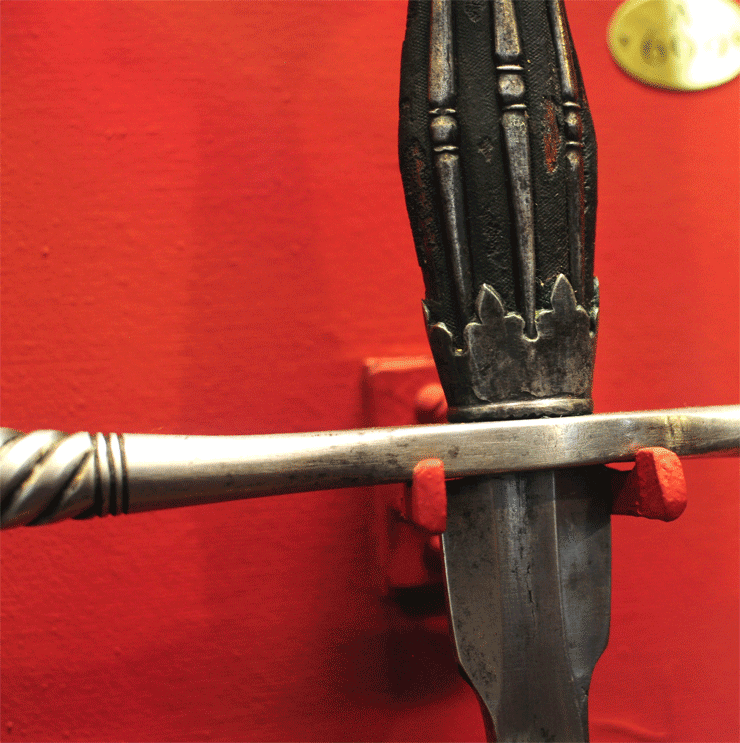
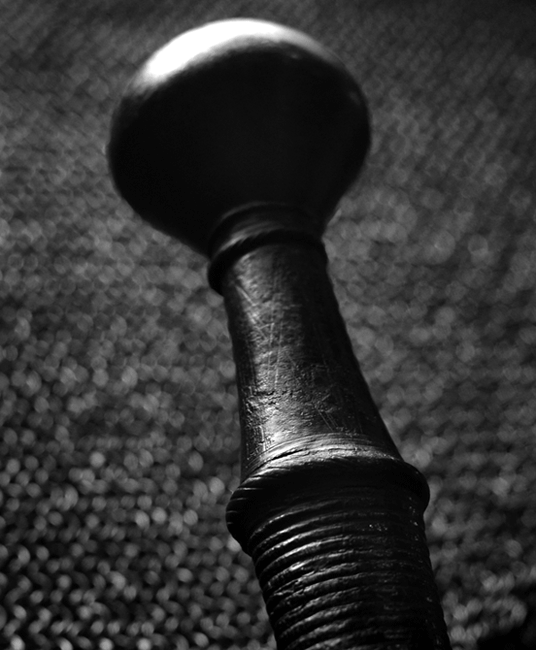
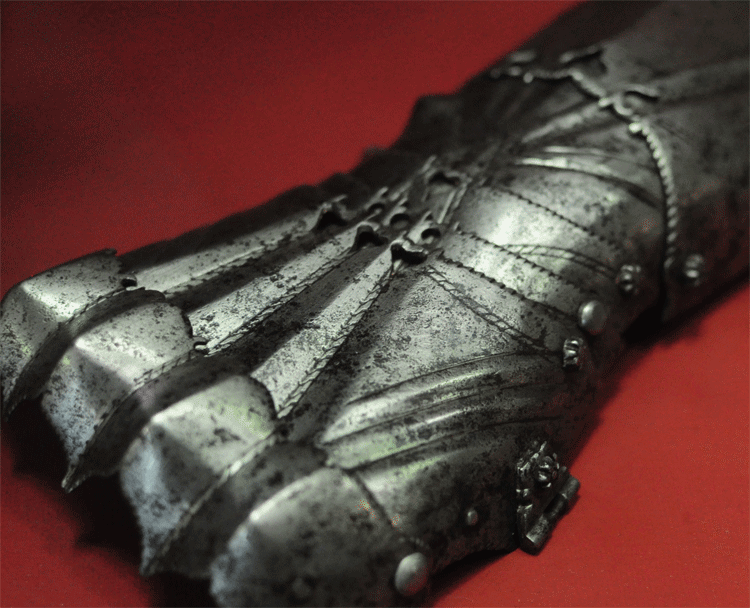
I won't provide captions for these photos and won't post them in any particular order. In most cases the detail of my interest will be apparent. I hope others will find them as interesting and useful. Feel free to ask questions about anything you see here! I'll tell you what I know.
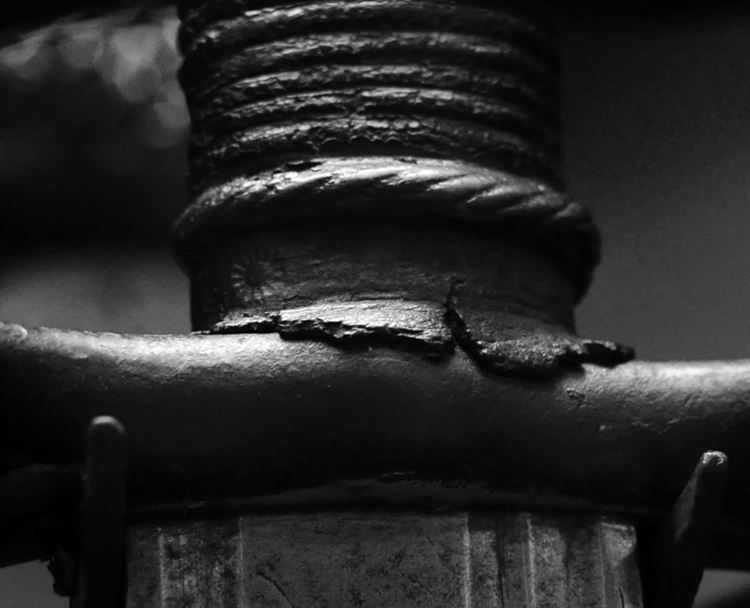
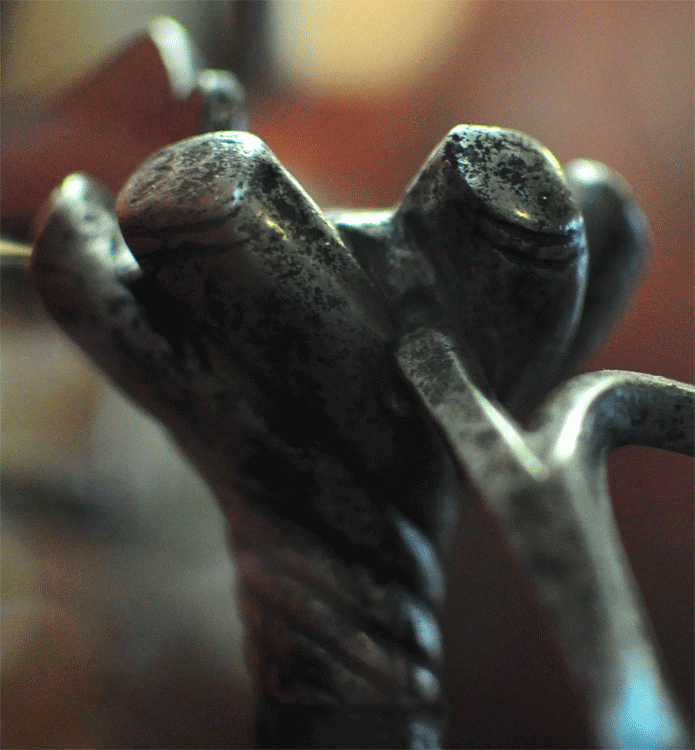
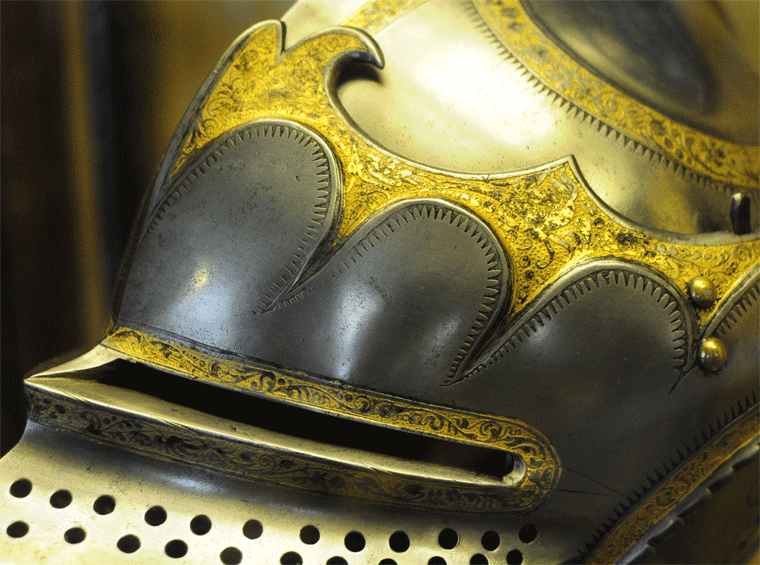
 Attachment: 248.55 KB
wc1.gif


Last edited by Sean Flynt on Fri 14 Oct, 2011 8:26 am; edited 1 time in total
When the polarizer created funky color highlights I've converted those images to gray scale.


 Attachment: 229.42 KB
wc2.gif


 Attachment: 234.01 KB
wc3.gif


 Attachment: 237.82 KB
wc4.gif


 Attachment: 239.49 KB
wc5.gif


 Attachment: 247.94 KB
wc6.gif


 Attachment: 244.34 KB
wc7.gif

Sean,

Congratulations on taking some amazingly detailed and high quality museum photographs! These are really impressive!
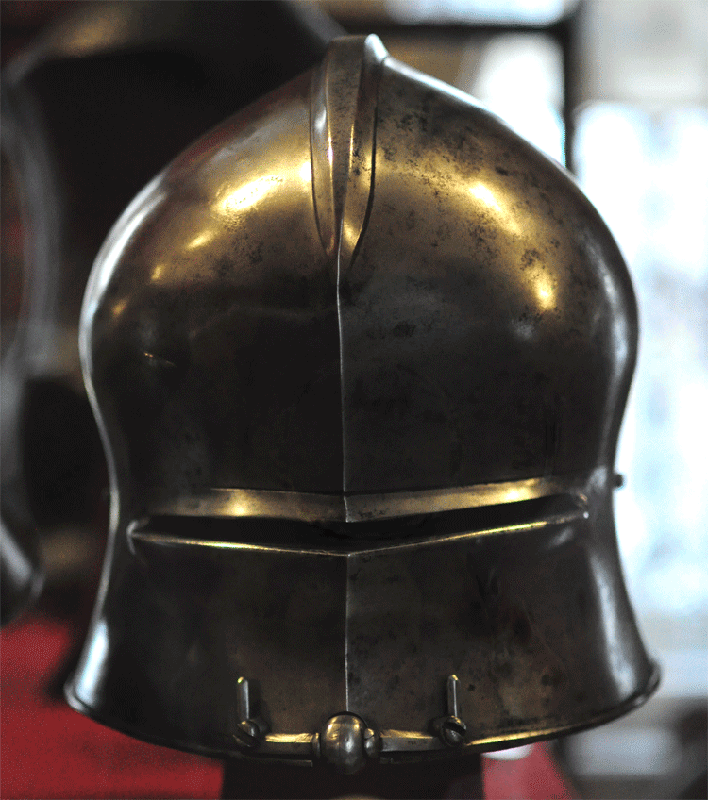
Great pictures Sean. I like that two piece sallet. Does that look like specks of red paint on the side, or the polarizer creating funky color highlights as you said?
Len Parker wrote:
Great pictures Sean. I like that two piece sallet. Does that look like specks of red paint on the side, or the polarizer creating funky color highlights as you said?


That looks to be reflected light
Re: Details from Wallace Collection/Royal Armouries
Fantastic photo's!

But you do have to clarify this a bit:
Sean Flynt wrote:
• String tripod: Eye bolt, wing nut, steel washer and rubber gasket. Nut, washer and gasket go over the bolt. Paracord tied to eye of bolt. Knots in free end of cord. Screw bolt into camera tripod socket, step on knot(s), pull taught against body to damp vibration, compose, hold breath, squeeze release, follow through, exhale.

It sounds really useful, but I have some difficulty understanding what you mean exactly.\
Maybe a picture would be useful?
Re: Details from Wallace Collection/Royal Armouries
Paul Hansen wrote:
Fantastic photo's!

But you do have to clarify this a bit:
Sean Flynt wrote:
• String tripod: Eye bolt, wing nut, steel washer and rubber gasket. Nut, washer and gasket go over the bolt. Paracord tied to eye of bolt. Knots in free end of cord. Screw bolt into camera tripod socket, step on knot(s), pull taught against body to damp vibration, compose, hold breath, squeeze release, follow through, exhale.

It sounds really useful, but I have some difficulty understanding what you mean exactly.\
Maybe a picture would be useful?


Google is your friend.

http://www.instructables.com/id/String-Tripod/
Yep, that's pretty much it, with a few refinements to protect the baseplate of the camera (washer/gasket) and facilitate tightening (wingnut). I'll get a shot and post here.
Nathan Robinson wrote:
Len Parker wrote:
Great pictures Sean. I like that two piece sallet. Does that look like specks of red paint on the side, or the polarizer creating funky color highlights as you said?


That looks to be reflected light


It's probably both. You turn the polarizer to eliminate reflections on the glass. Sometimes the optimal position of the filter created color effects in the remaining reflected highlights. There might also be a color cast to some of the WC lights. I didn't notice, but there might even be colored lights (fire exits, "on" lights of security cameras, etc.) that could tint reflections.

BTW, that's a single-piece sallet. The decorative lines suggest two-piece, which is strange from the modern perspective, which values sets a premium on single-piece raised construction.That's an interesting sallet for other reasons, too. It was retro-fitted for the Bundrennen by the addition of a strange roller contraption on the front edge. The function isn't certain, but Capwell suggests that it might have been meant to prevent the edge of the "exploding" Rennen shield from catching the edge of the sallet as it's sent aloft by a good strike.
Here's a front view of that Bundrennen sallet, showing the funky roller mechanism (and some unfortunate glass reflections). Further tips for museum photography (which I overlooked on this trip):
-Hold out for a black-ring polarizer if you can find a good one. The silver-ring version I got turns up in some glass reflections (what were they thinking???)
–use black gaffer's tape to cover all lettering on the front of the camera body. Otherwise you'll get a NIKON-branded sallet, as I did in this case, necessitating some burning-in of that reflection.
-wear dark clothing, which will also eliminate reflection.
-get as close to the glass as possible. A soft rubber lens hood is good for this, as it keeps the hard surface of your lens off the glass but still prevents reflection of the lens or intrusion of side light.
I didn't test my idea to get a soft black craft foam sheet and cut a hole in it for my lens. In theory, that could solve some reflection problems. I finally decided it would be too ungainly and attract too much attention. Worth trying if you don't want to pay for a good polarizer.


 Attachment: 222.66 KB
wc8.gif

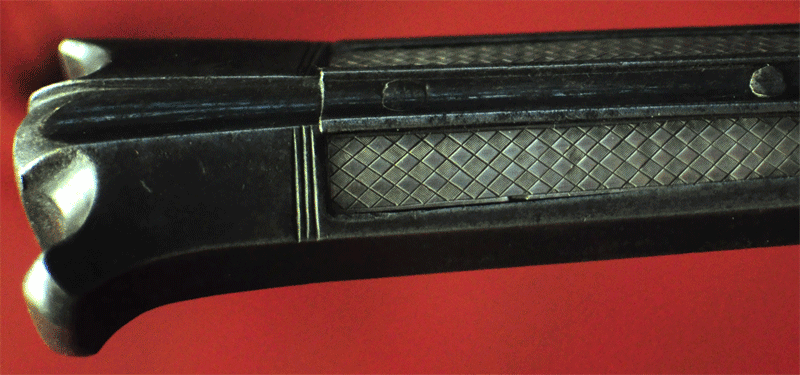
A few more, for the weekend :D There are two images of the messer grip. I realized the broader view lost the detail of the metal inserts.


 Attachment: 143.93 KB
wc9.gif


 Attachment: 146.43 KB
wc10.gif


 Attachment: 182.81 KB
wc11.gif


 Attachment: 243.85 KB
wc12.gif

Wow! Nicely done, Sean! Those details are fantastic!

I like the tripod trick. Good ideas are always in style!
Great pictures Sean :D It's nice that the Wallace now allow photos to be taken, I was told to leave, after taking one picture, a couple o years ago
Re: Details from Wallace Collection/Royal Armouries
Nathan Robinson wrote:
Paul Hansen wrote:
Fantastic photo's!

But you do have to clarify this a bit:
Sean Flynt wrote:
• String tripod: Eye bolt, wing nut, steel washer and rubber gasket. Nut, washer and gasket go over the bolt. Paracord tied to eye of bolt. Knots in free end of cord. Screw bolt into camera tripod socket, step on knot(s), pull taught against body to damp vibration, compose, hold breath, squeeze release, follow through, exhale.

It sounds really useful, but I have some difficulty understanding what you mean exactly.\
Maybe a picture would be useful?


Google is your friend.

http://www.instructables.com/id/String-Tripod/


Aha, I didn't realise that "string tripod" was actually a type name rather than a description...
Thanks!
:eek: Wow! Outstanding pictures Sean! Thanks for sharing.
Great work, Sean - very haptic qualities to those shots. Are you planning to post the lot in an album somewhere, or can I send you a USB to load up :D ?

I'm hoping to see similarly beautiful shots (in due time, of course) of the goodies you found mudlarking - anything worth reporting there?
Good work Sean!
These are some excellet quality photos.

When we visited almost two years ago the guards at Wallace stopped my dad from using his rubber shod monopod, even though it wasn't technically the tripod that's noted to be prohibited in the museum. Good catch using the old school string system. I'll tell Dad about that for next time we go to a museum with our cameras. ;)
This is what I call real pictures! I have a Nikon D3100 for the job, and the new nikon macro 40mm f2.8.It's an amazing lens that reaches a 1.1 reproduction ratio. However the maximum aperture of 2.8often forced me to use very high speeds, even 12800 ISO at Milan's Sforzesco castle.
Eric W. Norenberg wrote:
Great work, Sean - very haptic qualities to those shots. Are you planning to post the lot in an album somewhere, or can I send you a USB to load up :D ?

I'm hoping to see similarly beautiful shots (in due time, of course) of the goodies you found mudlarking - anything worth reporting there?


No mudlarking, though I'd love to do it! Permits are required to be on the Thames foreshore. Being a magpie and slouchy surface-collector, it's so tantalizing to look over the seawall at all the stuff. I actually took a photo of the shore and enjoyed enlarging it to figure out what I was looking at--some old marine joinery, a hobnailed boot, ceramics, mysterious objects...Most of it is probably rubbish to modern mudlarks but even a fragment of pipe stem is interesting to me! I applaud the relationship between the Museum of London and those who explore the Thames. There have been many important finds, all out of context I suppose, but at least documented.

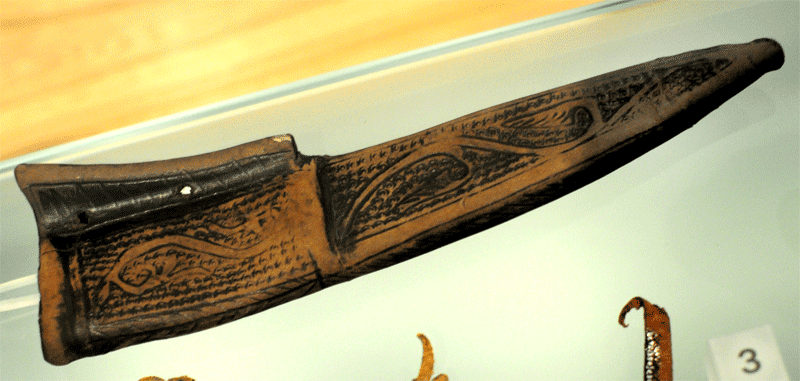
Speaking of which, the knife scabbard above is from MOL's extensive collection. I hope to post more MOL stuff later today. One sword in particular caught my eye. :D
More from the Museum of London. It's definitely a matter of truth over beauty in this this batch. MOL is a tough venue as well. That lovely sword of ca. 1500 really caught my attention this time. It has a broad, thin blade, single edged for a bit over half of its length, with a spatulate tip and pronounced medial fuller almost its whole length. This is one I REALLY wanted to hold. I'd love to make something like this. I have a gaurd and pommel. Just need a good, thin backsword blade. :cool:


 Attachment: 209.32 KB
mol1.gif


 Attachment: 219.53 KB
mol2.gif


 Attachment: 110.06 KB
mol3.gif


 Attachment: 75.34 KB
MOL4.gif


 Attachment: 104.88 KB
mol5.gif


 Attachment: 78.29 KB
mol6.gif


 Attachment: 178.08 KB
mol10.gif


 Attachment: 118.17 KB
mol9.gif

Go to page 1, 2, 3  Next

Page 1 of 3

Jump to:  
You cannot post new topics in this forum
You cannot reply to topics in this forum
You cannot edit your posts in this forum
You cannot delete your posts in this forum
You cannot vote in polls in this forum
You cannot attach files in this forum
You can download files in this forum


All contents © Copyright 2003-2006 myArmoury.com — All rights reserved
Discussion forums powered by phpBB © The phpBB Group
Switch to the Full-featured Version of the forum