So I ordered a blunt one for him, and did a few modification while I was at it.
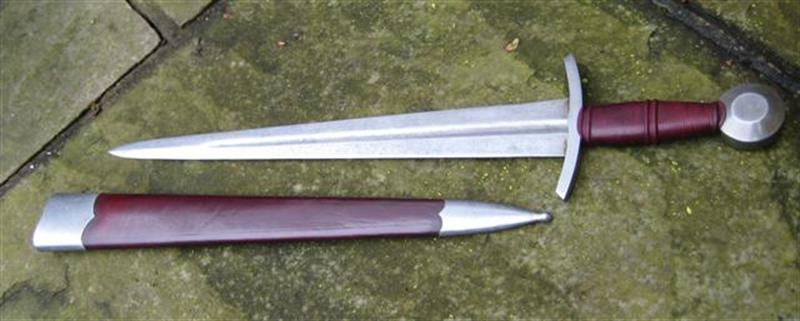
1- Established a secondary bevel with a file, then blended it to an appleseed edge. This took a while, but was well worth it. The bevel is invisible unless you use a magnifier, but yet the sword cuts very well (cuts paper with ease but you can hold the sword's blade with your bare hand without cutting yourself).
2- Cleaned the blade of grind marks, repolished to a satin finish.
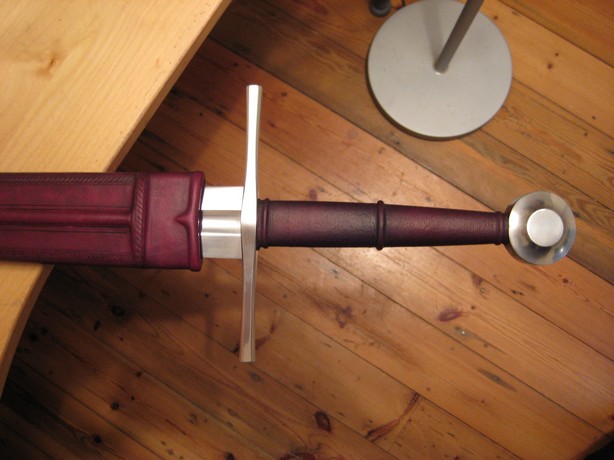
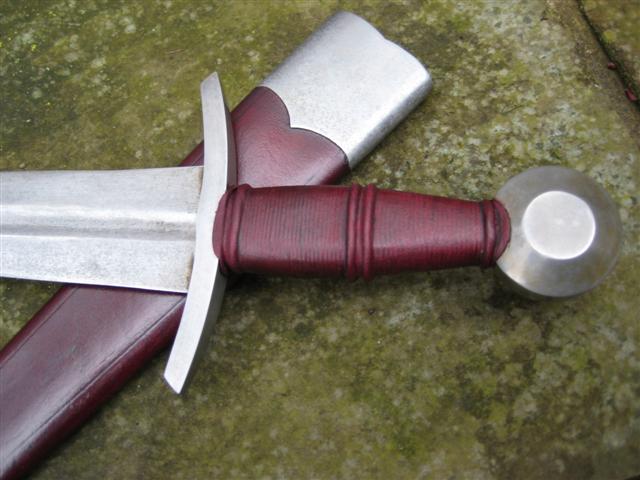
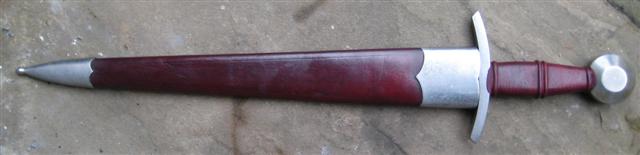
3- blued the hilt, then use salt and vinegar to etch the blade, hilt furnitures and scabbard mountings. I wanted to experiment with that, and it really improved the finish. This technique I learned from Sean in the instant antique guide works very well, isnt permanent and adds a lot of character to the sword.
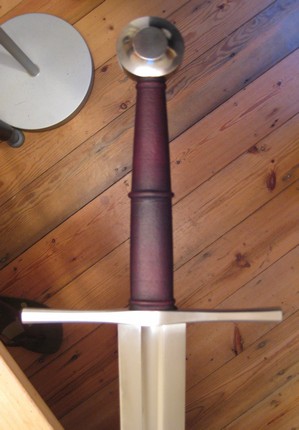
4- removed the glossy handle leather, placed raisers on the wooden core, and rewrap using chamois. I improved my technique: after two hours of drying, remove the cord around the grip. It will allow you to check if raisers formed correctly, and you'll be able to correct oddities as the glue isnt dry yet. The most common issue is around the raisers, as when you glue the cord in place using instant glue, it sometimes hardens the cord and can cause ugly things when covered with leather. Sand the cord lightly to solve the issue. I improved the leather overlap too, then put everything back into place, damped the leather with an extra coating of dye, rewrap, leave it for the night...done. The grip would have looked average at best if I hadn't done that.
5- Removed the scabbard dye rubbing patiently with solvent, and died it again to match the new grip colour.
I really like how it all turned out...the bad news is that I will have to ship it to my friend soon, and I dont feel like parting with it now:)
Hope you enjoy.
J
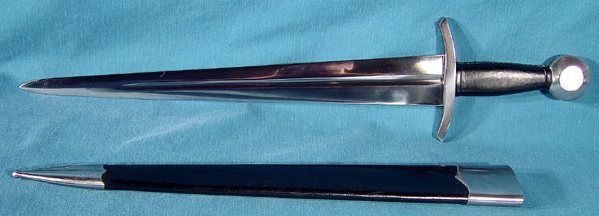
coustille before
hilt detail
[ Download ]
[ Download ]