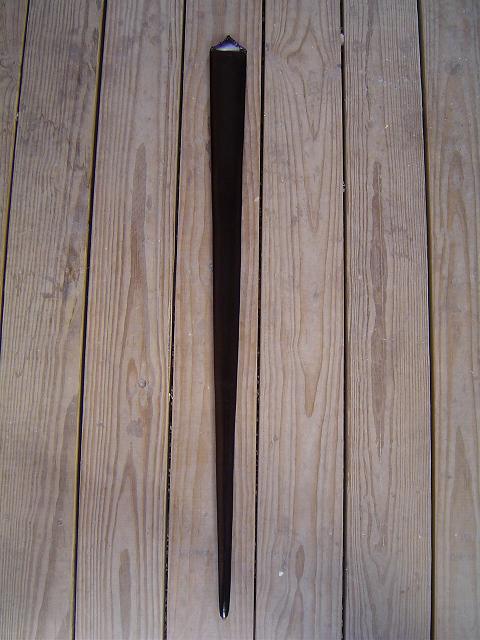
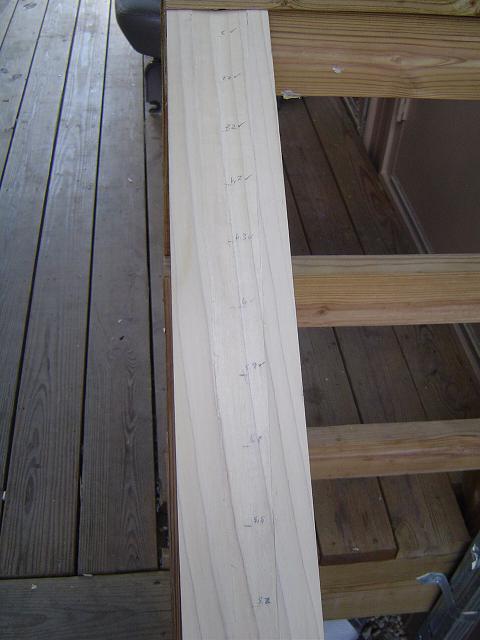
Most recently, I finished up another scabbard. This one is for my Albion NextGen Agincourt. I used the same wood and leather from my Poitiers scabbard project. The shaping on this one went a little faster because I got smarter about it. I carved the general outline for the interior of the scabbard, and then went back and marked the desired thickness on the core. That way I knew how much material I needed to remove. In the picture, the information written on the scabbard is the total thickness of the blade in millimeters (the spots with check marks have been carved to the desired depth). It was easier to use total thickness, as I had recorded it that way previously, and that allowed me to reference my notes more easily.
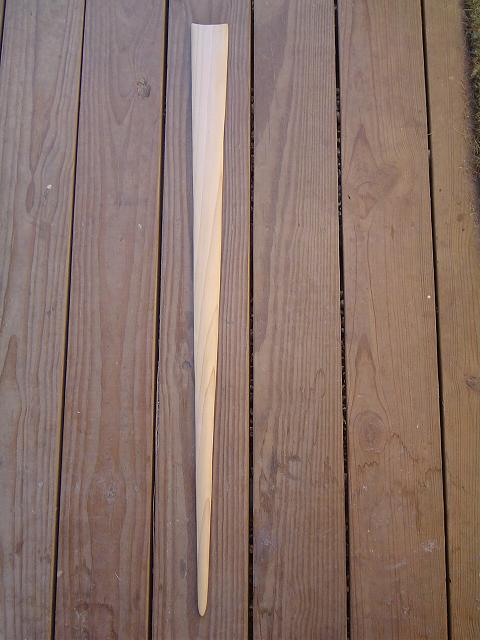
As I mentioned in the Poitiers scabbard thread, I have to have a safety class before I can use the on-post wood shop, and that class is not offered again for a couple of weeks, so the outside of this piece was shaped entirely with hand tools. I used my 1 inch chisel, a bastard cut file, and some sandpaper in order to do all of the shaping. The scabbard ended up a little thicker than it really needs to be (the scabbard walls are .1 - .125 inches thick), but not too terrible.
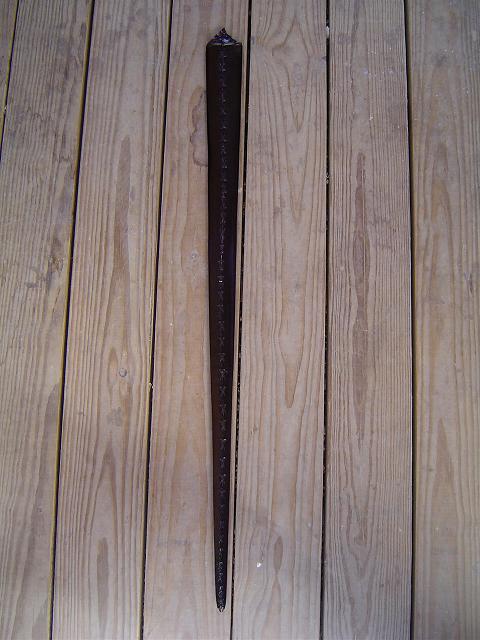
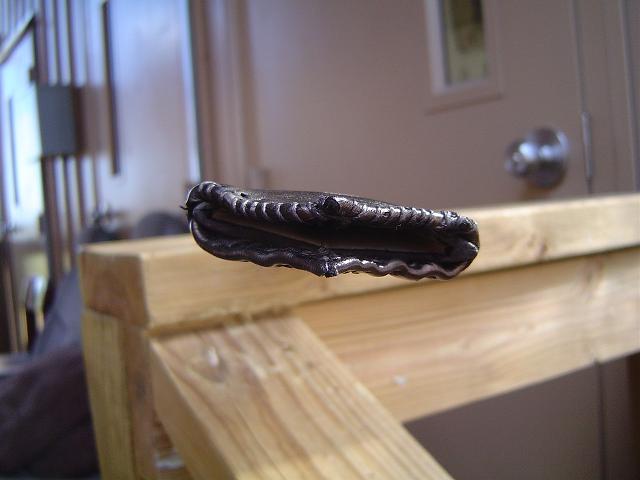
The leather work went fairly well. I did a two needle stitch so that the stitches form an X. I wanted to continue that motif around the front on the flap at the mouth of the scabbard, but I failed to lay out my stitching well enough, and had some trouble with the leather (because of the way I had to lay this one out, the leather at the mouth is just a bit thinner than the rest). The result was hideous! I ended up redoing the flap, and went with a single X in the top middle of the flap, and simply looped the stitching over the edges like on my other scabbard. I did not change the back to match, and am still undecided as to whether or not I will. Also, I slit the sides just a bit too much and the corners of the wood core show. At this point that is the thing that irritates me the most.
The work isn't the greatest, but one of the guys who looked at it was impressed enough that he might have me make a scabbard for him. I guess I can't complain about that.
-Grey

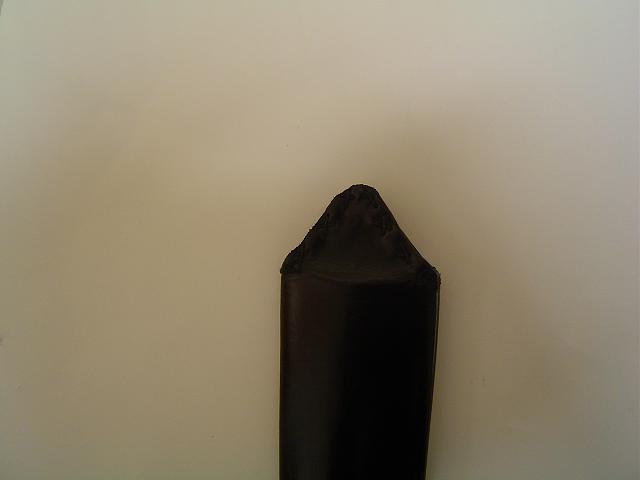
Leather work gone terribly awry!
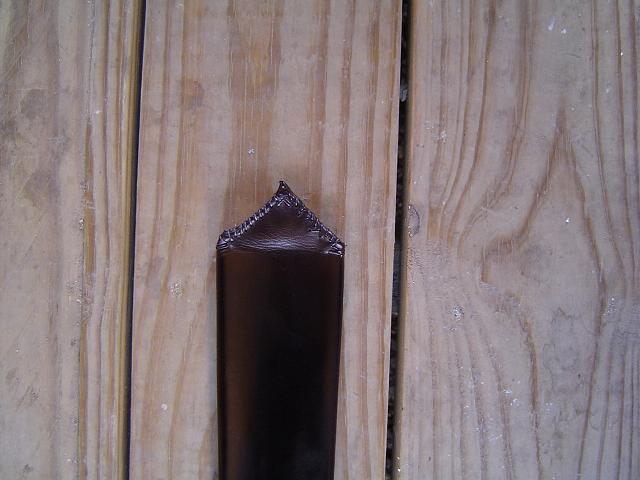
That looks much better.
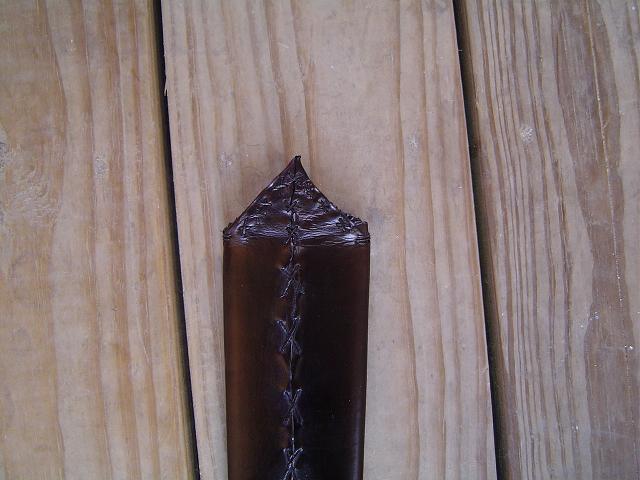
But now things don't match. Argh!