| Jesse Frank wrote: |
| Yeah, I've never worked with hide glue, so I don't know... But pitch ain't that bad... if you get the mix right, you gotta get it pretty hot (150f+) for it to really get soft.... 'course, it all depends on the sap, how long you cooked it, ect..... |
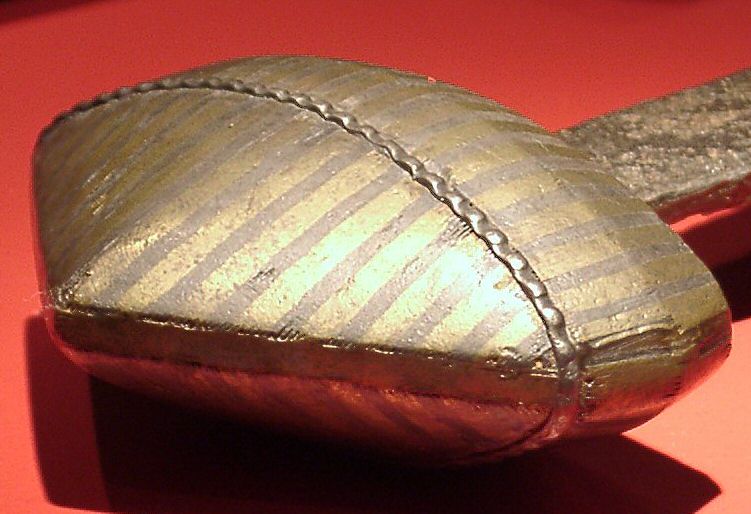
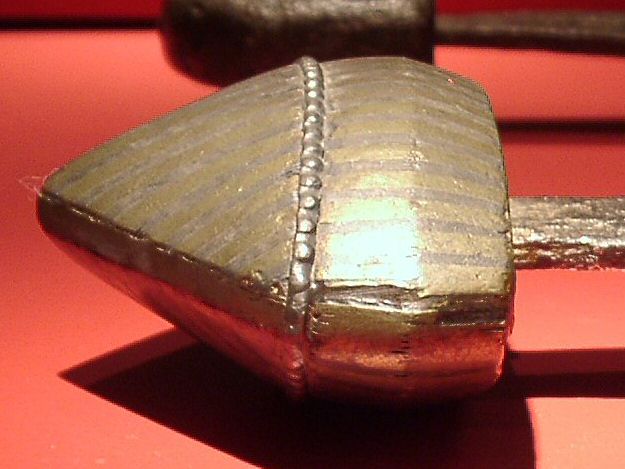
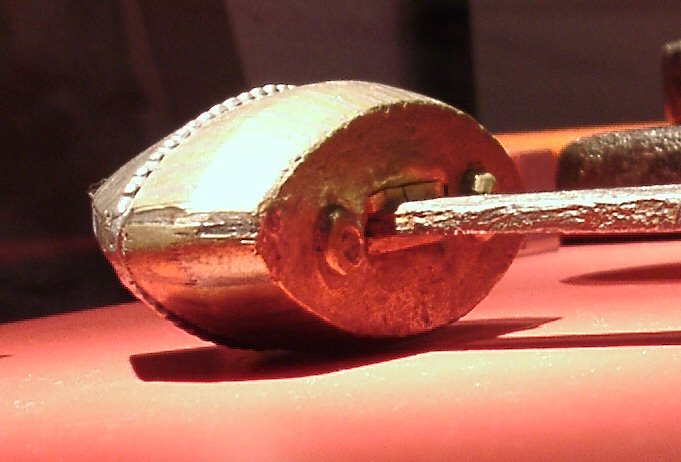
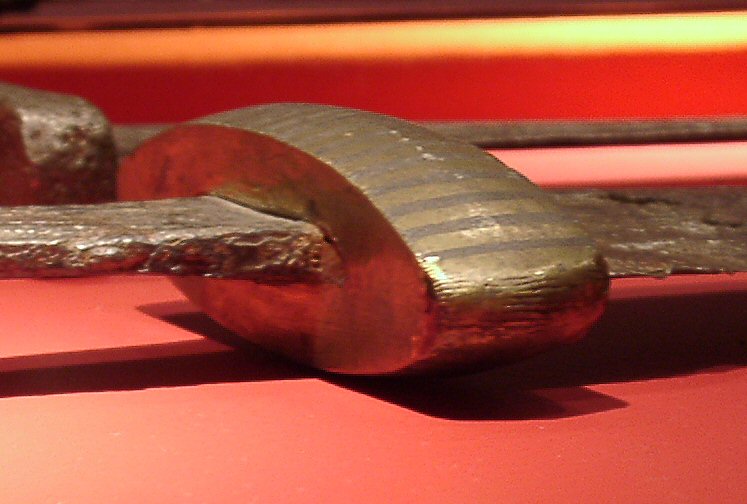
While I have no idea what the stuff was made of, I have looked at different recipes for cutler's pitch and they all seem to be made of tree resin with different components added: saw dust, bees wax etc. In any event, the stuff hardened enough to hold the top portion onto the sword.