Posts: 30 Location: Kelowna, BC
Thu 09 Jun, 2005 2:33 pm
I should say it's loosely based; I'm pretty fond of "free expression."
Anyway, all giddiness aside...
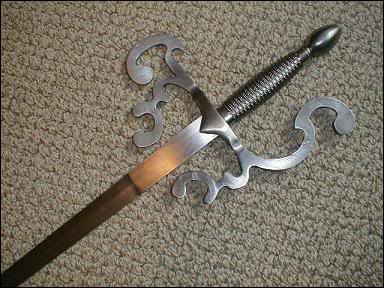
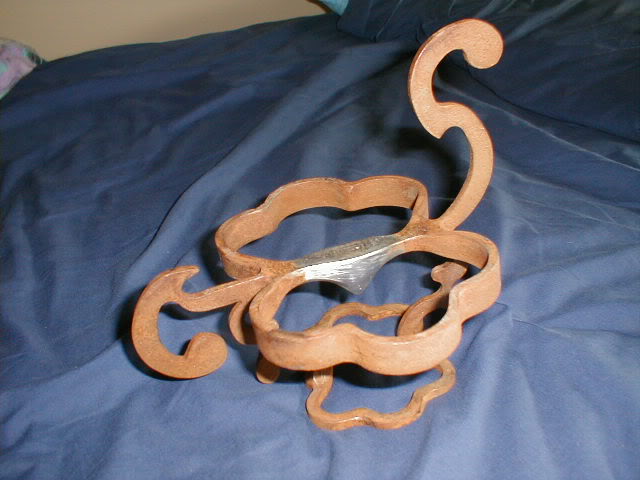
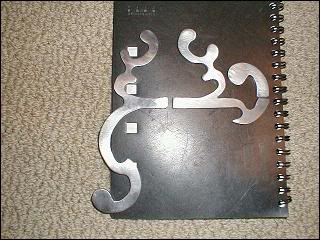
It was cut and shaped by hand with an angle grinder, and many 1/4", 1/8" and 1/16" grinding disks, a die grinder, and a lot of hand sanding. After about three days, I had it to this state...seeing as how I couldn't see myself using the practical hanwei guard ever again, it was sacrificed unto my cause. I have made my own quillon blocks in the past, but I decided to take a shortcut this time and just "borrow it." (yeah, that's it..."Borrow.")
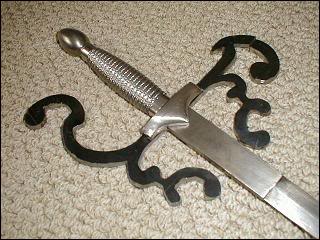
A part breakdown.
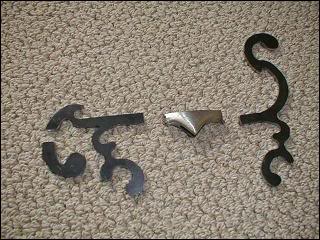
While there isn't a noticeable difference to the above few, this one actually has some of the edges cleaned up.
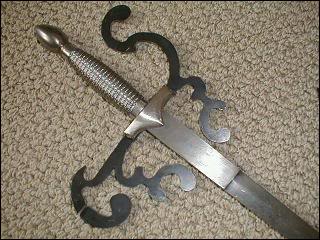
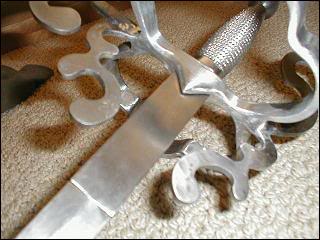
Once I had that completed, I hit the sides with an 80 grit sanding disk, to remove the outer layer. Shortly hereafter, I gave it a light sanding by hand. It's pretty obvious which is which.
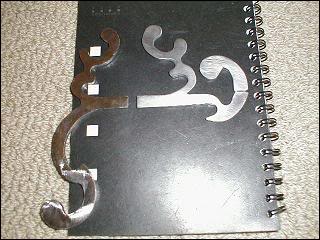
Both parts sanded.
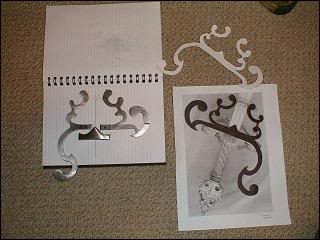
This one shows the enlargement process, and while not one of the best methods for an accurate repro, it was actually pretty effective. I enlarged the image until it matched up with the blade more or less, and traced out the frame, then made a pattern for the cutting stage. Fun.
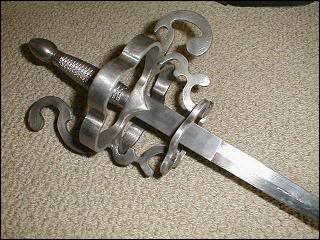
Having the parts completed to that stage, I then tack welded them together. If you look hard enough, you can see where it grounded out on the table.
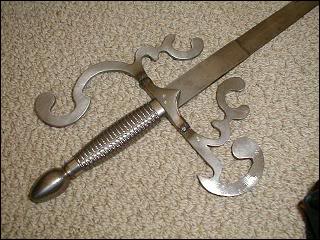
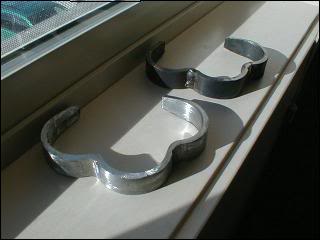
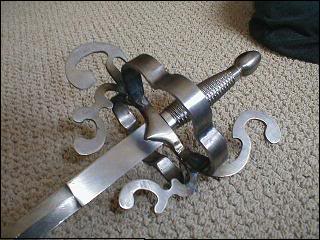
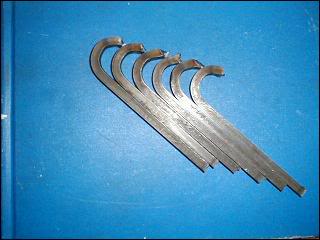
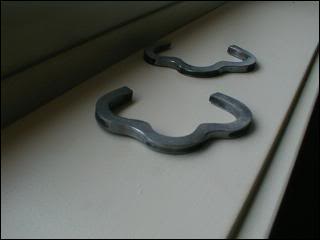
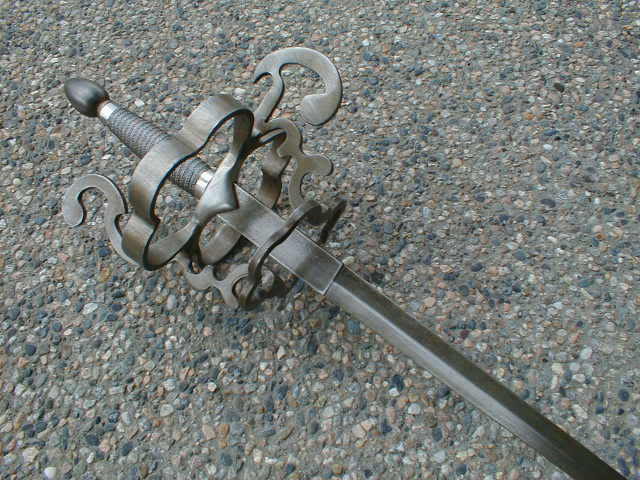
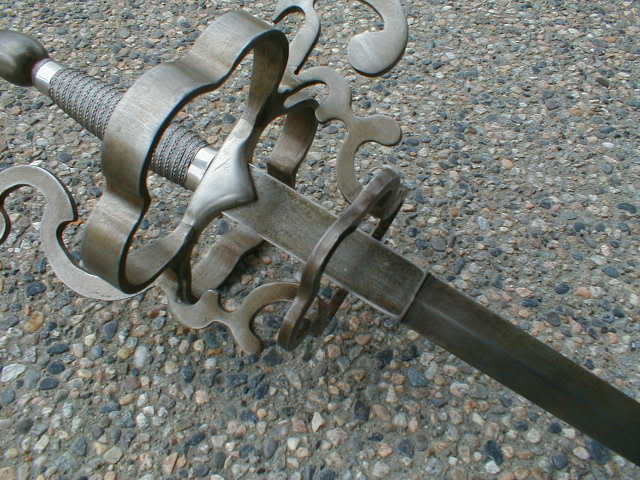
The polished version came shortly after. Once I had the frame completed, I began work on the rings. I knew they were going to be a pain (especially at my current ability levels; minimal; I've been welding for a year and a bit, plus about 7 months at trade school learning that fact.), so I figured the easiest route was to break them down into pieces. These parts, while wider than the one in the reference drawing, are the start of the two lower rings. Now two...I know the original has one, but I've opted for a symmetrical guard, for balancing reasons; it'll handle equally well in both hands without throwing the lateral balance out.
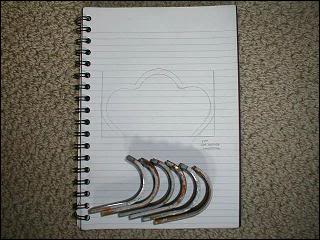
Cut to size; I have to taper the outer most parts so the joints will match up with the frame. The outer ring will remain wide, to offer more hand protection (simply put, I haven't quite the "moving the hand out of the way" down yet...and if you've ever gotten a blood blister on the tip of your finger...it isn't fun.)...The black scribble represents the ring taper. :)
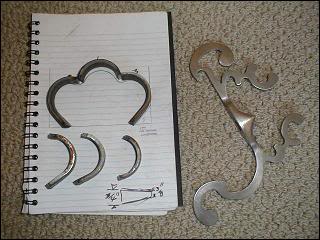
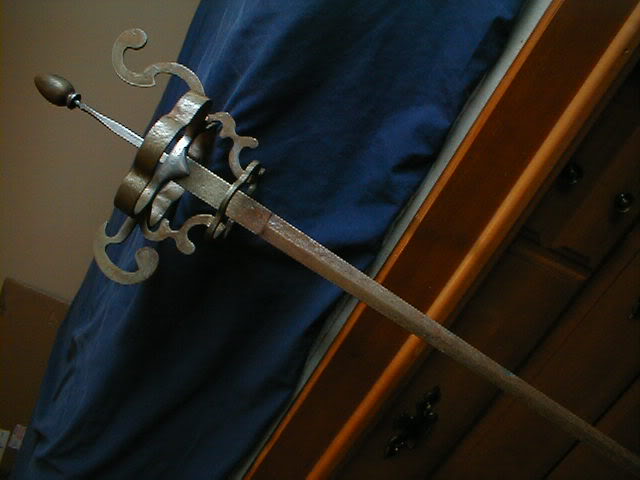
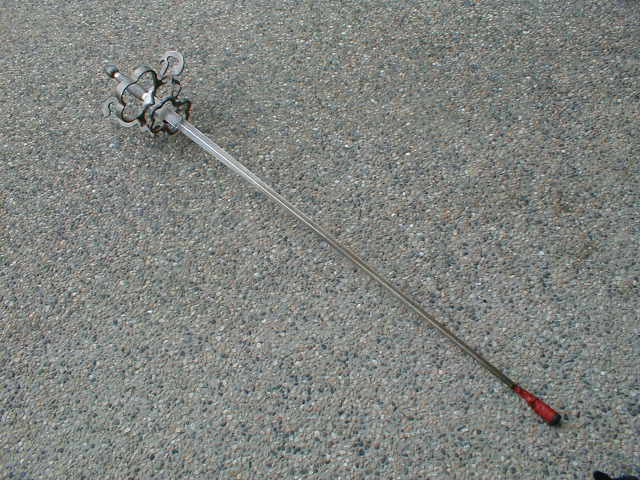
That's about where I am to date. Still a lot of work to go, but I'm open to more suggestions and comments! :D
Oh, for sheer amusement; this was the first guard I ever made....stick welded, obviously built solly for function. It defines "gehto"...heck, I believe it went soaring across the grinding room at the college when it caught an edge (the joys of learning...this is what not to do!).


