First off I start with some 2.5oz veg. tanned leather, I cut the piece about twice as long as the blade, and about 2.5 times as wide. This piece of leather is soaked in isopropyl alcohol and working by hand to break up the grain and make it soft, imagine you are rinsing a rag that you are using to clean the floor to get a general idea.
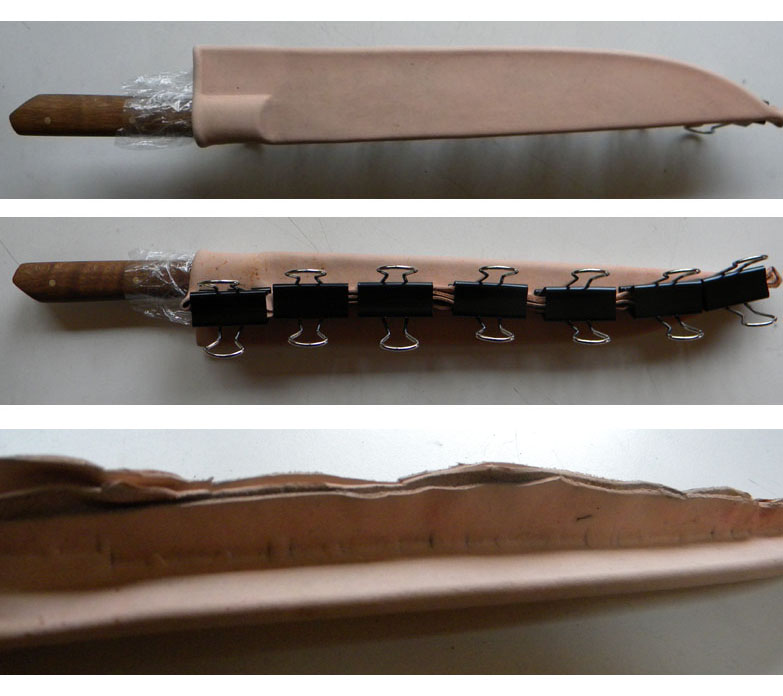
Once the leather starts feeling soft I let the alcohol evaporate off and then soak the leather in warm water for about 10 minutes. Then I remove, and squeeze the extra water off, and glue the inside with leather cement, and fold in half so that the fold is at the throat of the sheath. Folding the leather in two with the leather cement makes it "two ply" and it helps make the leather stiff and rigged with little effort. I wrap the leather around the knife, and with clip the ends with black binder clips along where the seem will be. (See photo 1) At this point you want to leave a little extra width at the throat so that when the leather shrinks a little the blade isn't cutting the leather every time to take the blade in and out. With a bone knife you can press the outline of the grip, and once the glue cures (about 5-10 minutes) the form won't change or move on you so you can take a break.
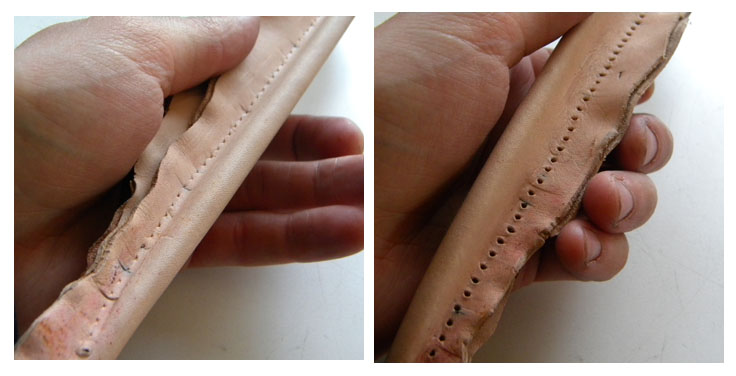
When the leather is dry you can remove the binder clips and remove the blade. I roll a spiked wheel on the seem to mark where the holes will be stitched, and then press a needle/awl through the holes in order to make stitching easier. (See photo 2) Then starting at the tip I go up to the throat, then back down and tie off the thread. Sometime with misaligned holes the sheath can twist a little, just put the knife back in, spray the outside with water and everything should come back to being straight and pretty :)
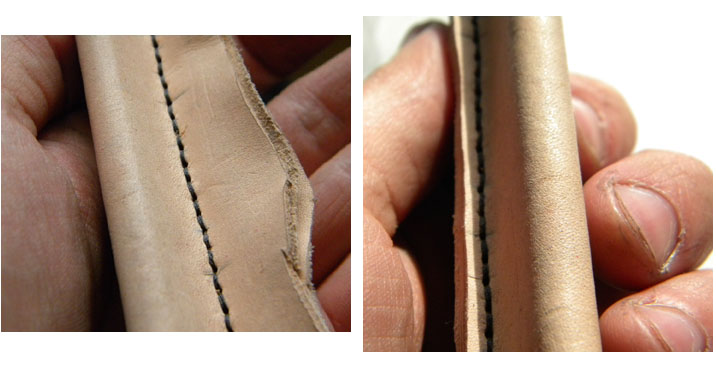
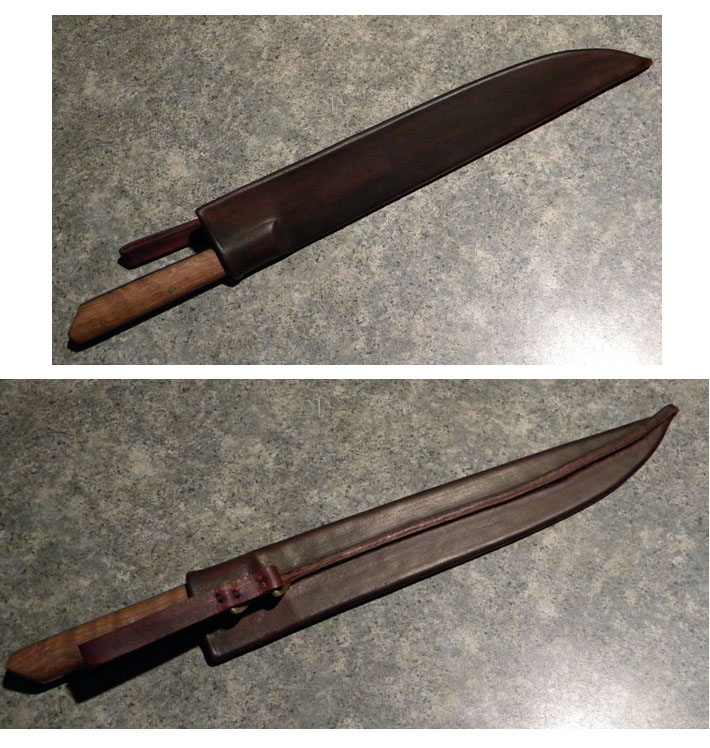
Now the nerve wrecking part! carefully trim the excess leather off the spine, making sure you don't trim too much, and be sure that both sides are as even as you can get them. (See photo 3) Now you can dye the inside of the throat, insert the knife, and dye the outside as well. Make sure to get the dye as even as you can, work quick, stop when you think its close, and let it dry. If you put too much dye on you can go over the surface with a damp cotton rag soaked in acetone and pull some color out and blend.
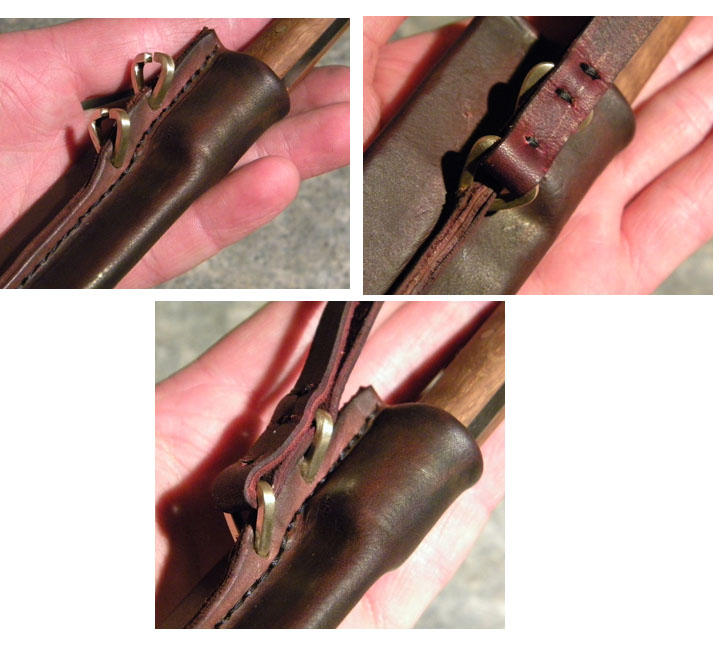
While the dye is drying fashion two rings that will hold a belt loop, then make a belt loop. For the loop I cut a strip of leather, I shave the ends down and fold it over so that once again the leather is "two ply" with the shaved ends overlapping by about a centimeter and glue the touching surfaces of the loop. You now have a ring of leather, and two metal rings to attach to the sheath.
With an awl punch two holes in the spine, and insert the rings. Feed the loop into the bottom ring, and then stitch the loop to close it over the ring. Line up where the second ring will rest, and stitch the bottom, then insert the ring, and stitch the top. (See photo 4) Now squeeze the rings closed, work some leather lotion into the surfaces, and make sure to get a good coat on the spine and holes for the belt loop.
Now clean off the knife and you are done! (See photo 5)
Some pointers:
Paint the surface of the blade with clear nail polish, this will drastically help keeping the blade from pitting and getting mucked up from the moisture. Also wrap in clear plastic wrap as a second barrier, plus it keeps dye off the handle material.
Be sure to let all the alcohol evaporate off the leather prior to gluing otherwise the glue won't be as effective, or just won't hold.