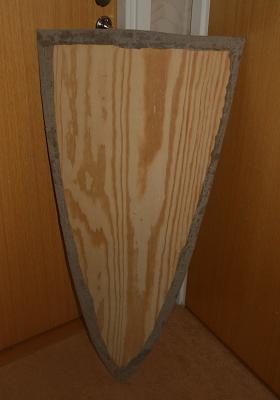
I left it to dry for 24 hours and today I took it out and cut out the shield. As you can see in the third photo the shield did spring back a bit, but overall I am still happy with the results. But if you have any tips on how to make a blank that doesn't spring back so much then I would love to hear it!
The shield itself is made from two layers of birch plywood, 4 millimeter thick. The glue I used is Bison wood glue, unthinned and applied liberally with a brush. The blanks are 61x122 centimeter (the standard plywood size here in The Netherlands). The shield itself came out at 57x100 centimeter (I'll post the exact design in my other thread).
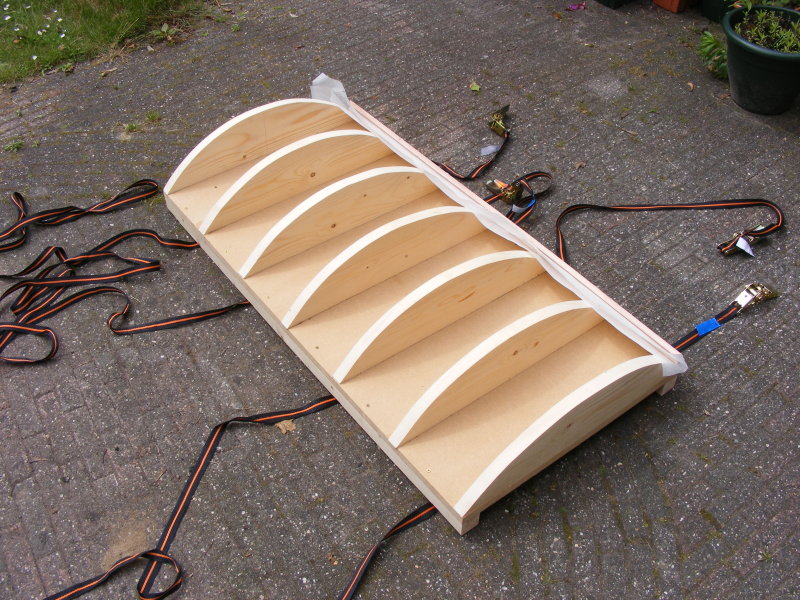
The shield press. I put some oven paper in the slot to prevent gluing the shield blank to the press.
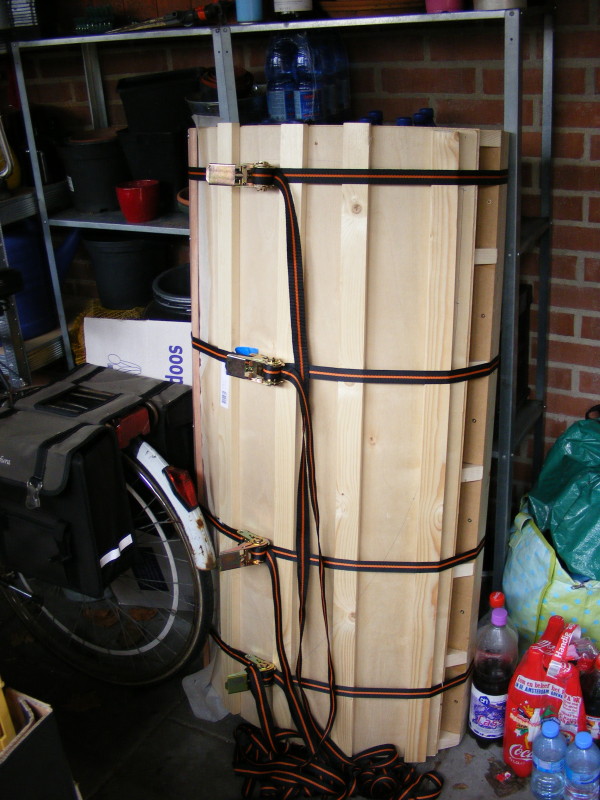
The press loaded, waiting to dry.
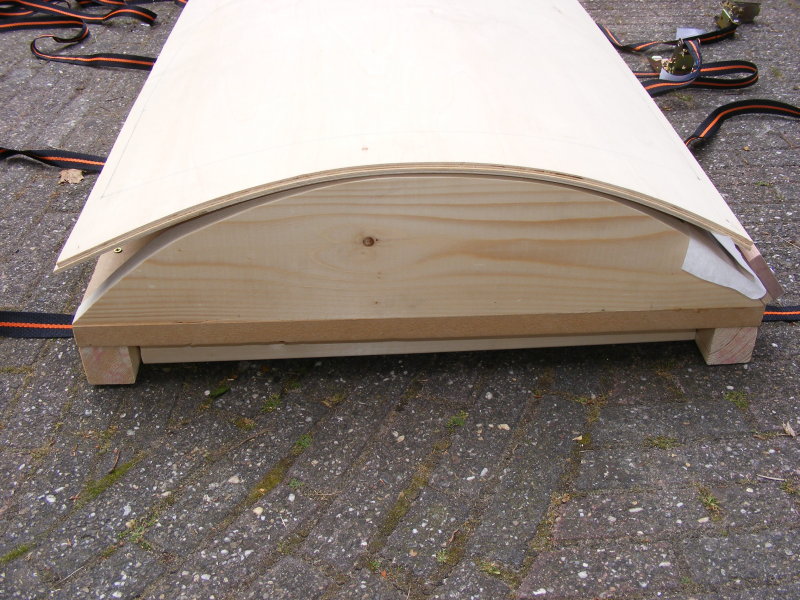
The shield after drying 24 hours. Notice how it springs back a bit.
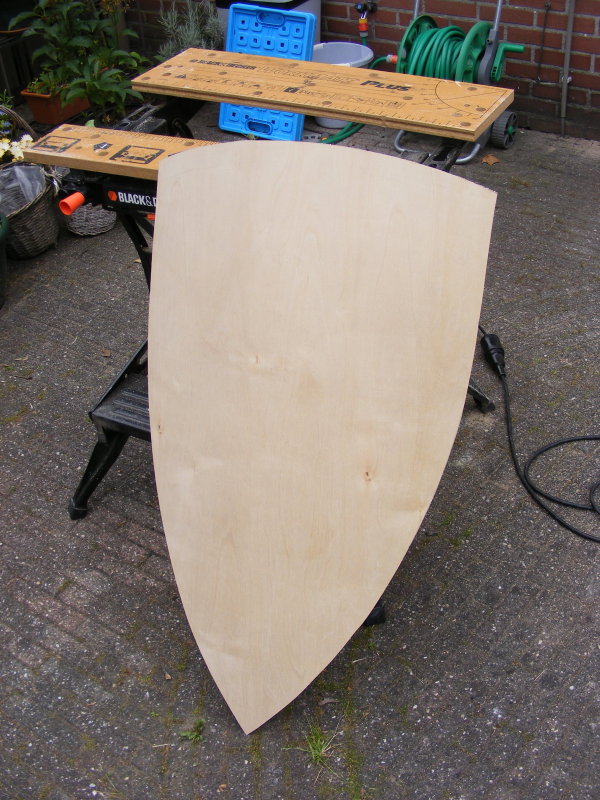
The shield after cutting it out.