Posts: 820 Location: Texas
Thu 18 Mar, 2010 10:31 am
Attaching the Pommel
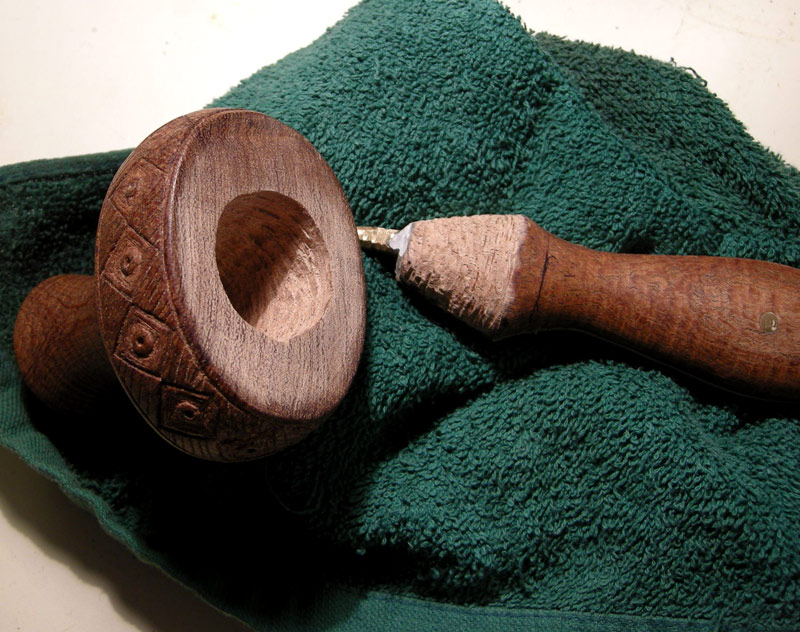
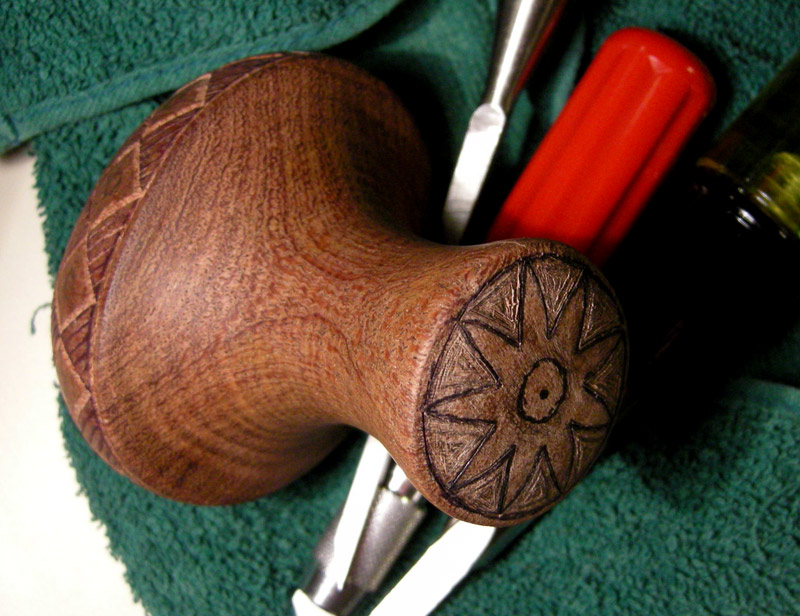
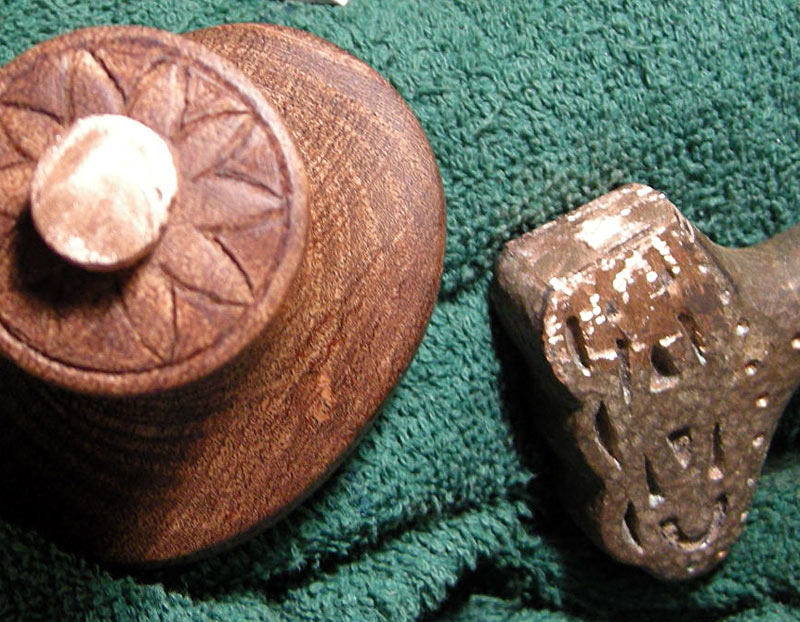
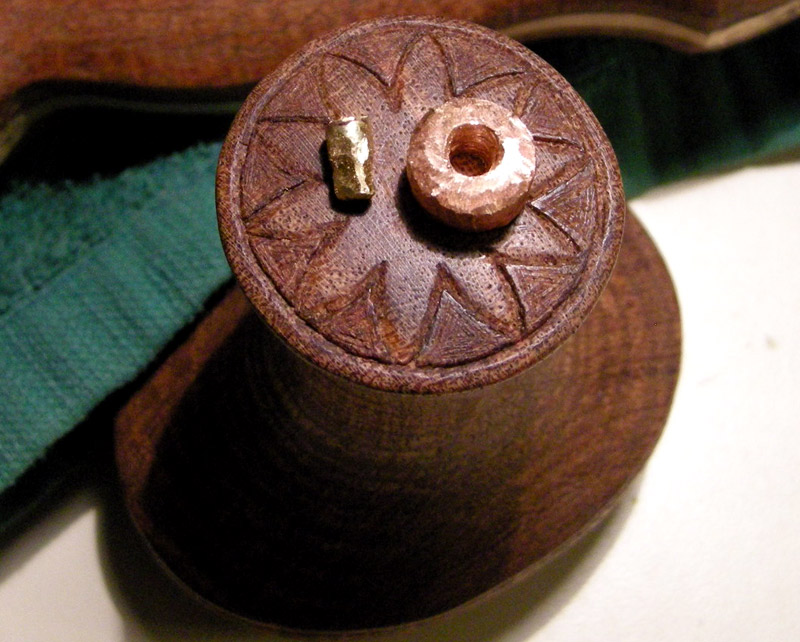
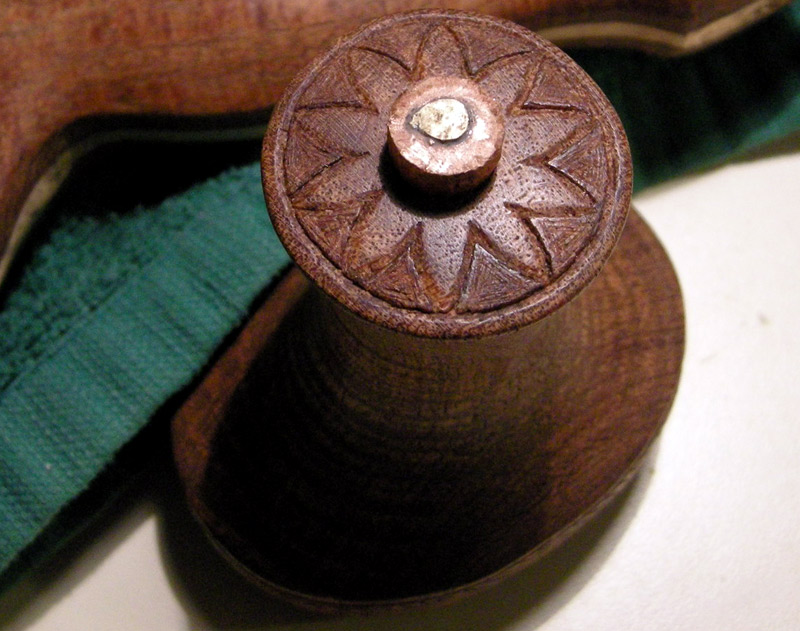
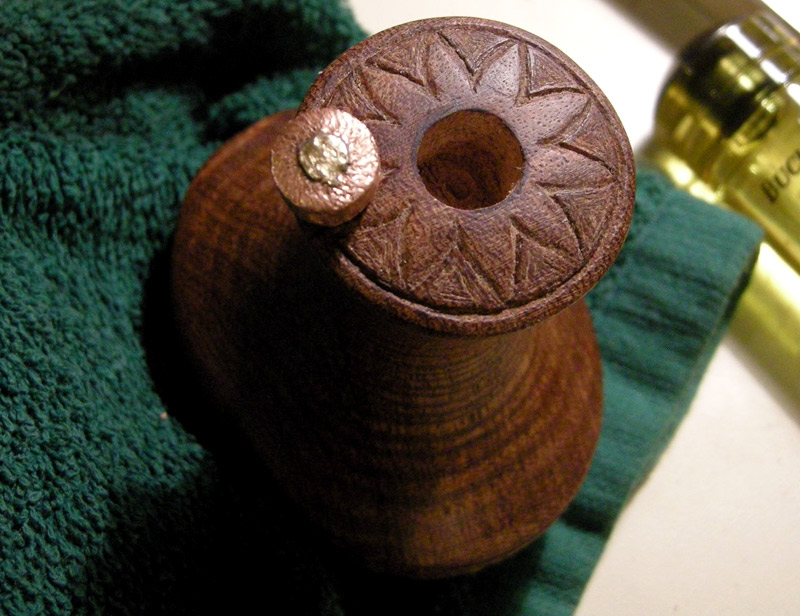
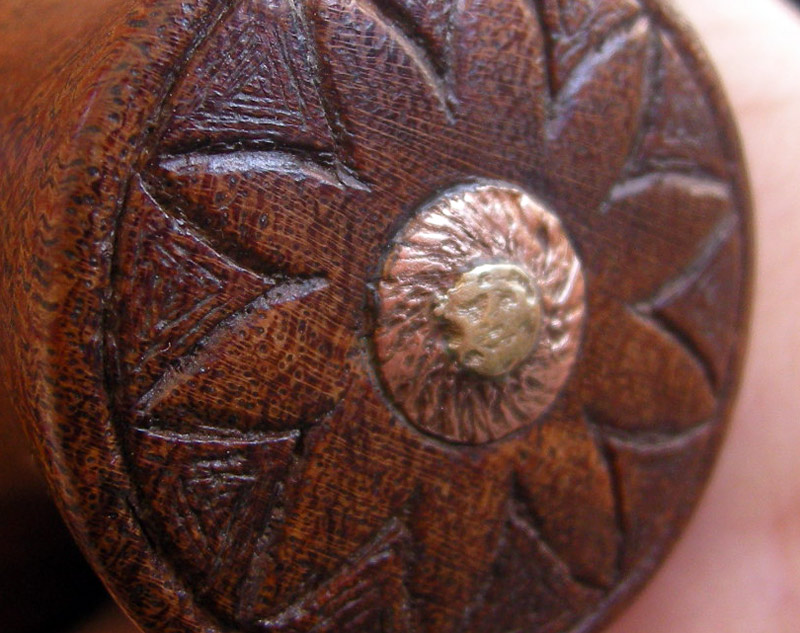
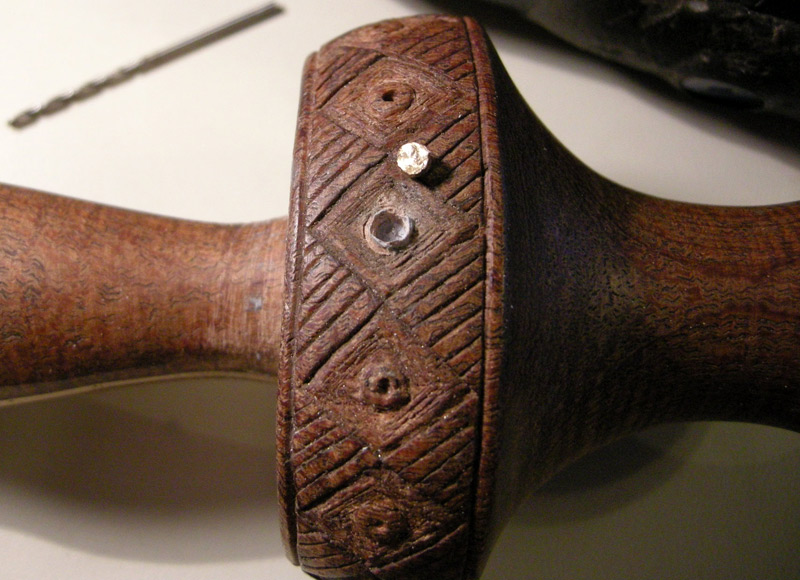
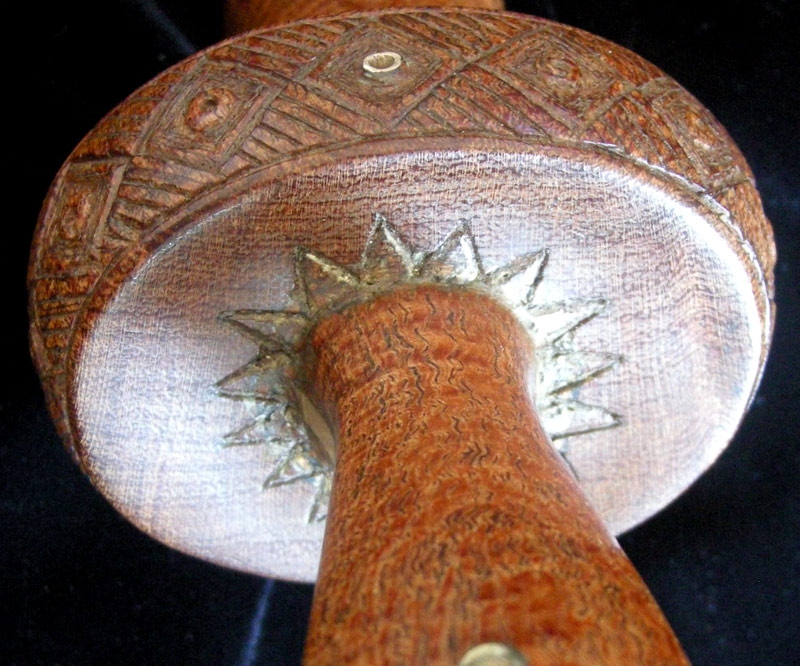
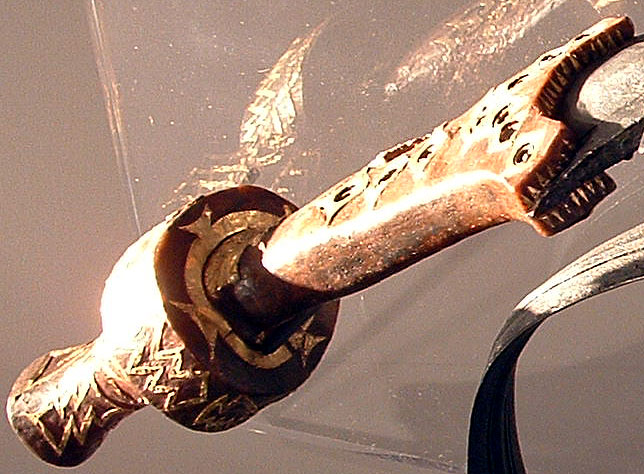
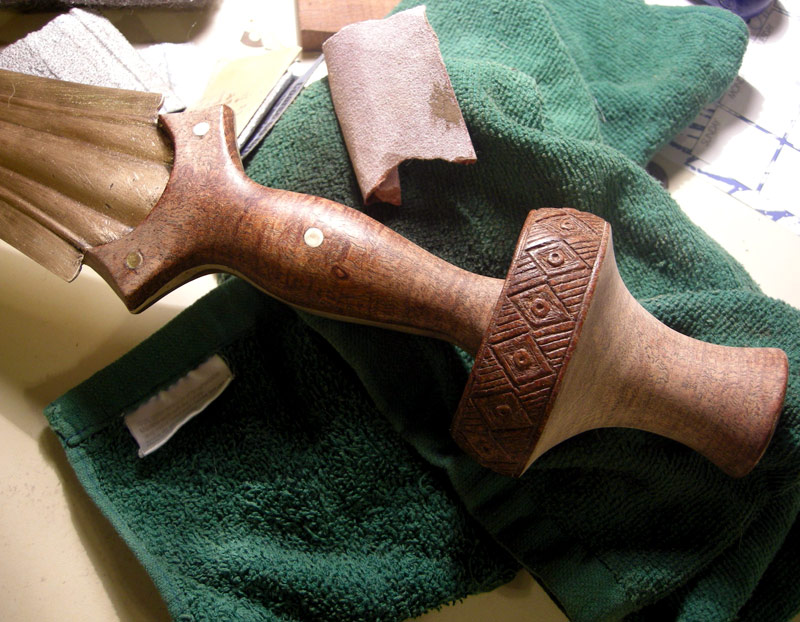
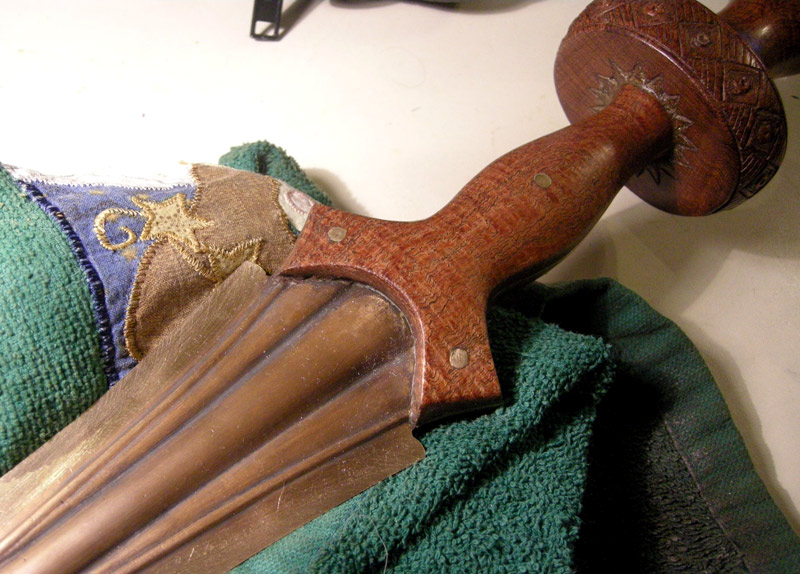
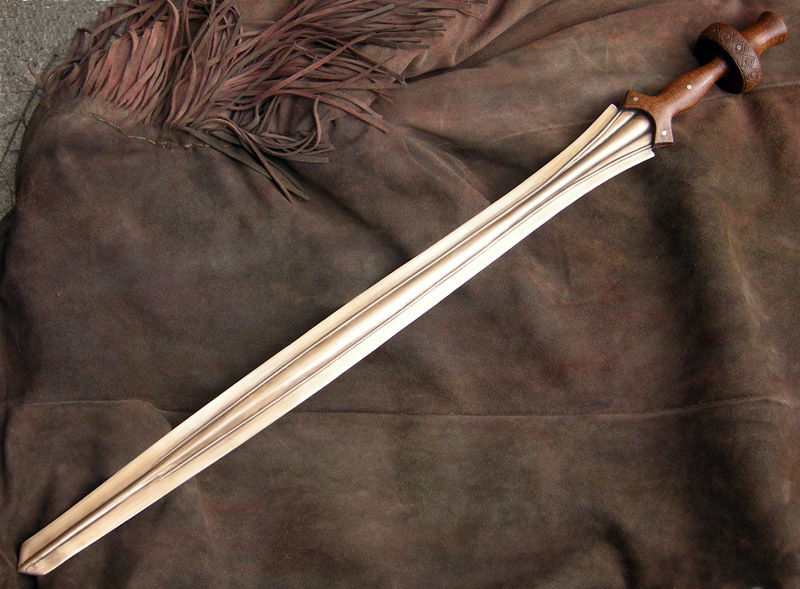
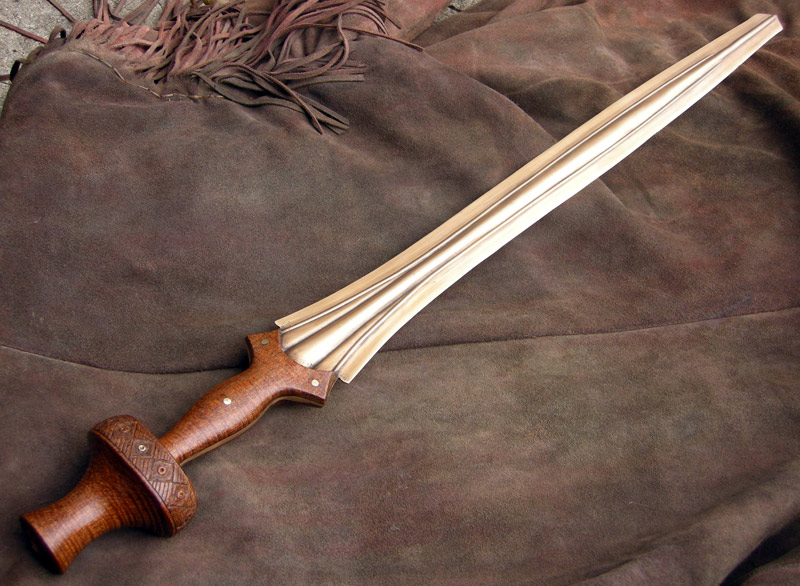
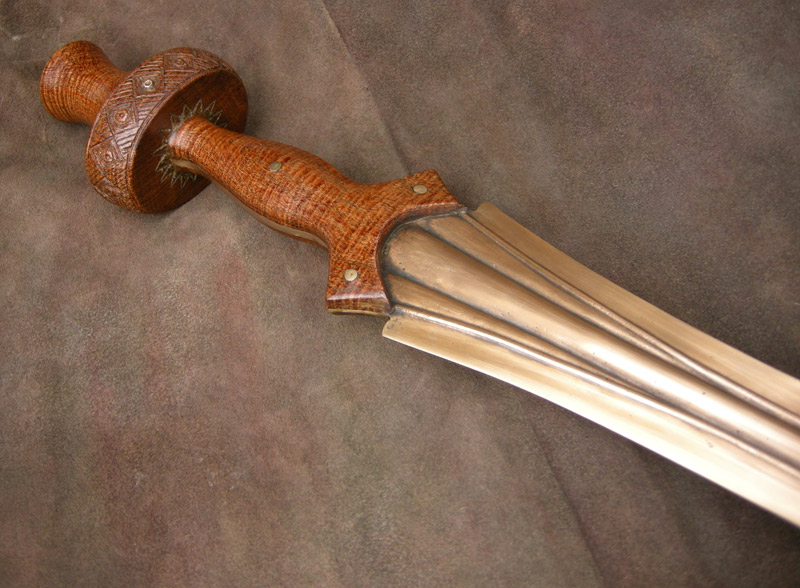
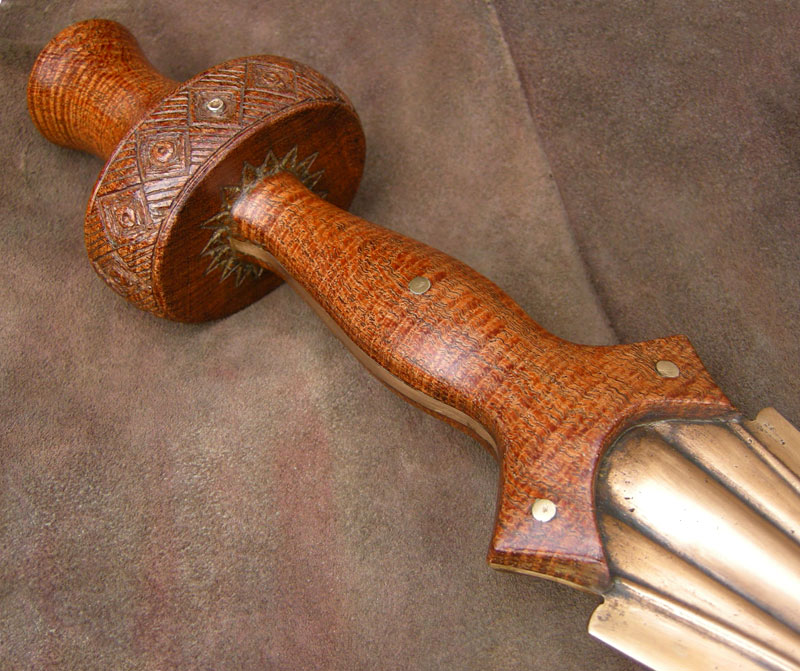
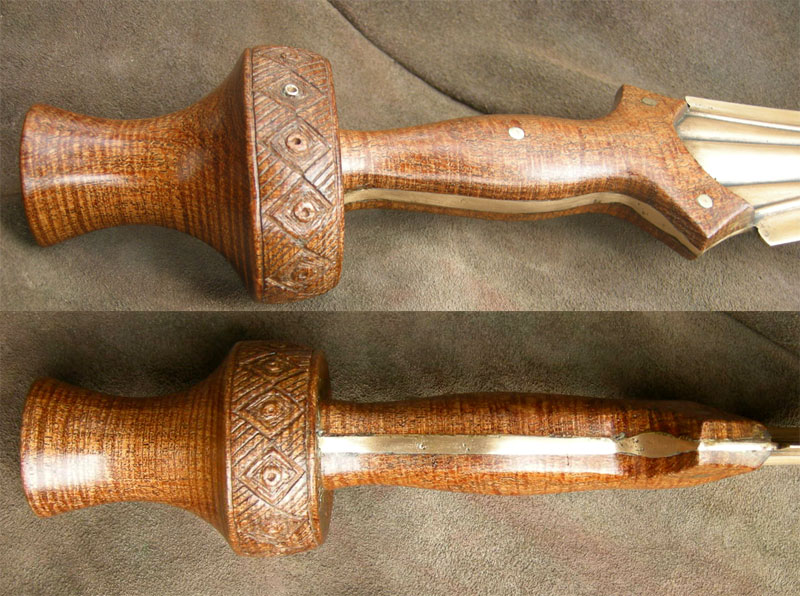
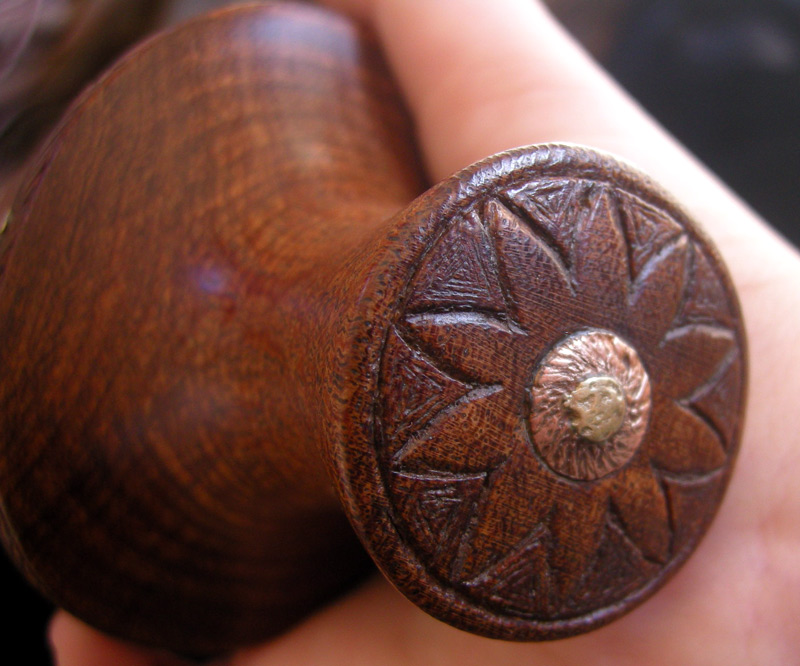
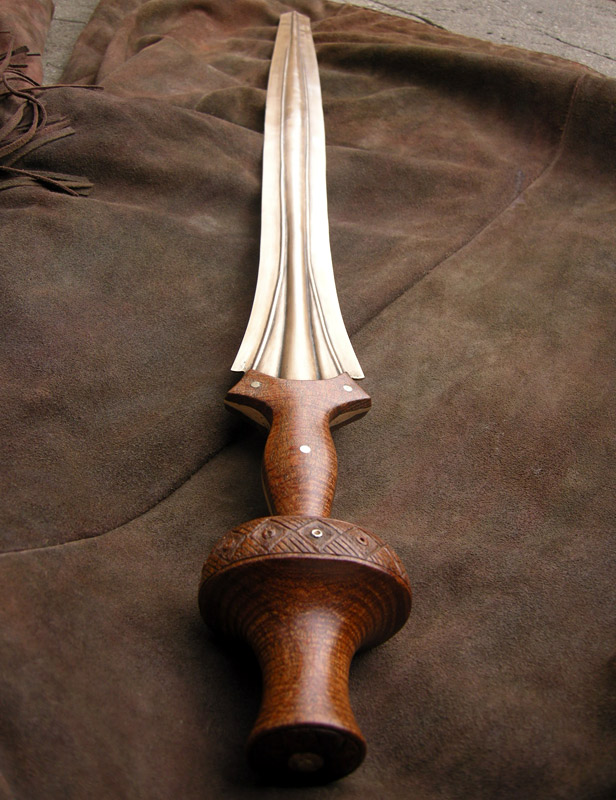
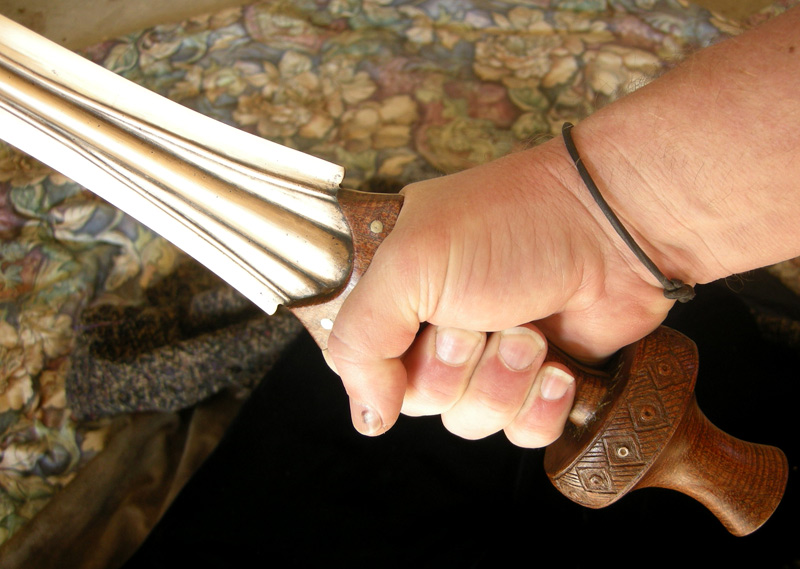
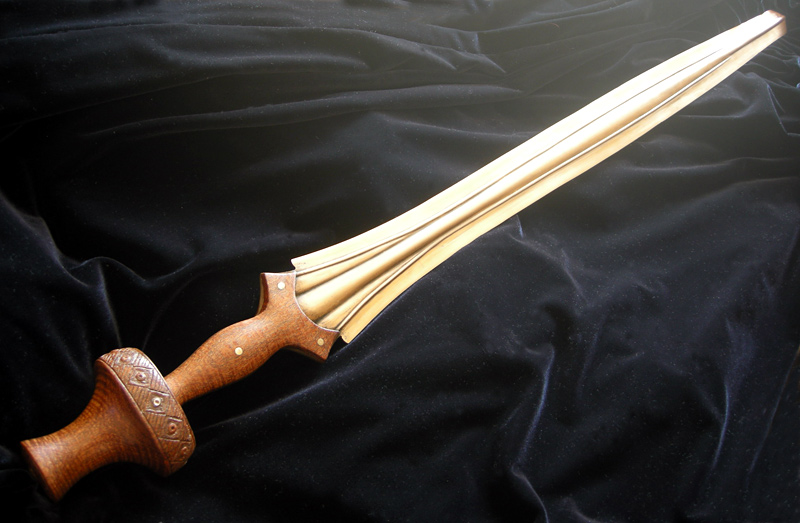
Attaching the pommel turned out to be more trouble than I thought it would be. Actually I made it harder than it should have been. After I made sure that the end of the grip, the pommel tang, fit snugly into the hole cut into the bottom of the pommel, I noticed that the figure on the pommel was a better matched for the figure on the other side of the grip… :\ :mad: So… I needed to turn the pommel around. And as might be expected the fit was no longer nice and snug. So… Once again I reshaped the inside of the pommel hole to get a snug fit with the pommel facing the other direction. Once this was done, and the pommel was put in place, when I griped the sword it appeared that the grip was a little too long. But how could I shorten the grip this late in the game? Eventually I came up with a solution. Cut out the hole in the pommel even deeper so that it set further down on the grip. I drew a line on the grip to mark how deep the pommel would have to seat to give the correct grip length. Then using a spherical wood cutting bit on the dremmel, I went to town on the inside the pommel and ground out all my hard work, opening it up enough that the pommel set further down on the grip. Eventually I was able to shorten the grip from 100mm to 93mm.
Before gluing everything down, I made sure the inside of the pommel hole and the outside of the wood of the pommel tang of the grip were very rough to provide lots of surface area. Then I filled it all with JB weld. I set the pommel onto the pommel tang and then held everything in place, making sure that everything was straight and even from all directions, checking it and rechecking it every few minutes to be sure it was still straight.
ks
 Attachment: 148.06 KB
