I am pretty happy with the way things turned out, but I did have a little trouble as a result of having cut a bit deep with the chisel. When I sanded down the outside, I accidently sanded through a few spots toward the tip of the scabbard. That was a little embarrasing (thankfully, no one was watching). I refuse to believe that I am the first scabbard maker to do this, so my mind quickly went to work on possible solutions. I could probably have just left it be as the leather would cover it, but I wanted to make sure that no varnish or glue got into the scabbard. My next thought, and the one I went with, was to glue strips of parchment over the holes. I let the glue dry, and then carefully hand sanded the parchment just a bit. It worked to keep the varnish out of the scabbard, and, with the varish applied, is actually suprisingly solid.
Because I did not have the sword present for this project, I erred on the side of making things just a bit big on the inside of the scabbard. That means I will not have the tightest fitting scabbard (though, I am hoping to be able to glue some felt or leather into the throat latter on to make the fit a little more snug), and that the over all bulk of the scabbard is perhaps a bit greater than it needs to be. Still, I think I got it down thin enough that it will look alright.
The interior of the scabbard does not match the blade profile nearly as closely as I would like. This was one of my first projects where I used chisels extensively, and I had to do some learning. The next scabbard, which I have already started (for my Albion NextGen Agincourt), will look a lot nicer internally.
BTW, I cheated a bit. I used some 1/4x4 boards that I found at Home Depot, so there was less work needed to get the scabbard thin. It took me an hour to shape this scabbard from the time it was cut to shape on the band saw, until I walked out the door to go buy parchment.
-Grey
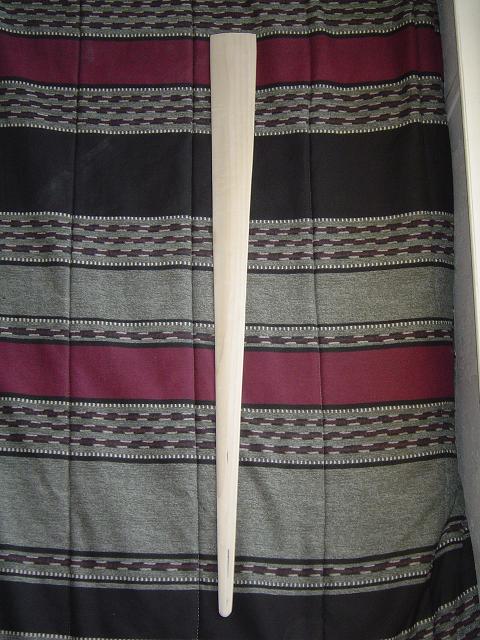
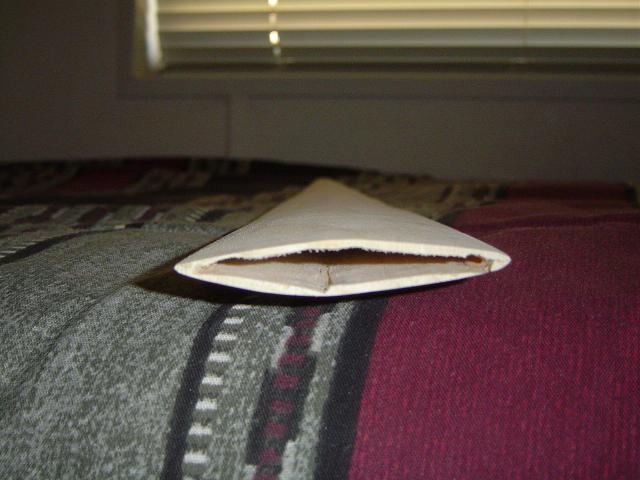
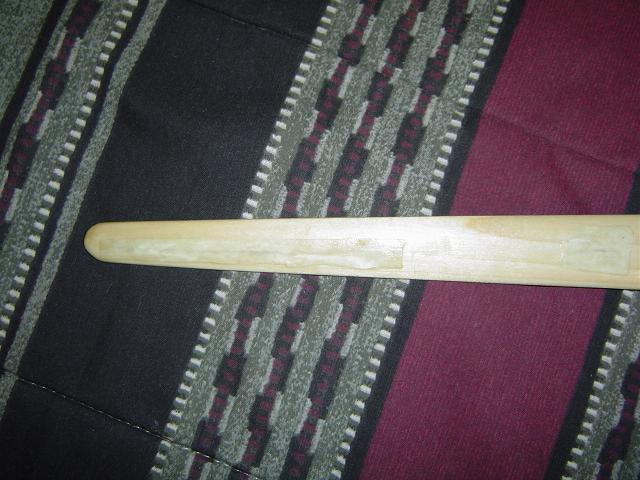
Overview.
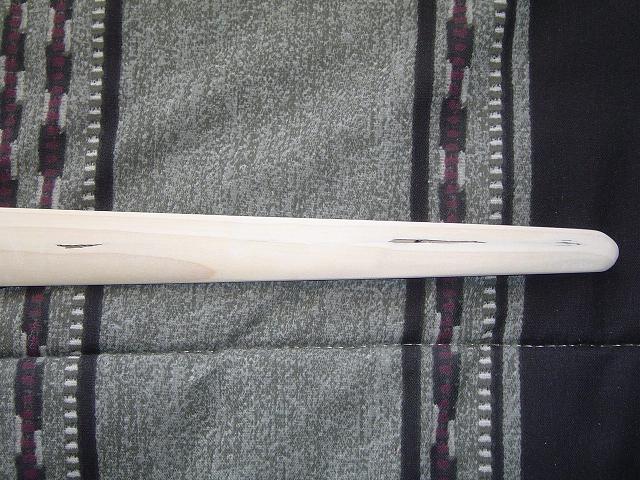
Close up showing the holes that I accidently sanded into the scabbard core.
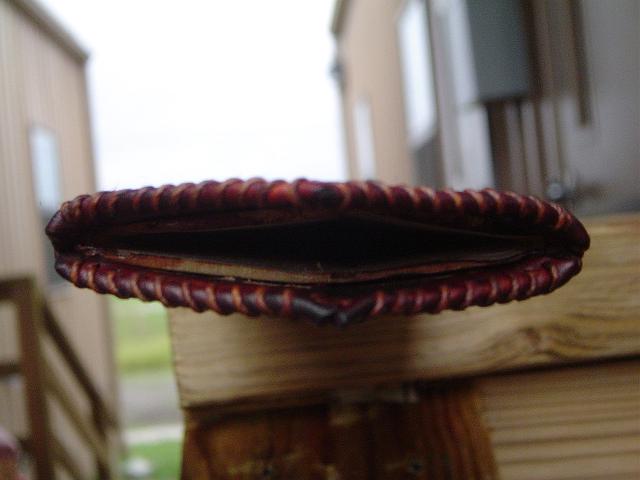
The throat of the scabbard. sorry for the poor picture quality.
Close up showing the parchment strips I glued over the holes. The core has also been varnished in this picture.