Posts: 1,757 Location: Storvreta, Sweden
Sat 11 Feb, 2012 1:28 pm
Hej Nils.
Thank you for kind words!
Really glad if my work can be a source of inspiration.
I hope I can join OwenŽs hammer in. Not sure yet is I can work it out.
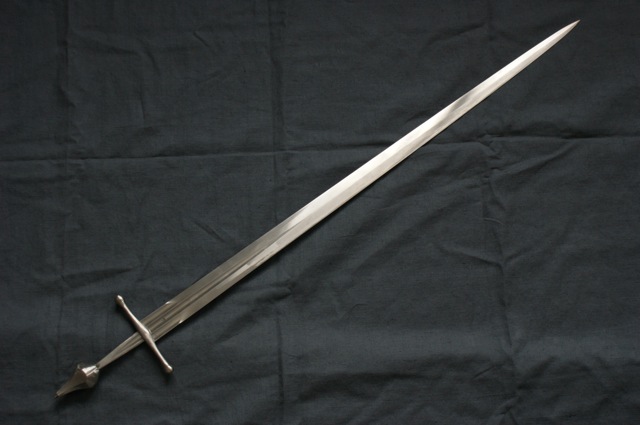
In any case, I hope this
sword has found a new home by then ;-)
-We shall see...
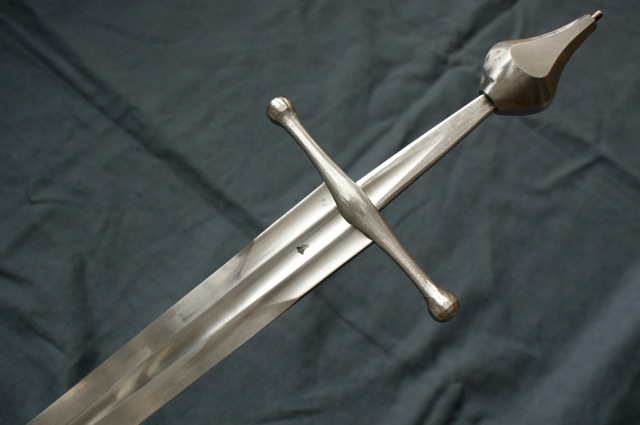
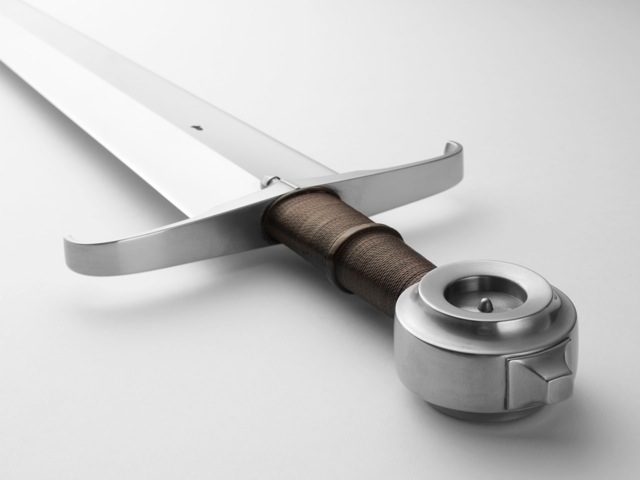
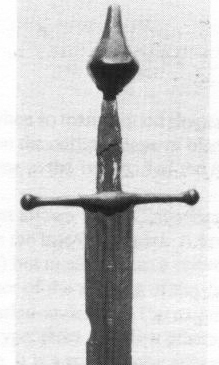
Pommel: the rivet shank is protruding much more than is needed for the rivet head. It shall be cut down to proper length before the hilt is mounted (extending some 2,5 millimeters). I peen the tang into a recess (a countersinking) carved out of the top of the pommel. Only a small rounded dome will be visible of the rivet head. Most of it will be formed in the recess in the pommel. This makes for a strong rivet. The original was also most probably mounted like this. The top of the pommel is slightly rounded, but no rivet head is visible. It was tightly peened, leaving no tell tale line.
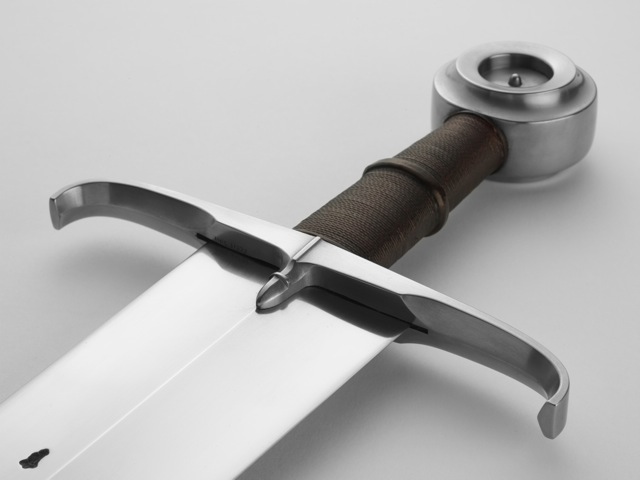
Fuller: on this
sword it is a regular type of fuller, shaped with a constant radius from one end to the other. The
sword from the Army Museum in Paris that you show has a fuller with a flat bottom and a profile that changes from one end to the other,keeping most of its depth but growing more narrow towards the point. A fuller like this is made by a combination of forging tools and takes quite a bit of file work and hand stoning to get right. Possibly scrapers were used in the clean up work. You cannot use one single forging tool for the shaping. My guess is that a regular fullering tool is first used to mark out the overall shape of the fuller, and then a tool with a narrow peen is used to form the edges of the fuller. Most probably by two men: the master holding the peened forming tool and an assistant working as a striker with a sledge hammer. You would have to have a neat little beaked anvil on the opposite side to avoid getting the profile distorted.
-Alternatively, the fuller was forged in rough and its shaped refined afterwards with scrapers, files and stones.
The fuller on the
sword I am working on has a constant radius along its length. After the ricasso area, it is gradually lifting out of the section of the blade. But as the blade also grow thinner at the same time, it may look like the fuller keeps at a constant depth. This is a trick on the eye.
What is noteworthy is that the fuller is shaped in the section of the blade so that it does not cut away anything of the midrib. There is no dramatic increase in thickness of the midrib after the fuller. Instead the edge bevels are formed around the fuller and central midrib in a way that a nice and gradual
distal taper is achieved.
The two groves in the ricasso on each side of the fuller are also interesting. They cut into the edge bevels only slightly. To get this right, one has to balance the depth and radius of these groves against the thickness of the blade and the angle of the edge bevels, so that the fading out of these groves do not extend too far into the blade after the ricasso, or end too abruptly. This is very nicely done on the original, and it has been fun work trying to get close to this.
