Migration Era Styled Smelt
Hi everybody.

This is for anyone interested in early weapons manufacturing techniques.

I thought I'd share our most recent, most successful smelt run yet.

Here's the furnace, which is roughly based on a saxon style outlined by Tylecote in "The Coming Age of Iron" You can see some of my forge buddies in the background.
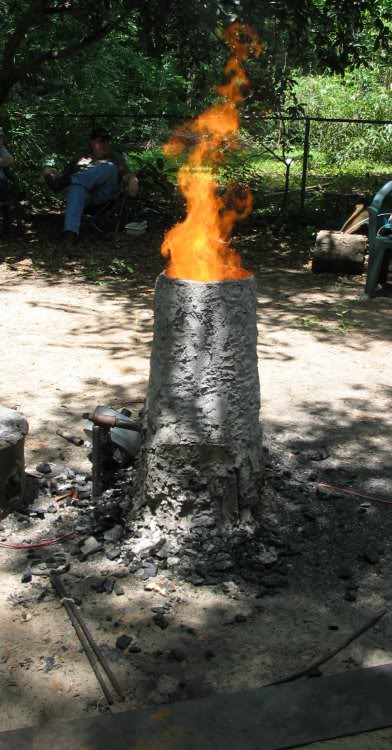

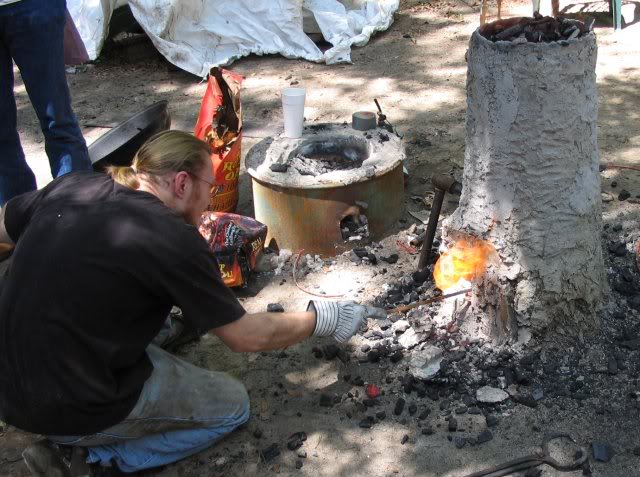
Here is a shot of me opening the slag tapping arch

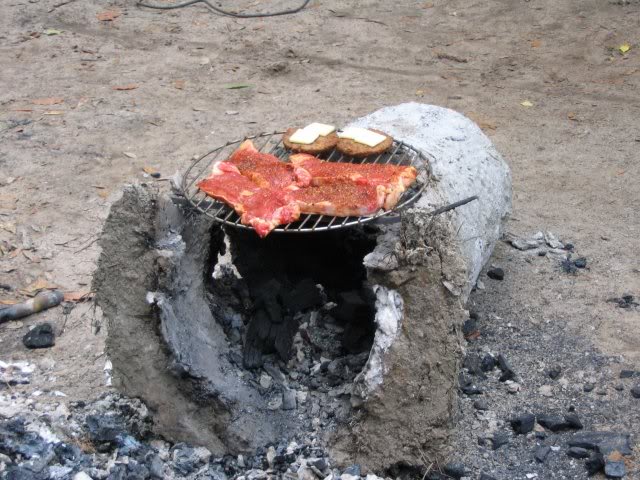
I don't have any shots of the bloom, which we estimated to be 40 lbs, but what do you do after you pull it out? Have a cookout!

We did some consolidating today, and it's sticking together pretty good! :)

Here's a shot of me with the bloom and a striker, photo by Tony of YSForge
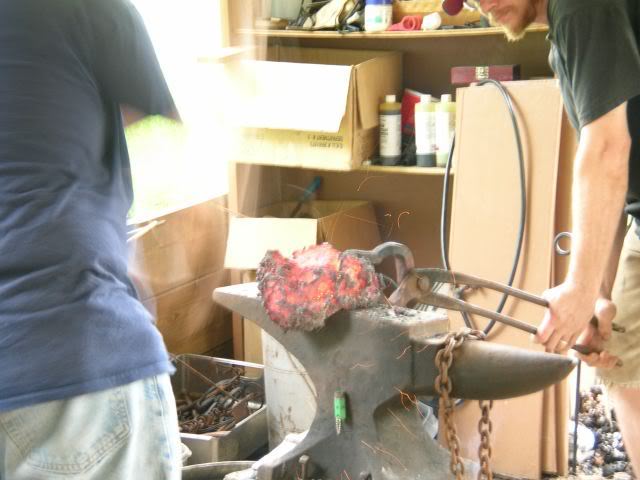

Here is a really cool shot taken by Glen Moulton.
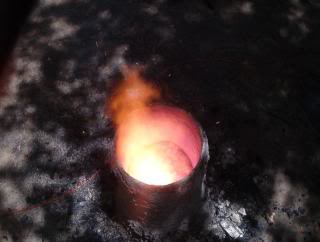
This is really pretty amazing, Jesse! Thanks for posting it. When we talked, you described what you guys did - seeing it really puts it all into a more concrete idea for me.

Wish I could comment more - wrapping things up before my flight. I know there will be some more amazing Jesse Frank pieces in the future... can't wait to see what you pull off with this stuff.
Thanks Aaron.

This is a whole lot of fun. A whole lot of work, but a whole lot of fun :)
This is fascinating Jesse.

I've seen drawings of this type of smelting set-up, but I've never seen it in actual use.

Thanks for posting this!
I am surprised to see such a comparatively small oven produce 40 pounds of product. I always visualized a setup at least four or five times that size. Have you had any tests done on your output to determine its qualities?
I'm glad you like it!


The cool thing about the furnace is that we stopped only because we ran out of ore. We definitely didn't reach the capacity of the furnace :cool:

I have done some tests. Showed little to no carbon content with a spark test. Polished and etched a section, which showed bands with more carbon, which will homogenize during consolidation.
Wonderful stuff Jesse... :D

Thanks for posting.

ks
Jesse Frank wrote:
Thanks Aaron.

This is a whole lot of fun. A whole lot of work, but a whole lot of fun :)


Wish I could have been there... even if it were just to watch the magic.

Just might have to nab a piece of that bloom when you're finished with it... ;)
Wow, thanks for posting this stuff. I hope to see more. I hope not to sound ungrateful, but rather just hungry for more: if you're willing, I'd love to read a narrative outlining some basic info on the smelting process. Very cool stuff.
Well, basically what you're trying to do is separate the iron from the oxygen and whatever else is is present in the ore, which is usually silica. To do that, you need to coax the oxygen out somehow. That's where the charcoal comes in. When the charcoal burns, it gives off carbon monoxide. Since the oxygen would rather hang out with the carbon than with the iron, once it reaches a certain temperature, it can dump the iron for the carbon, creating carbon dioxide. That leaves the iron and the silica (slag) to go their separate ways and do their thing.

I'll explain the working of the furnace in the next post.
This type of furnace is referred to as a shaft furnace, for obvious reasons. What happens, is that it is preheated, and then filled with charcoal. Once that is alight, air is injected at a fairly high volume and velocity to allow the fuel to burn hotter, and create more carbon rich gasses. These gasses then rise through the shaft, expelling all excess oxygen, allowing for a completely reducing environment. As the ore travels down the shaft, the chemical reaction take place, allowing the oxygen to leave with the carbon as a gas, and the iron and slag to make its way to the hearth, where the slag covers the iron, protecting it both from further oxidation at tuyer level, and from excess carbon absorption. This allows the iron to weld to itself into an agglomeration, which is the bloom.

Next will be the actual operation of the furnace.
jesse, this is great stuff! Thanks for sharing. How much ore did you put into the furnace to get the 40 lbs. of bloom?
Roughly 60 lbs. There was probably 10 lbs or so that weren't attached.

So here is how the smelt goes.

First, start the preheat. That takes about 45 minute to an hour.

Fill furnace with charcoal, add blast.

Once furnace level drop enough, add 10 lbs charcoal/10 lbs ore.

Tap slag periodically.

Repeat until you either run out of fuel, ore, or the furnace reaches capacity.

Remove and consolidate bloom.

That's it! Easy, huh?;)
I consolidated some of it yesterday, got three pieces up to 32 layers. This stuff works really nicely. For the most part, I can draw out a 3/8" x 3/4 bar long enough to fold in one heat by hand. Like butter B)

Carburized some of it this morning, welded it up and started to draw it out, and boy did it ever stiffen up! A good three or four times stiffer under the hammer. I think I'll wait to draw this one out 'till I either have my press built or a striker handy ;)
Jesse Frank wrote:
I think I'll wait to draw this one out 'till I either have my press built or a striker handy ;)


If I was closer, I'd gladly lend you an arm!

It's going to be neat to see what you turn this in to over time.

Thanks a ton for putting this thread out, and putting enough detail to the process that we can get a handle on it without burying us in chemistry.

Page 1 of 1

Jump to:  
You cannot post new topics in this forum
You cannot reply to topics in this forum
You cannot edit your posts in this forum
You cannot delete your posts in this forum
You cannot vote in polls in this forum
You cannot attach files in this forum
You can download files in this forum


All contents © Copyright 2003-2006 myArmoury.com — All rights reserved
Discussion forums powered by phpBB © The phpBB Group
Switch to the Full-featured Version of the forum