Here are the details of what I did -
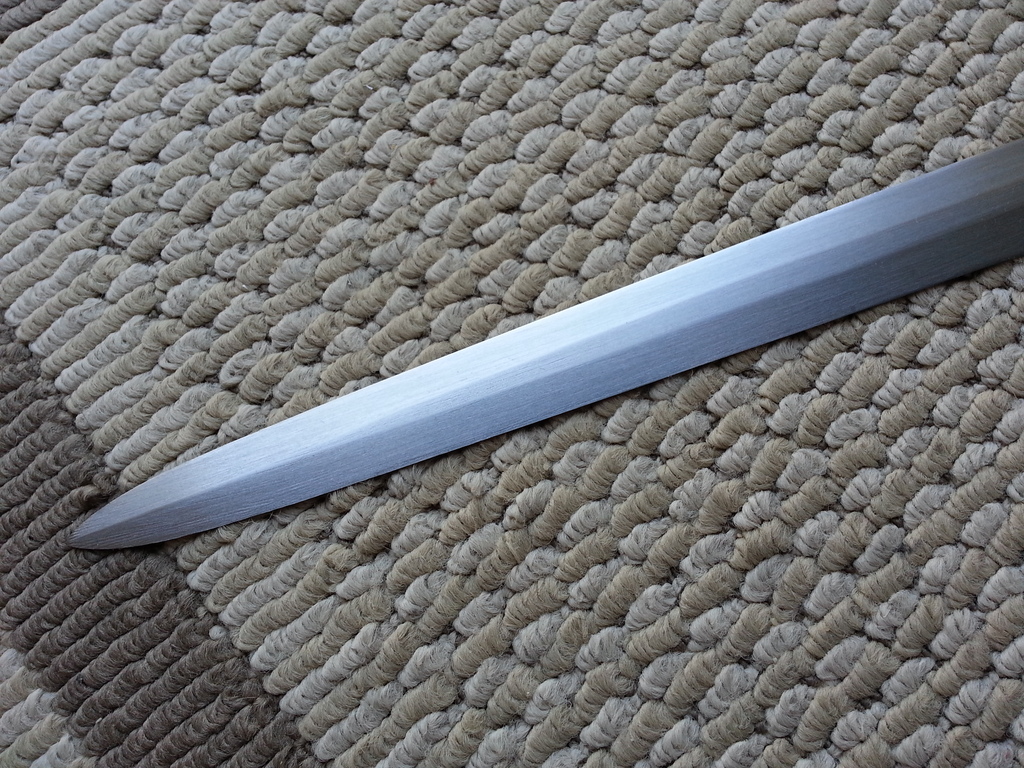
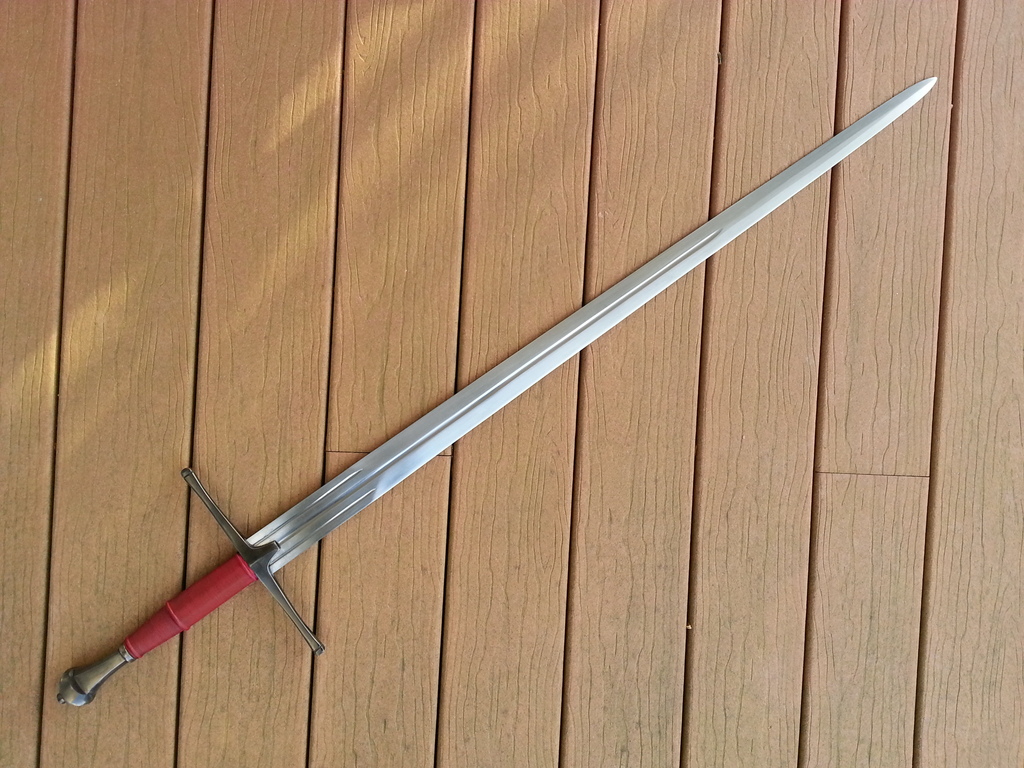
1 - Removed approx. 2 oz total of original blade weight by draw filing the blade, most of the removal took place after the fuller. So now it has some distal taper, not a ton but some and that is better than none. I did this by draw filing the blade with a 12" mill file. It Took a LONG time but its almost therapeutic after a while. I also decided to change the profile from diamond to hex on that final 1/3....b/c I like hex blades and figured what the heck...
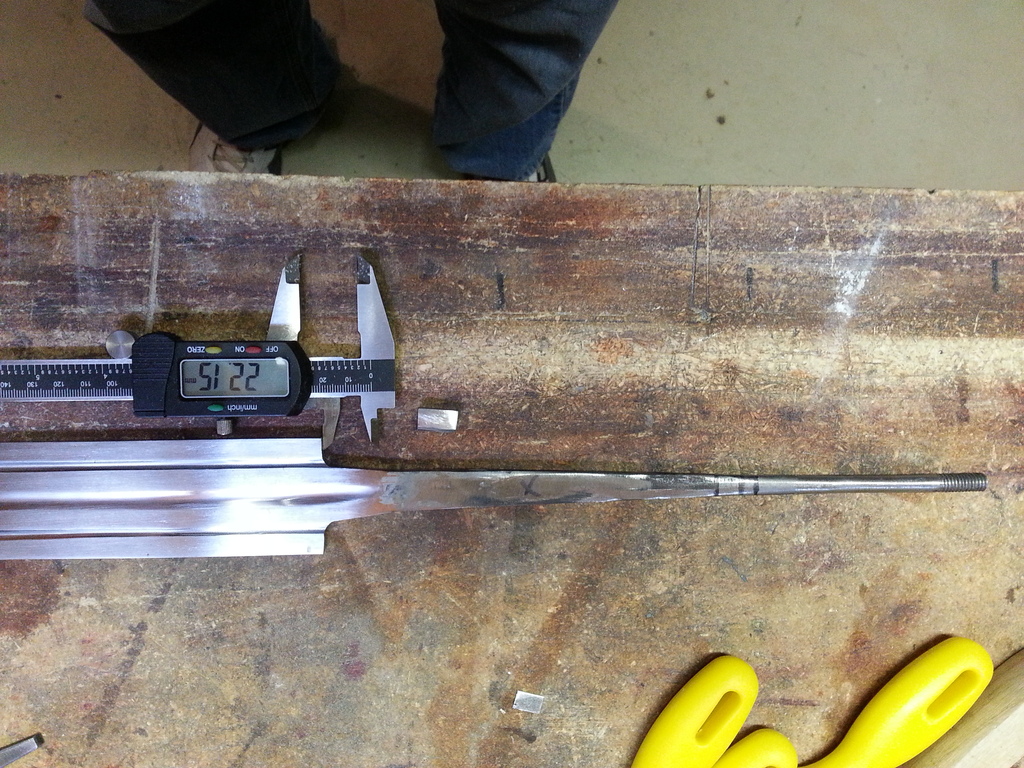
2 - Removed a little under an inch of blade at the shoulders to increase the tang length and cut in additional threading on the round rod. The reason for this was I wanted to get the pommel down further on the tang but end up with the same grip length of 6". By pushing the pommel further down I moved the pommel from the round rod section of the tang end down towards the tang proper which is rectangle in shape. I keyed the bottom of the pommel some by needle filing square shaped cut outs on opposite sides of the pommel hole, not a major keying but enough that the keyed section of the pommel fits "around" the rectangle cross section of the tang....I HATE the idea of a non "circular" pommel (like a scent stopper type) fitted to a round tang section. Round hole + round tang = strong possibility of that pommel turning, then you have an out of alignment pommel which looks like crap. That problem has been solved.
3 - With the removal of blade section I was also able to increase the width of the tang where it meets the shoulders, and radius those 2 spots as the stock blade was not real rounded...possible weak spots fixed + thicker tang at that critical junction plus the wider tang now fills the overly large slot that was cut into the cross guard.
4 - Steel shimmed and wedged the cross guard into place. Blade was ringing with just the cross in place. It should not come loose.
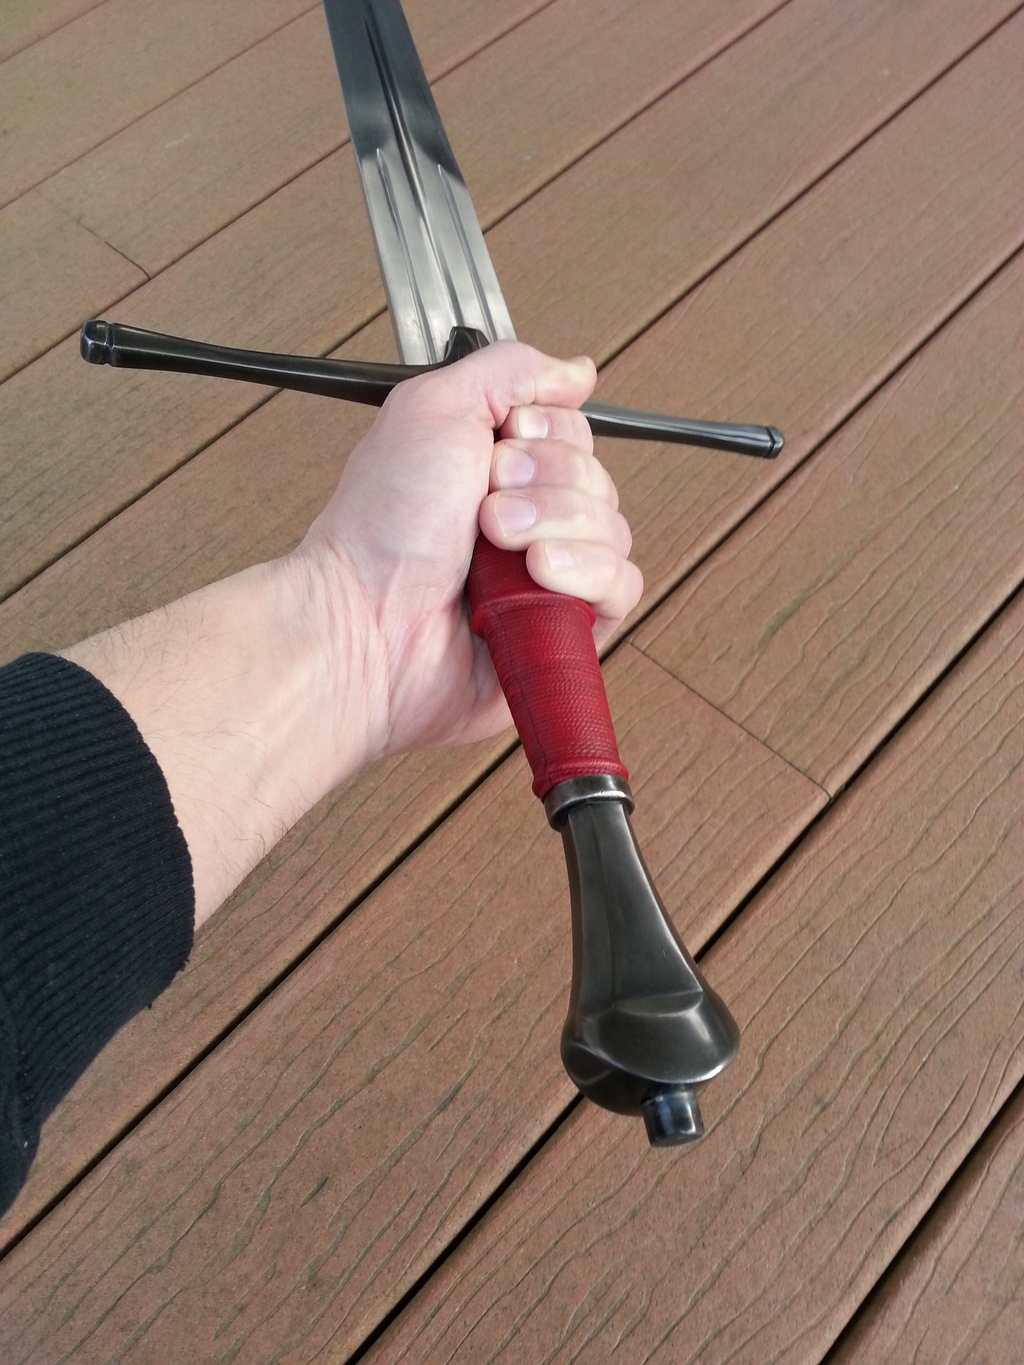
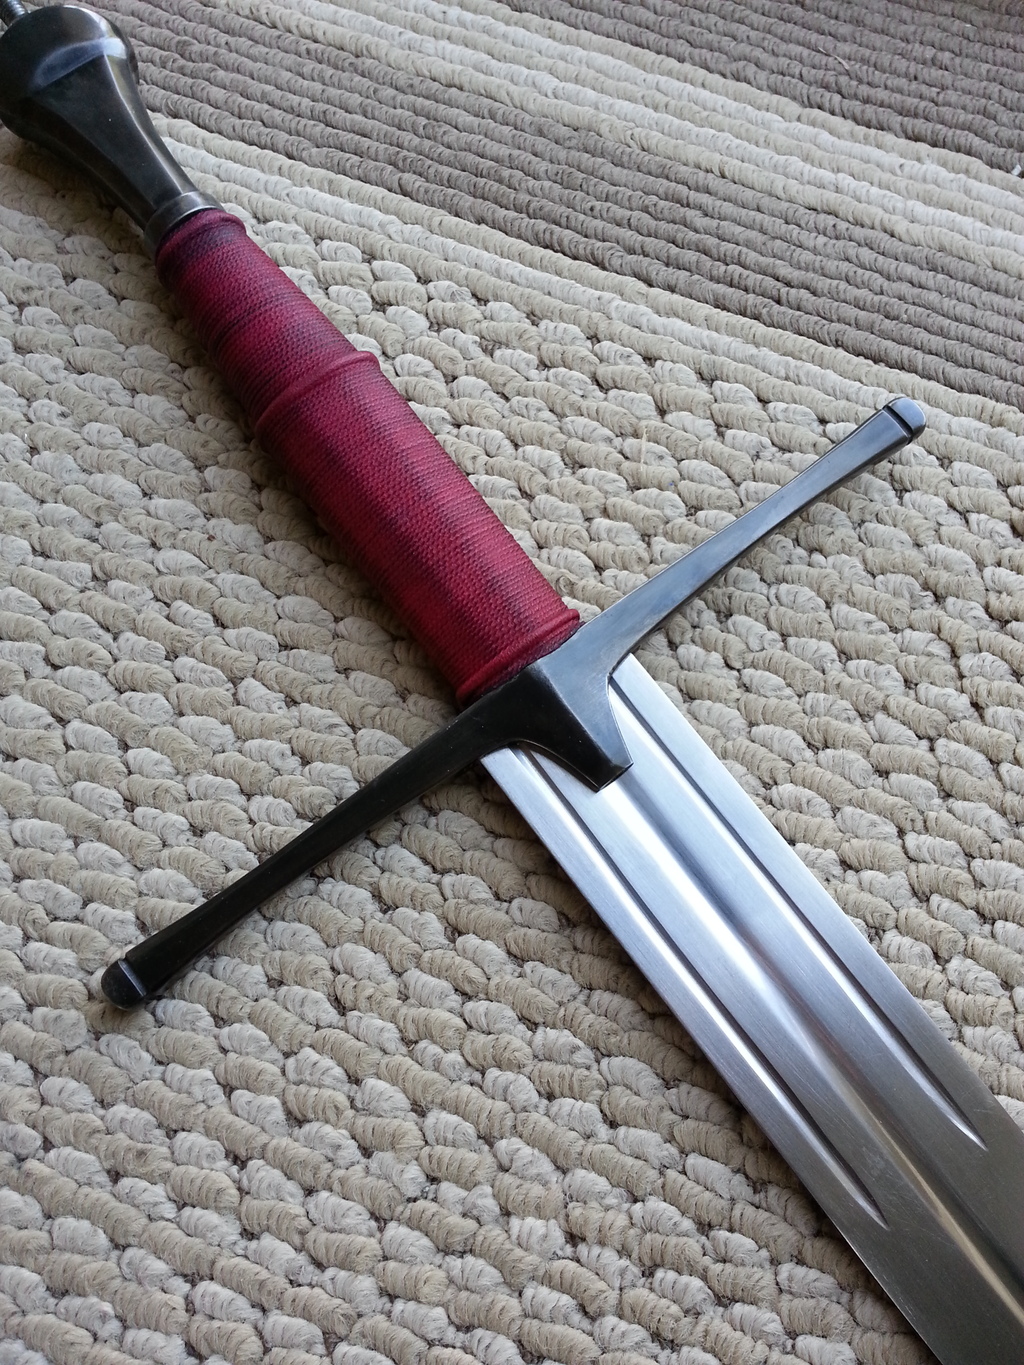
5 - Made a new poplar grip. I went with a wasted grip with the upper section being octagon in cross section and the lower elliptical in shape. Getting the facets was a pain but I got it and am happy with it. Cord was then TIGHTLY wrapped around the core all the way top to bottom and covered with goat skin leather that I dyed red. The leather treatment on this one is my best attempt yet. I am blown away at how nice this one turned out.
6 - Blackened the fittings with gun blue. The fitting on the Roven are pretty nice. The only thing I had to fix was the langlets on the cross, where a bit slanted at the very top, a straightened them out so they are square at the top instead of looking like Gumby's head.
Showing the increased tang length and radius corners
Grip prior to pommel nut being attached
Hex cross section, not as crisp as I wanted but..
