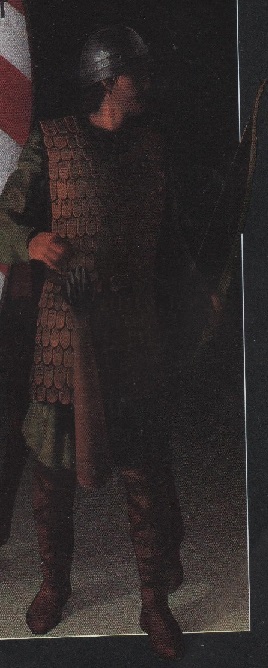
This is my process when I work with lamellar armors :
1 - How to cut the leather straps ?
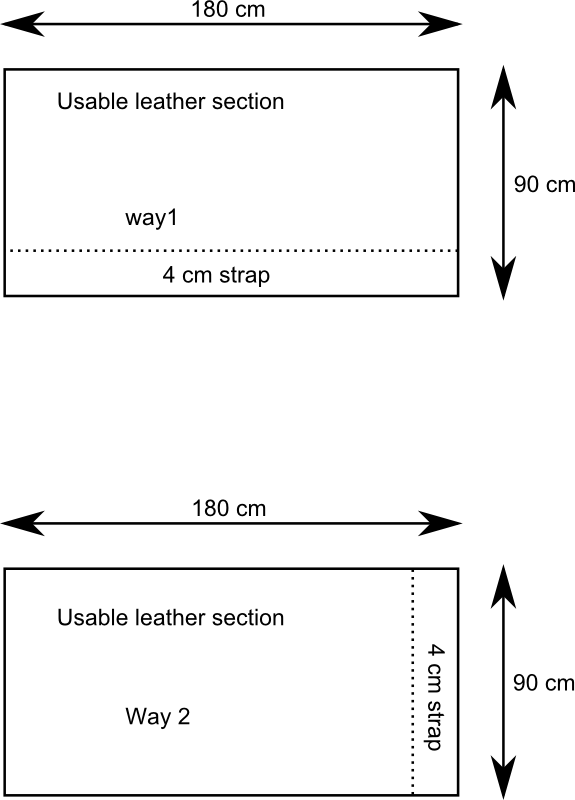
First you will have to think of your hide as a rectangle, this is what we call the usable leather section. You can cut your straps 2 ways (The data are from the example in the first attachment, you will have to compute with your own measures. In this example I consider 10 by 4 cm lamellae) :
-> way 1 : you cut 4cm wide straps on the long side of the rectangle, which will give you 22 (90/4=22.5) 180 by 4 straps. Then, each straps are cut in 10 cm portions so a 180cm strap will give you 18 (180/10) portions. If you cut this way, you will obtain 396 (22*18) lamellae.
-> way 2 : you cut 4cm wide straps on the short side of the rectangle, which will give you 45 (180/4=45) 90 by 4 straps. Then, each straps are cut in 10 cm portions so a 90cm strap will give you 9 (90/10) portions. If you cut this way, you will obtain 405 (45*9) lamellae.
This computation allows you to optimize the number of lamellae you can cut.
2 - Cutting the straps
You will have to cut a strait edge on one side of the hide (short side or long side, depending on the earlier computation results), then, using a
strap cutter calibrated to the width of your strips you cut them carefully. It is useful to check the cutter after each strap and reset it if needed. Always use sharp blades.
3 - From straps to lamellae
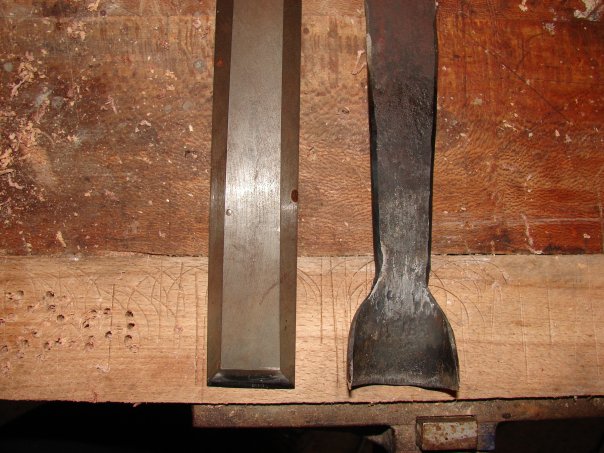
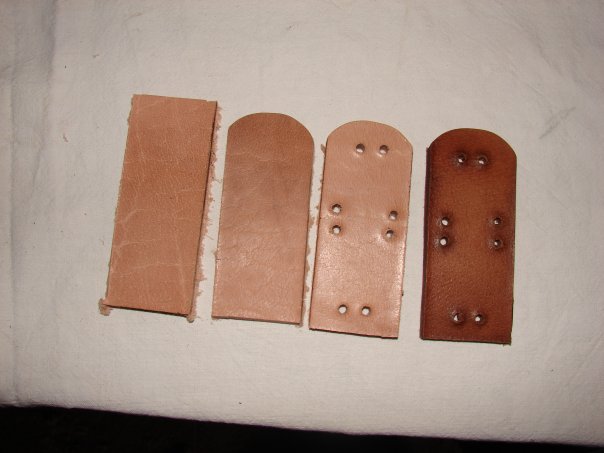
You will have to cut each strap in rectangles of the size of the lamellae (in my previous example 10 by 4 cm) using a utility knife. You will then have to cut the rounded (or pointed) tip. There are several options for that. You can either use a strap end punch (you can order them from
Tandy but they are rather expensive or from
goodsjapan where they are cheap and reliable.) or make it yourself if you know how to forge and temper (attachment 2 shows the one I made for myself).
To drill the holes you have several options.
-> You can punch them one by one with a hole punch or a rotary punch, which is painstaking long and boring.
-> You can use a drill press. You will have to use a wood bit, turning slow to avoid burning the leather (do tests on scraps before to find the optimal speed). To do this step faster you can stack several lamellae together maintaining them with masking tape (always tape to the rough side of the leather).
4 - Dying and hardening
[Edit : I forgot to mention that dying and hardening only applies if you work with vegetable tanned leather !]
There again, a lot of possibilities.
-> Dying
You can use whatever kind of leather dye you want. Personally I use Eco Flo pro from Tandy. As you have a large number of small parts it is easier and quicker to put the lamellae in a bath of dye rather than dying them one by one with a sponge or other kind of applicators.
-> Hardening with wax (beeswax or paraffin wax)
Melt the wax in a double boiler, plunge your lamellae in the liquid wax for some times (then again, tests on scraps are useful to figure how long you have to immerse the leather in the wax). Beeswax will give your leather a deep, rich brown color, so there is no need to dye before. Both beeswax and paraffin works well but paraffin is cheaper and easier to find (at least this is the case in my area). Be sure to buff the lamellae while they are still hot with rough cloth to remove the wax excess.
-> Collagen hardening
You can also use a collagen solution to harden your leather. The solution can be made from bone glue, edible gelatin or skin glue. The solution must be heated in a double boiler but you must not go over 40°C (above this temperature the collagen will dissolve itself and do nothing to the leather).
Congratulation, your lamellae are ready ! The important things are to take your time, think carefully before each step, always use sharp tools and test on scraps before each step.
Have fun while leather-working.
PS : It has been a long time since I wrote something that long in English (which is not my mother tongue), so if there are some incomprehensible parts, do not hesitate to ask me for more precisions.
 Attachment: 28.53 KB

 Attachment: 71.23 KB

Home made punch.
 Attachment: 37.75 KB

The last lamellae is after beeswax hardening.


