last week I was proud to have finished the forging of 2 pipe hawks and 1 wrapped axe head during a class with Mark Yanko at Touchstone Centre for Crafts. a truly great facility bringing in experienced smiths to help teach artist and craftsmen in the area the principles of blacksmithing.
This was the second class I took with the facility this year, earlier I took a beginners course to get familiar with hot work and fire tending. the focus of this second class was the forging of a traditional pipe hawk using some traditional methods, and other more modern ideas.
when I first got there Mark laid out some of his previous work most of which were pipe hawks, and I though to myself, we'd probably be doing some kind of slit and drifted axe head, this pipe hawk looked pretty complicated. but I was wrong - first thing we did was make a set of barrel gripping tongs to hold the 'bowl' of the head as we worked it.
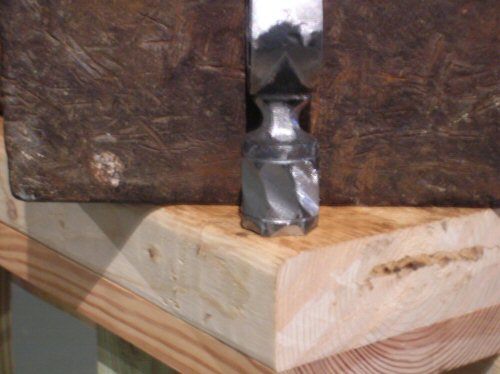
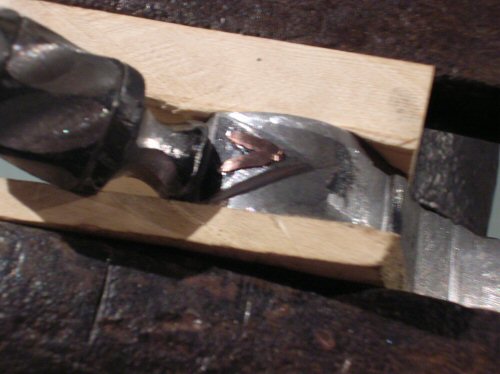
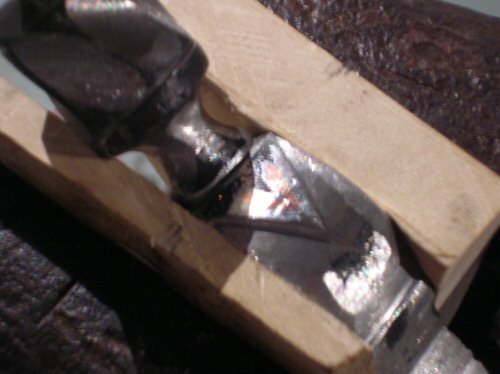
his process for creating these was pretty simple once you work it out. we used some 1in tube steel. he briefly talked about a process done with old gun barrels done during the period, and we got started. basically we crimped a portion of the tube off to create the bowl. crimped a section after it where we would later slit and drift the head. after ward we then fluxed the remainder of the tube and forge welded it shut. after the weld took, we forged out the blade. forge welding a hi carbon steel bit into the blade was possible, but he asked me to wait on that idea as he was going to use it in another area of the course.
strangely, my first head was a little small I couldn't seem to get any broadness out of the material, and then I noticed I used the wrong size stock, so I quickly set to work making another which came out a little broader like I wanted.
the second part of the course was making a fold over or wrapped axe head with hi carbon bit. for this one I chose a monster piece of stock, I wanted to get a nice bearded axe head. my wrap worked well, my forge weld on this one was truly tricky. it just didn't seem to want to take no matter how much heat flux or pounding. I was pretty surprised that he Mark inspected my work that he suggested that I work hot, and tap the weld. after getting showered with flux for a while, the weld finally took. next came the addition of the hi carbon bit. I brushed up my wedged bit really good this time, and the weld took easier this time. I tried to get this wrapped axe nice and bearded, but somehow it just kept getting longer as I cross peened it. it was only later that I realized I should have upset the stock before wrapping it so I could have more to work with. I wasn't unhappy with it, but I did turn out about 10 in from blade to eye. I think it may have to turn into a long handled axe.
Attachment: 99.8 KB
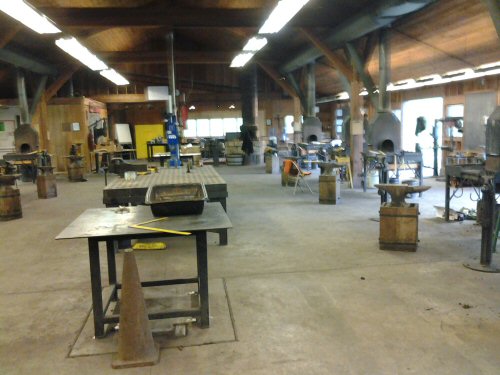
pic of the shop. 12 forging stations, and just bout every tool you can think of was available to us. I used the big blu power hammer a lot when making my tongs.
Attachment: 91.48 KB
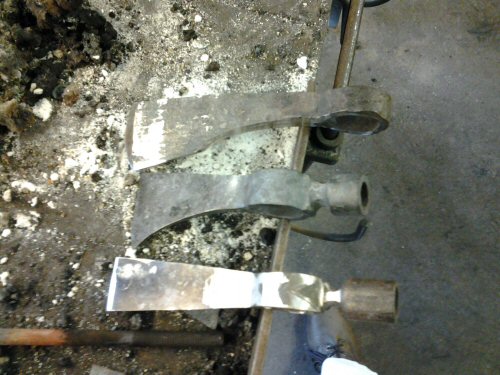
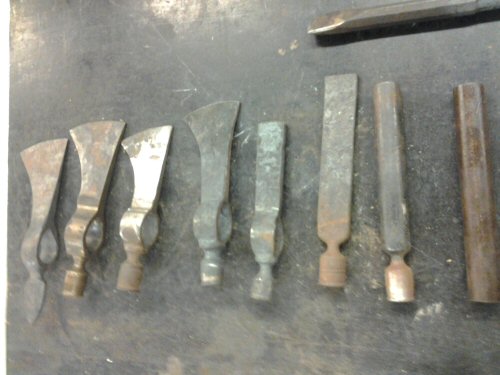
the layout of the pipe hawk process.
Attachment: 108.88 KB
the one on the bottom was my first pipe hawk, in all its shape is unique, and the one on top is the wrapped head.
Attachment: 47.5 KB
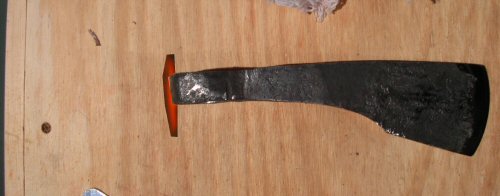
working with photo shop yesterday, I had the idea to weld a back strap to the wrapped head. i'm leaving this head with the rough forge look. make it look a little Roushy.
[ Linked Image ]
I wonder if you have photos of the axes being hilted, Daniel.
I did photo Mark's examples while I was there, I have them on another pc. his hafts were decorated with pewter (which he also showed us how to pour) file branding (which I hadn't seen before) and just simple tacks. all of his had a rustic feel to them, and were shockingly light.
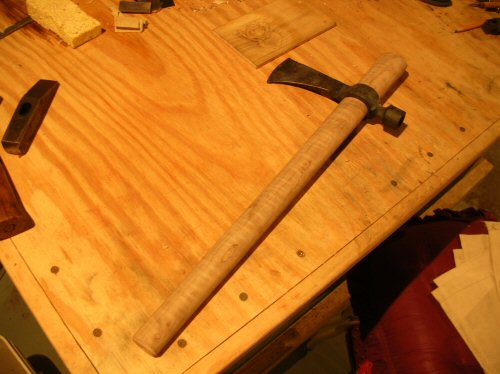
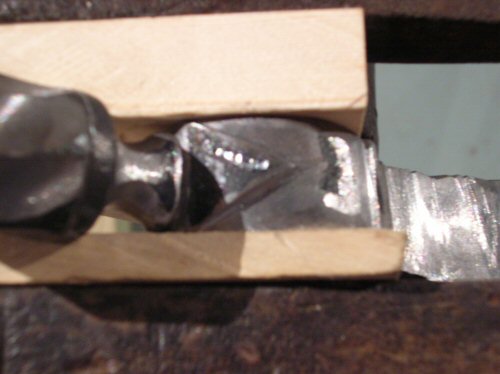
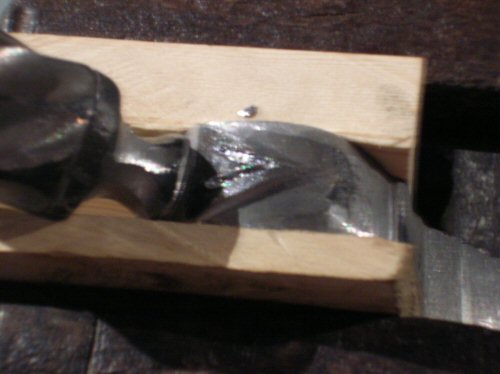
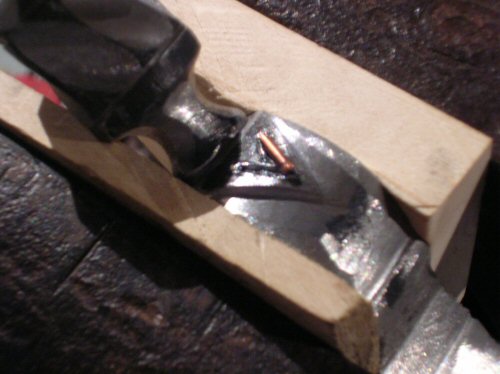
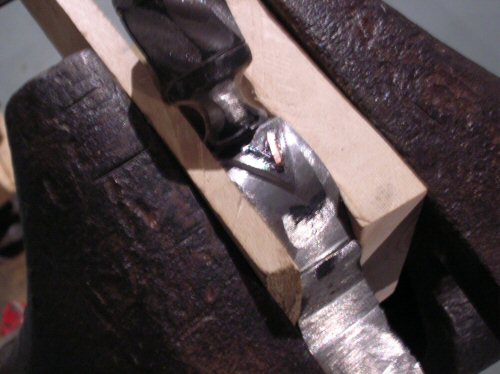
mine, I worked on them just a little bit since class, I'm gearing up for my Christmas projects and they get pretty involved, but, I did grind out a little of the eye for each of my hawks, their still fitting very snuggly and need more grinding done but I do have pics of how they currently fit - I'll post them up later today.
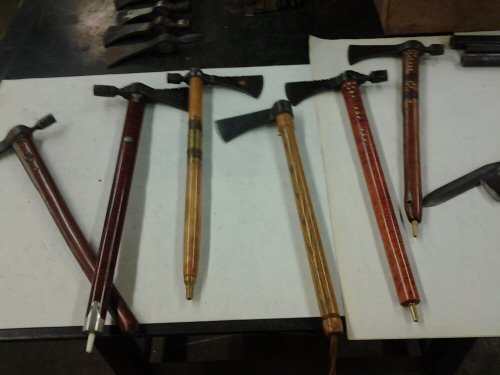
ok here we go, a few pics of Mark's completed hawks, and a little bit of progress photos where I'm at with one of them.
Attachment: 86.29 KB
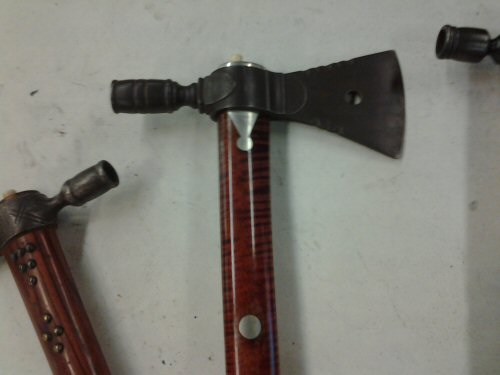
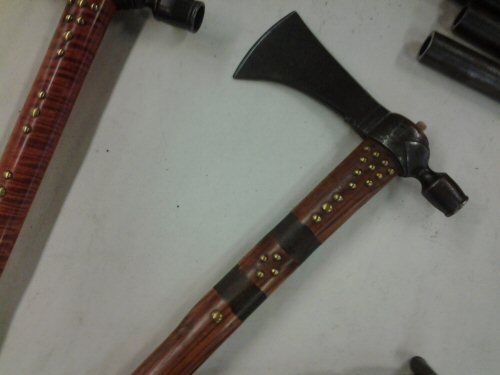
marks pipe hawks that he brought with him to class for examples.
Attachment: 79.49 KB
this was some of the pewter decoration he went over in class.
Attachment: 79.7 KB
this one was my favorite. it has some of the file branding. it doesn't show up photo was taken by cell phone. most of his other were made with curly maple this one was ash and was pretty cut and dry.
Attachment: 96.73 KB
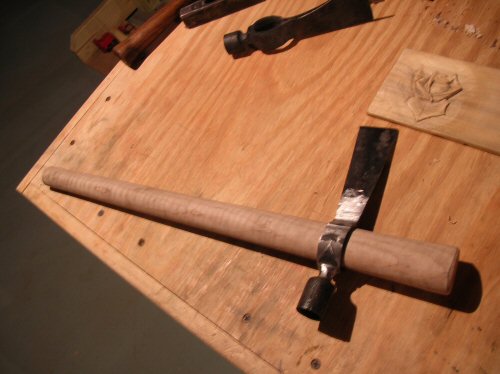
one of mine back at my shop.
Attachment: 91.57 KB
Attachment: 97.25 KB
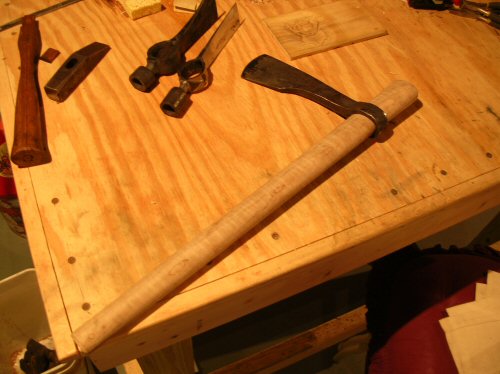
my wrapped axe head, looks huge - plans are to make this one really big with a hickory haft
Attachment: 91.95 KB
and this is where I finished up with one today. I tried to give it a reverse fluting, but I may have to change it because they didn't line up like I wanted in places.
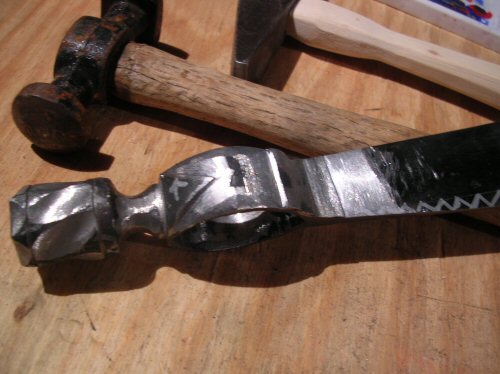
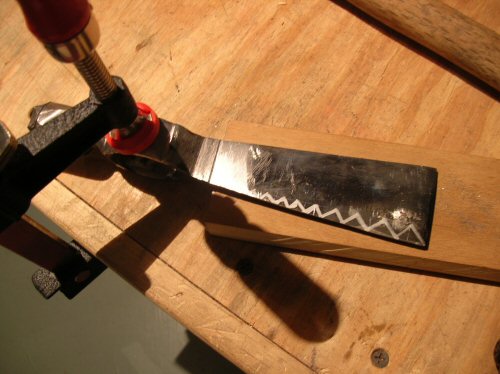
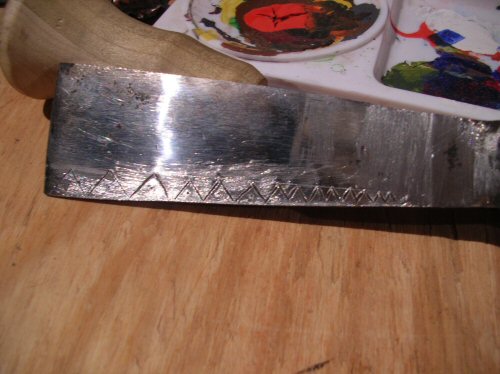
been working on and off on a few projects, so progress on my traditional hawk isn't too far along. this week, I trued up the fluting on the edge of the bowl, cut the chevrons in deeper, and the scarf. I also beveled the edges of the eye to round it up a little bit. next I'm planning on some engraving work down the blade.
Attachment: 97.22 KB
Attachment: 97.82 KB
Attachment: 97.22 KB
Attachment: 97.82 KB
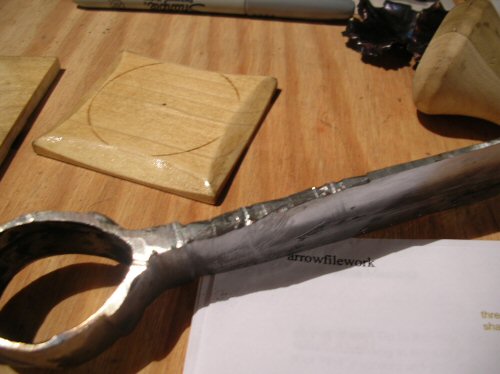
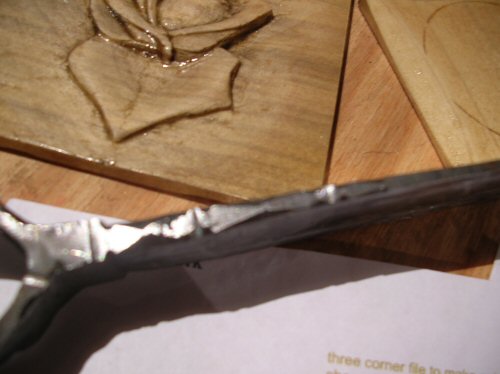
a little more work this week, did some engraving and file work of arrow heads. sorry the pics aren't great for close up work.
Attachment: 95.73 KB
Attachment: 89.51 KB
Attachment: 87.2 KB
Attachment: 95.73 KB
Attachment: 89.51 KB
Attachment: 87.2 KB
started doing some inlay this week. coming out pretty well.
Attachment: 85.42 KB
Attachment: 85.08 KB
Attachment: 90.87 KB
Attachment: 94.08 KB
Attachment: 90.96 KB
Attachment: 89.13 KB
Attachment: 85.42 KB
Attachment: 85.08 KB
Attachment: 90.87 KB
Attachment: 94.08 KB
Attachment: 90.96 KB
Attachment: 89.13 KB
[ Linked Image ]
Got to love those tomahawks' hilts! True marks of craftsmanship, I must say.
Page 1 of 1
You cannot post new topics in this forumYou cannot reply to topics in this forum
You cannot edit your posts in this forum
You cannot delete your posts in this forum
You cannot vote in polls in this forum
You cannot attach files in this forum
You can download files in this forum
All contents © Copyright 2003-2006 myArmoury.com All rights reserved
Discussion forums powered by phpBB © The phpBB Group
Switch to the Full-featured Version of the forum
Discussion forums powered by phpBB © The phpBB Group
Switch to the Full-featured Version of the forum