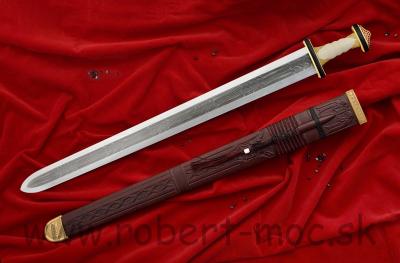
Around two years ago I approached Robert to make a replica of the Sutton Hoo sword. I had always wanted this sword.
He replied quite quickly and was very keen to make it, and even suggested using walrus and horn for the hilt.
There were two blade options - four bar construction or eight bar as in the original. I went for the original version.
I left the construction to Robert and Henrieta.
Sword stats:
Total length 34.5 ins 88cm.
Blade length 29.0 ins.
Blade width 2.5 ins.
Here are his comments on the making of this magnificent sword.
THE SUTTON HOO SWORD
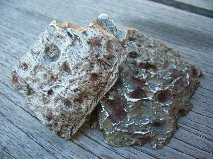
The material I used to make the blade was Bloomery steel, probably from the 19th century,
and 300 g of meteoric iron containing some 8% of nickel. The iron used for edges and
harder core layers had to be enriched by carbon and consequently homogenized by
multiple folding and smith welding.
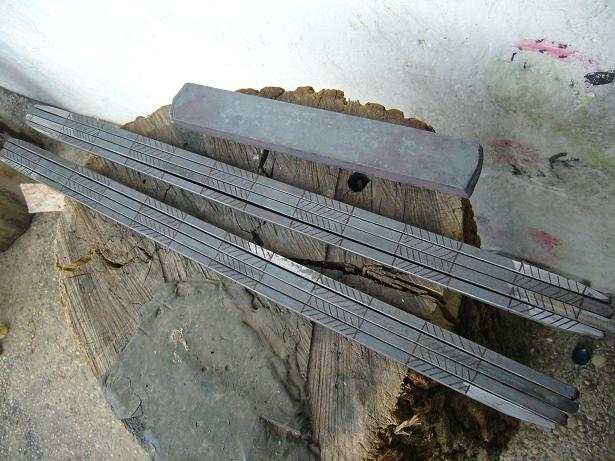
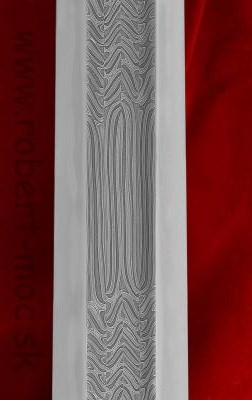
The blade core is welded from 8 rods, 4 at either side. This layout is very
demanding, because it is necessary to weld the rods not only longwise but also sideways.
The preparation of packets, rods 8 by 8 mm thick and nearly as long as the blade length
took 5days. Another day was spent on the Damascus pattern, made by twisting the rods.
The final pattern consists of alternating twisted and straight sections, the patterns at one
side are shifted by one section on the other side. The twisted sections have the “W”
pattern, so they are made of 4 rods twisted repeatedly left and right.
It was essential to maintain absolute concentration, not to make a mistake since it would
have been unfixable. Welding blade rods is always the most difficult part of sword making
and, moreover, this time it was a very complicated layout.
Another problem was the blade width - 60 mm. To weld rods lengthwise correctly for such
a wide blade was extremely difficult. Because it was the first time I made such a blade,
I had to make it twice. The first attempt went fine, as for welding, but the pattern was not
good enough.
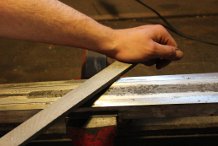
The second try turned out well. The next procedure was standard – with a file, heat
treatment and sanding. The blade was then polished and etched. The production of the
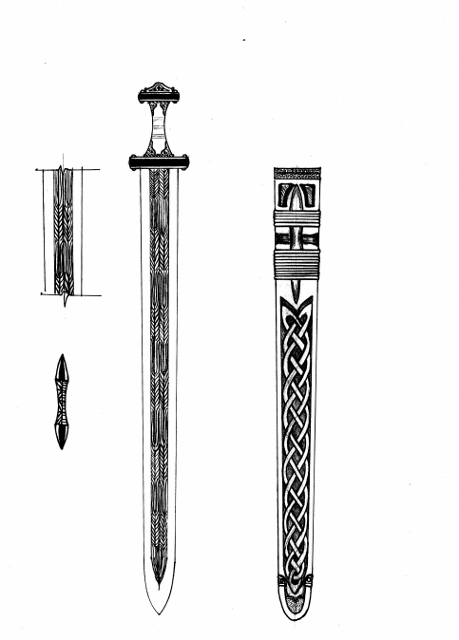
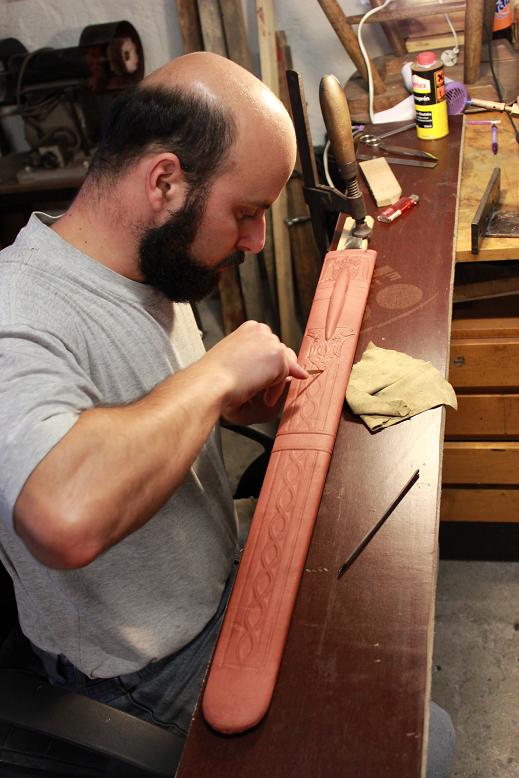
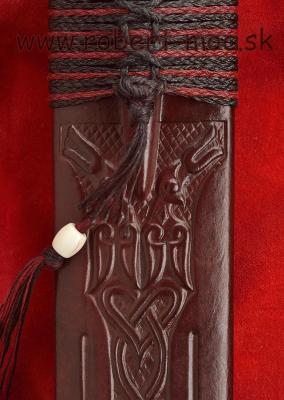
blade took some 200 hours. The following step was to make a scabbard from alder wood
lined with woolen fabric. The surface is decorated with carving. Since I had not had much
previous experience with wood carving, I had to do it very cautiously, but I managed
without any significant problems. It was more difficult with the leather coating. It had to be
done quickly, while the leather was still soaked, and the leather had to copy all the carved
details.
The production of the scabbard, including its decorating, took 2 weeks.
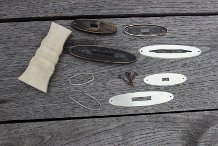
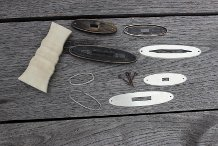
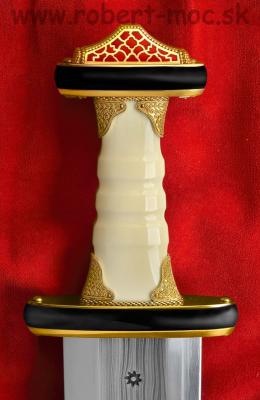
The next step was to make the hilt parts. For each forging I had to make special shaping
tools.
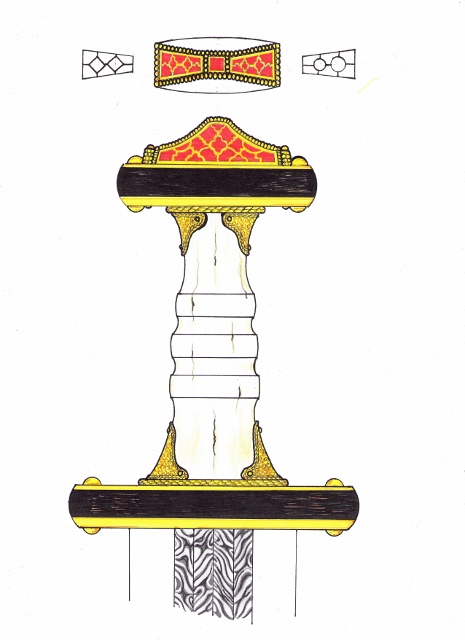
The most complicated was to make 4 small forgings at the hilt edges. The guard is made
of dark horn. To fit the forgings with the horn body of the guard was probably the biggest
problem at that stage. On the other hand, to make the grip from walrus tusk was not so
technically demanding. However, to drill through the whole length, and then to enlarge the
opening with a file, was incredibly time consuming because of the hardness of the material
and the length of the grip.
At this point, I must mention one often forgotten, yet important and time consuming part of
a sword making which can only be appreciated by somebody who has already done
something like that. It is the production of all rivets, nails, washers, etc which are needed
at a sword assembly. All these components must be handmade, and very precisely,
because each imperfection causes obstacles in the final assembly of polished and gilt
parts.
The job which I was most afraid of was the production of the pommel. It was my very first
encounter with the cloisonné technique so I had to solve many technical problems. It was
also necessary to make tools and jigs. Without exaggeration I can say that the pommel
making was the most difficult. During the production I realized that the almandine stones
which I had were not suitable for the purpose. After considering all the options I decided to
contract a specialist, Mr Krajcovic from Novy Jicin, the Czech Republic, who also provided
high quality almandine. Cutting stones took him nearly 2 month during which I worked on
assembling and surface finishing of other parts.
At the same time my wife Henrieta worked on filigree decorations for the scabbard and hilt.
The original filigree on the grip is so delicate that it was extremely demanding to make an
exact copy.
Here I must bow in front of both my wife andthe old master who made the original.
Henrieta created the filigree patterns on the scabbard according to a handful of preserved
works from the given period, in a way which matches with the patterns on the hilt. All of the
silver parts and joining parts were gilded. At this point I want to thank Mr Jan Herman from
Levice who carried out the task professionally, with the utmost patience and dedication to
the details.
The final task was to embed the cut almandine stones in the cloisonné. It was a job for a
firm hand and strong nerves since each stone was only slightly more than 1mm thick and
the width of cloisonné was only 0,5 mm. Any inaccurate strike would have broken a
delicate stone. I must admit, that the pommel of this sword has been the most difficult
piece of work I have ever done. At the same time it is the most expensive part of the
sword, because it took more than 200 of my work hours, and also the price of material,
gold and almandine, was considerably high.
The final assembly of the sword was accompanied by a lot of nervous tension, since the
gilded and polished parts might have been damaged. Fine sharpening and polishing of the
edges was the final procedure.
The production of the sword took 837 hours, without the time spent on cutting the stones
and gilding.
Finally I want to thank all who cooperated with me, Mr. Krajcovic and Mr. Herman, my wife
Henrieta, my daughter Vanda who plaited ribbons for the scabbard.
Look for pictures of the finished sword in another posting.
