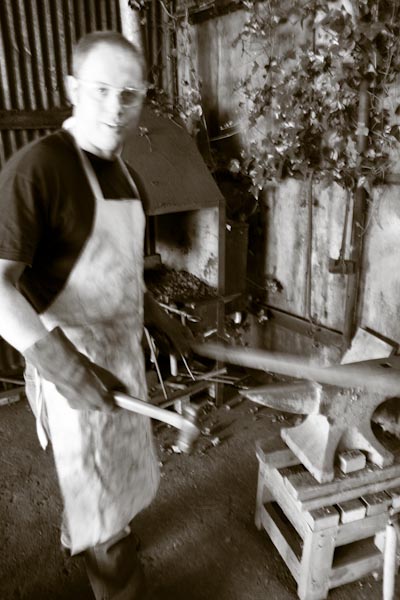
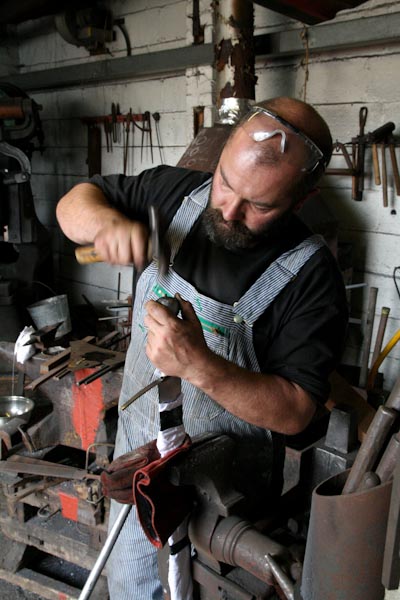
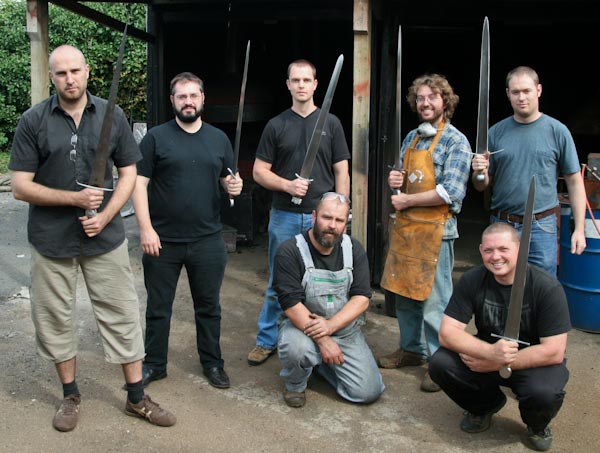
I signed up a while ago for the 7 days sword course lead by Owen Bush. Owen is a British blade smith who specializes in pattern welding blades (his website: http://www.owenbush.co.uk ). Most of you have probably seen some of his work without being aware of it as he often teams up with Tod from Tod's Stuff for projects involving larger blades. He is based in welling, Kent, not far from London by train (25 min or so...and as a matter of fact, 20 minutes away from my place by car). This year was the third edition of this course, and beside me 5 other student from various backgrounds came to tackle the anvil.
Where to begin...I learned so much during these 7 days (Saturday and Sunday included) that I don't even know where to start. I had looked at ways to try on smithing before, but this training course definitely caught my attention as it is (as far as I know) unique since it offers the opportunity to give a go at forging a sword without previous experience in blade smithing (some might find it unrealistic...well the course kept all its promises nonetheless as all 6 of us left with a sword in their hands (not a sword like object, but a genuine sword, with distal taper and correct weight distribution and balance).
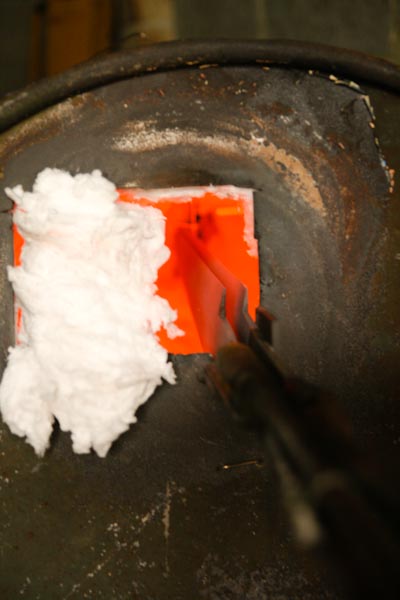
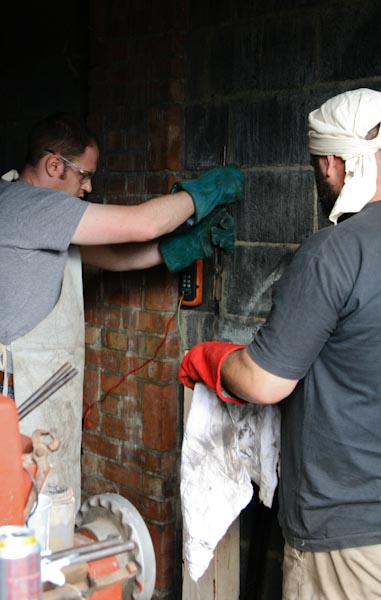
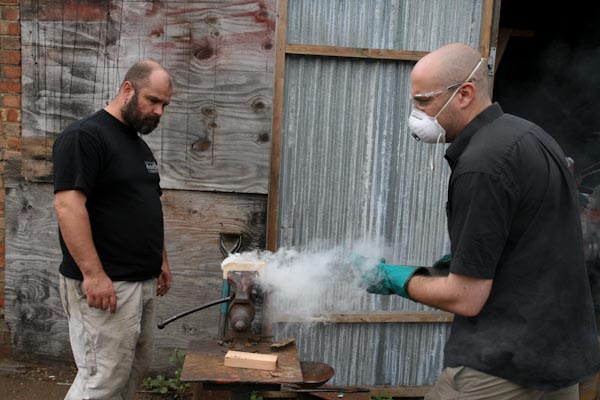
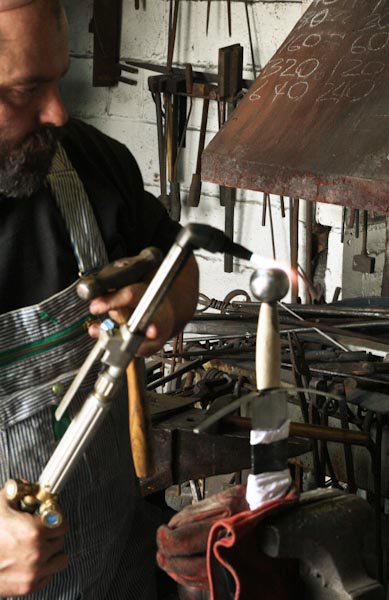
The course itself is very well planned and prepared, and all is made so that one will gradually gain the skills needed to achieve the forging and assembly of a sword along the week. Owen's workshop contains all that is needed for 6 student to work at full pace without having to wait for a tool to become available (3 coal forges, 3 gaz forges, many belt grinders, power hammers, polishing shop, heat treatment room etc etc).
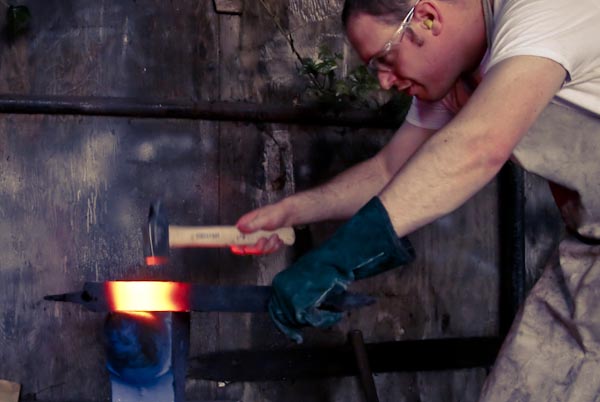
Much relies on the students perseverance (for we all lacked any experience, save for two who made knives before), The course is fast paced and physically quiet exhausting (at least for an office worker such as myself...the hammering of the blade took me 3 days, and my right wrist could not take anymore). Owen's way of teaching practical skills such has forging/grinding etc is very efficient, and the fact that he is very mature and confident in his craft makes all the difference here. His method mixes explanations, demonstrations, you give it a go, you mess things up (or not), Owen fixes your mess, or gives your pointers to sort things out and you're and your way again. I find that Owen has found the right balance, as he will help you or fix things for you if you are in danger of completely ruining your project (a hammer blow here, re setting the right angle at the grinder there, and you will be back on track in no time), but he will most likely explain to you how to solve your issue on your own and let you deal with it...and by overcoming it you gain in confidence and skill.
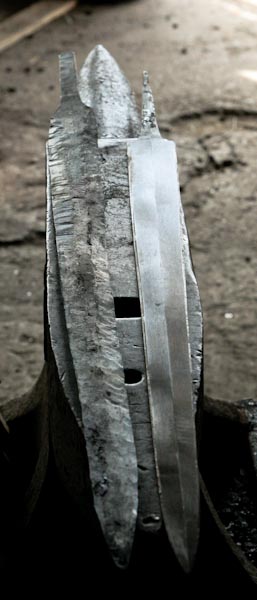
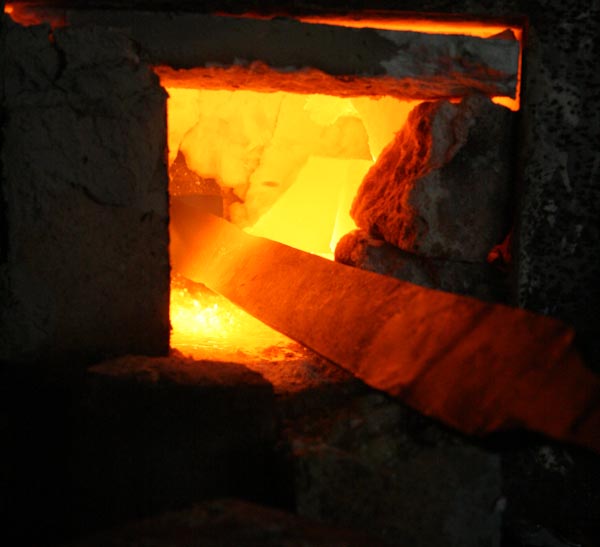
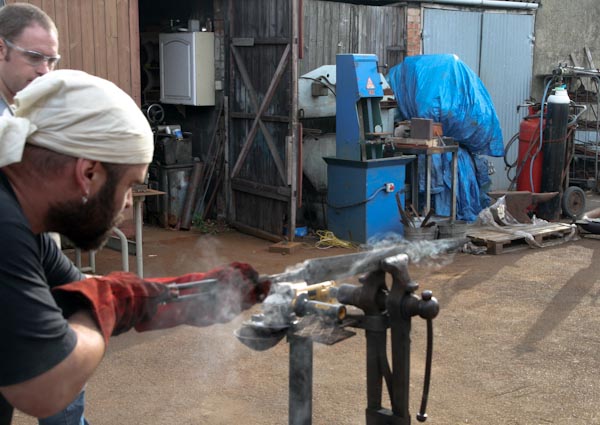
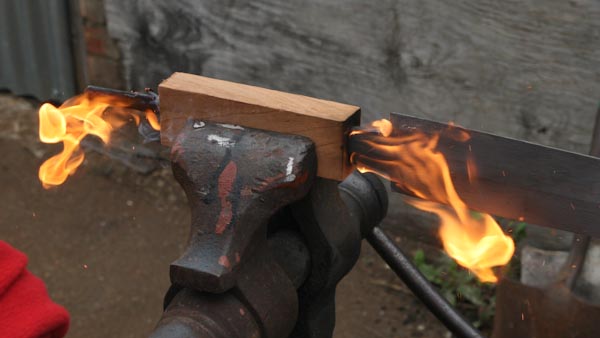
So we started the week by forging a dagger as a training piece out of a rectangular thick piece of steel, in order to understand how to form and bevel a blade profile, how to draw steel and shape the tang etc... then to make the story short we moved on to grinding those dagger on the belt sander. Then we moved on to the real thing and started shaping our sword blades out of an even thicker piece of steel, which had been prepared for us before (the tang had been roughly shaped with a power hammer). After that, back to the grinders, then on to the forging of the guards, cutting pommels (those had been drilled and punched for us before), burning the tang into the woodblock for the handle, and then the final assembly. No time to linger along really, and Owen will make sure you move forward according to schedule as the week progresses.
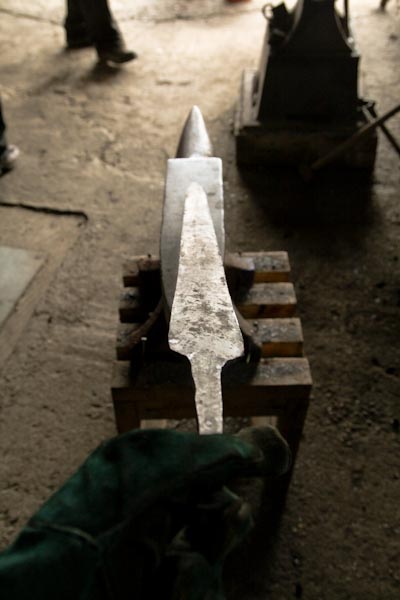
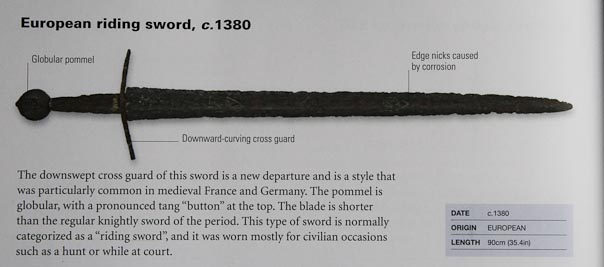
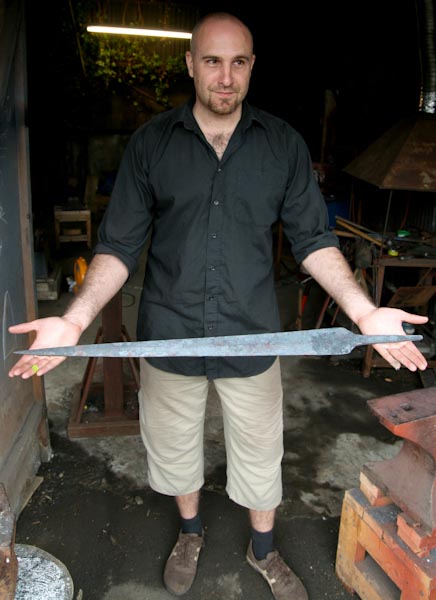
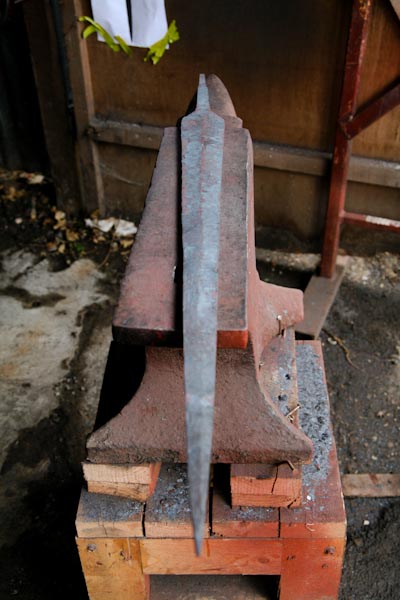
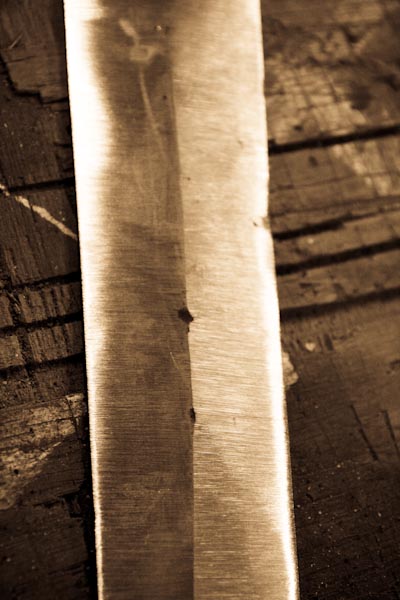
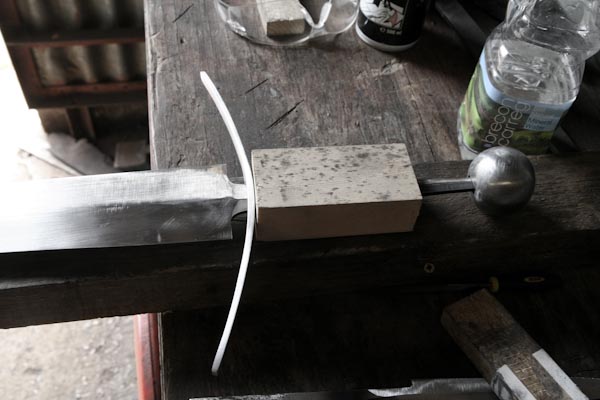
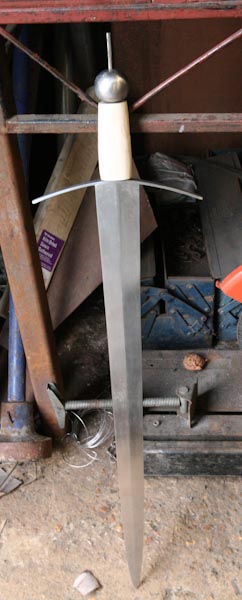
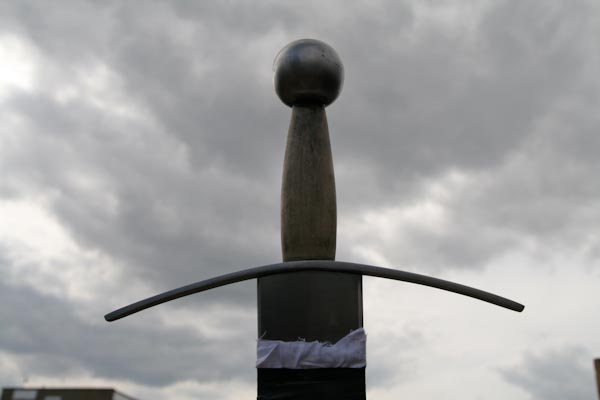
A few words about my project. Things were a bit tougher for me as I aimed at reproducing an historical design, a type XV sword (I chose this type because these blades are of flat diamond section, with no fueller (no time to complicate things too much during the course and though Owen agreed to grind a fueller for me (I initially wanted to make a type XVi) I decided to go for something that would not involve a composite blade geometry..
So I came along with a picture that I previously printed at work. a life size reproduction of the sword below on paper, that I carried around and taped all around the different workshops during the week.
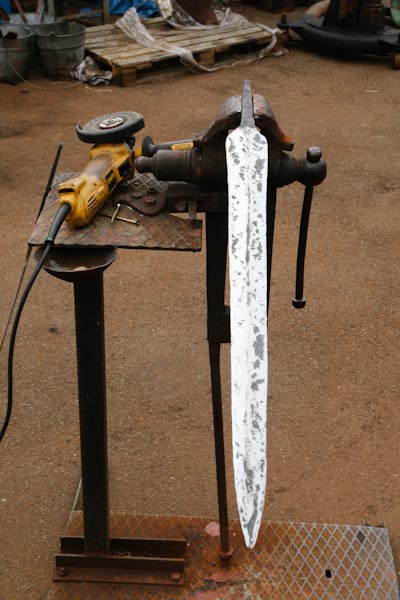
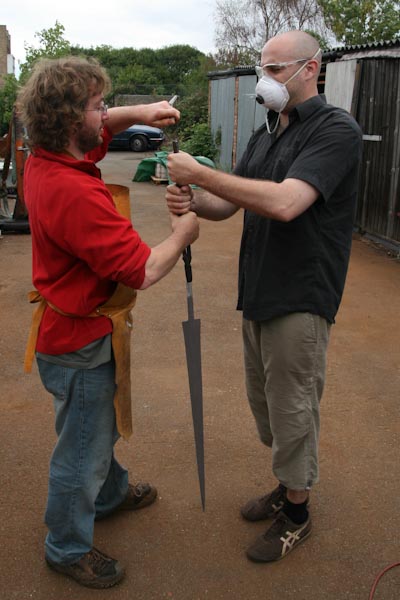
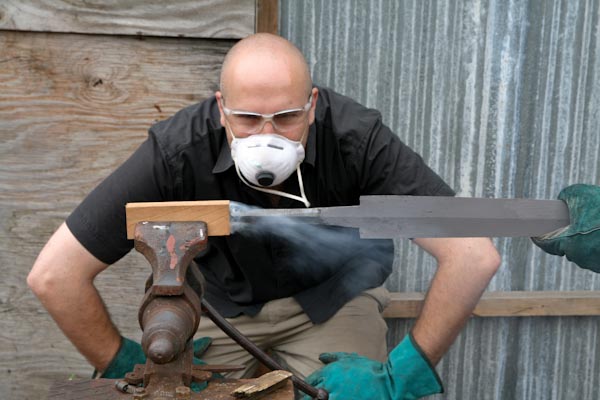
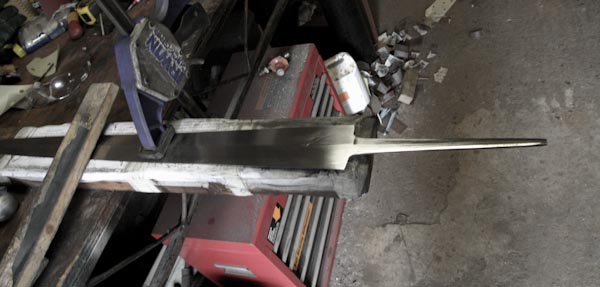
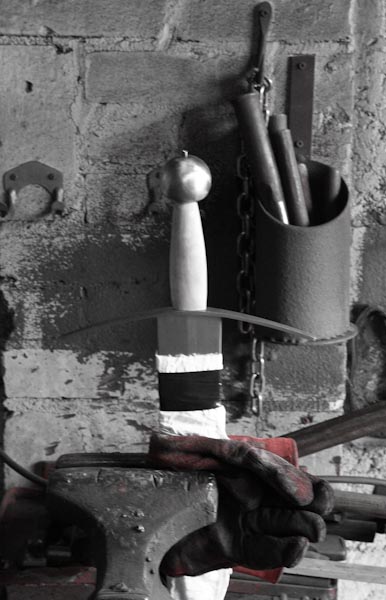
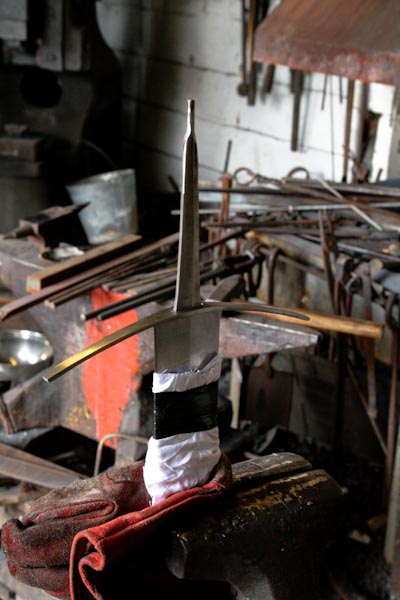
The other students created their design as they went along (for the most part type XVIIIish shaped swords) which was quicker than having to check the progress design constantly. Nevertheless, I could not have imagined to do it otherwise. I did not find any indication of weight on this particular sword, so I used the stats of the Albion Poitier, which is of the same type and dimensions. One of the challenges of this design was the sharp tapering profile (which implies to reinforce the tip by changing the angle of the flat diamond as you approach the tip of the sword). Another feature that kept me on my toes is the flaring of the blade shoulders. Now this is a feature displayed on the original sword as it is now, after much wear and honing. In it's prime, the blade would have been straight from guard to tip, like most type XV. But I found this feature to be so visually striking on the present sword that I decided to go for it. Anyway, extending the blade width on the anvil was bloody painful, ad I was very close to a tendinitis when it was finally done...I am very pleased with the result. When I lay the sword on the paper, the outer lines are spot on, save for the tip (the sword is two inches shorter, because my grinding was still uneven at the heat treatment stage and the tip bended sideway, "sabering" the blade...so I had to make up for that with the grinder and straightening the edges again cost me those two inches at the tip (Owen re-centered the diamond spine for me, that's a good example of when you can expect him to jump in and save the day for you). The pictures below show the sword at an unfinished state. It still needs polishing, sharpening, grip work, leatherwork (the guard branch will be shortened too, for the quillons are too thin for my taste). In the end, the all sword weights a little less than 2 pounds, has a strong distal taper, and feels very light and well balanced (POB 10 cm before the guard). I will give more precise stats once the assembly is completed.
To sum this very long post up...I enjoyed this week immensely as (without sounding too cheesy I hope) forging my own sword is an dream of mine since I was a kid. This was a fantastic learning experience...that answered many question I asked myself when studying the sword on books or during the home improvements/projects done in the past. I now fell able to tackle more ambitious stuff (such as re grinding and hilting these Albion moat blades I got a few weeks ago).
Money wise you will pay approx the price of an high end sword (Albion or A&A), but you will not only leave with a complete sword (and most likely with a nice dagger blade too :), but also with skills hard to gain otherwise and a deeper understanding of the sword. I think it is well worth it, and more.
Cheers,
Julien
PS: Beside picts of my own sword, I also have a crappy picture of all the swords that were made during the course, but I'd rather wait for fellow myArmoury member Ryan Renfro, who also attended (and who documented the all thing with a good camera), to post his here.