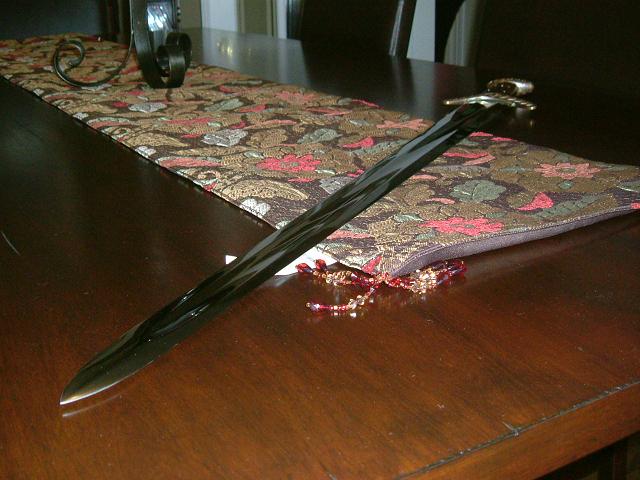
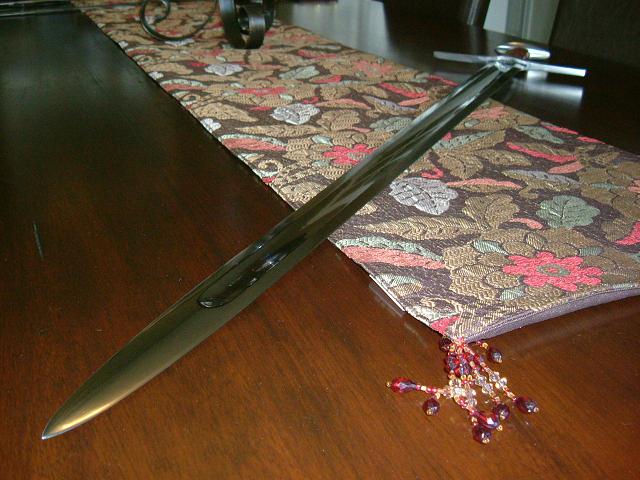
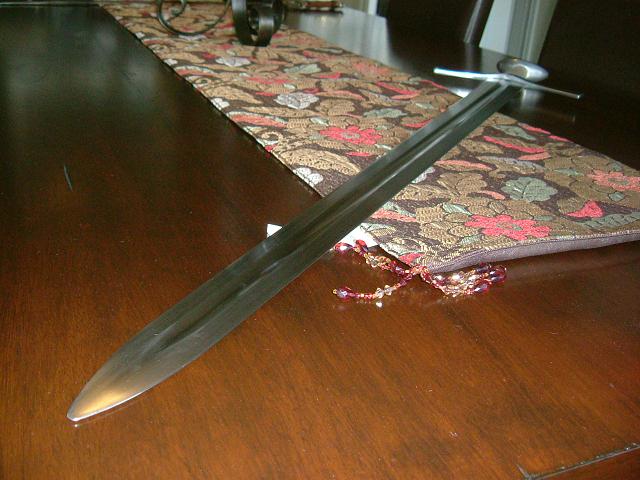
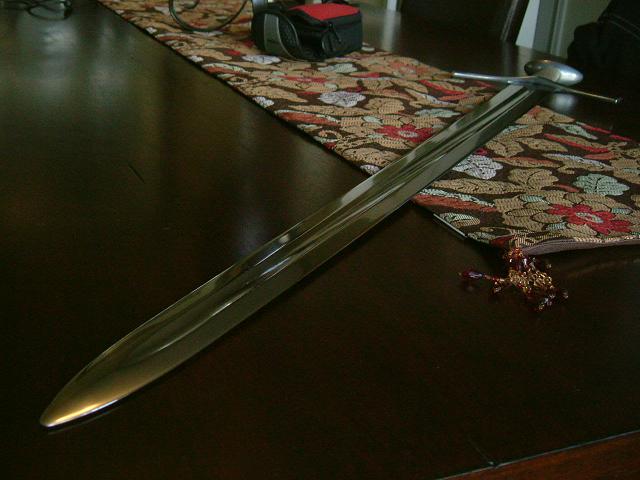
However, this is not hard (and rather fun) to fix. Following the basic procedures outlined in Patrick Kelly's feature article, I start with a sanding block and a grit of around 100 to reshape the blade as desired. Then drop the grit size in steps as far down as desired (I go right down to 2000 because I like a mirror finish). A sanding block is good for re-shaping, but after that its good to cut small pieces of sandpaper to fit the area worked on. Working one's way up the sword can produce a desired change in distal taper, if one is willing to put in the work. For dull-edged swords I have modified the finishing procedure, sitting in front of the TV with the sword over an old blanket, because it takes many hours to do a good job. Here I either cut two pieces of sandpaper and grip them between thumb and forefinger, or fold one over the edge and control how much contact desired with the edge. For sharp swords, do it on a table like Patrick says and be very careful not to ruin the edge/fingers.
Besides the esthetics, this procedure has typically taken about 1/4" of the CoG of the sword, and by improving mass distribution, causes a noticable improvement in handling.
The pictures below are from:
1) My first attempt with the Windlass Leuterit sword, to remove the diamond shape near the tip (this sword was also scratched up to begin with).
2). A recent purchase from A&A. This was already an amazing sword, but I felt I could get a little more rounded and flat from the tip to the fuller. After re-finishing the whole blade, the CoG dropped from 6.5 to 6.25.
3) My current project (not finished). In this case I am changing both the distal and profile taper of an extra-long Del Tin 2130. So far the CoG has dropped from 7.5 to 7.25. I'm shooting for 7.
I'd be interested to see if anyone else has been up to similar projects?


