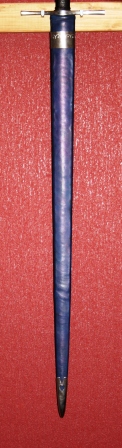
So you start about thinking to learn scabbard making. There you have to have or to learn skills about wood and leather working. Most people use the hollowing technique, I never tried for myself. But at least the shaping of very thin slats of would as the core did work for me, this is covered in cloth and glue and is finally covered in leather. So I end up with an inexpensive plain looking scabbard. This has to be dyed, some people also do some decoration. Maybe I will try this sometime, but I do not mind plain looking scabbards as long as they are well shaped to the blade.
But one thing that really bothered me, is how to find chapes and other scabbard fittings. There are a few cast chapes on the production market, but those are much too bulky for my thin scabbards. So I tried to do my own chapes. I never had an experience in metalworking, which is easy to see in my first attempt. So I also hope to get some recommendations from knowledgeable and skilled people here.
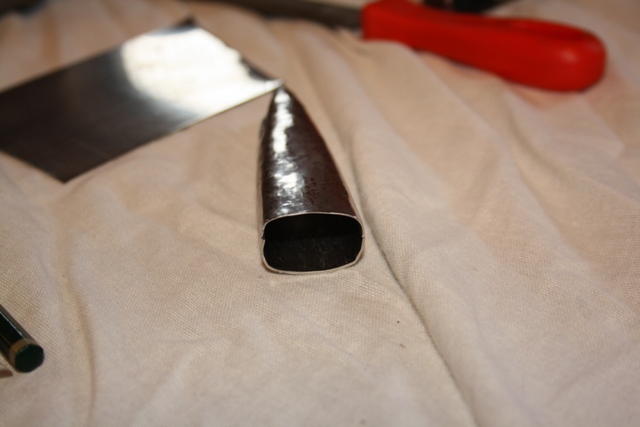
I started with some simple tool. A block of wood (as an anvil like thing), a 200g hammer, and two simple stakes I made myself from standard tools. For the material I had left 1mm thick sheets of stainless steel and ordered a piece of 1mm brass. I got to know that 1mm thick sheets might be too much for a chape and fittings, maybe .5mm are enough?
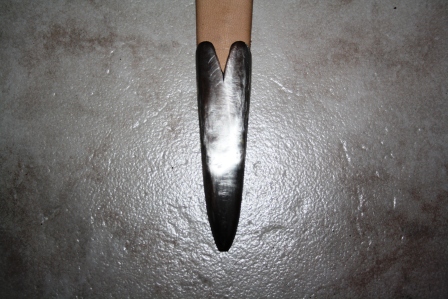
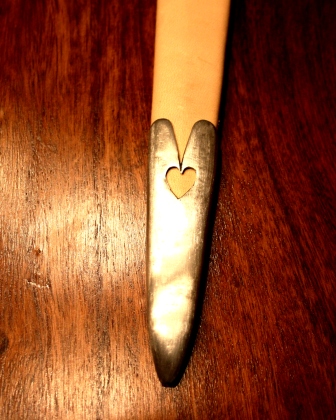
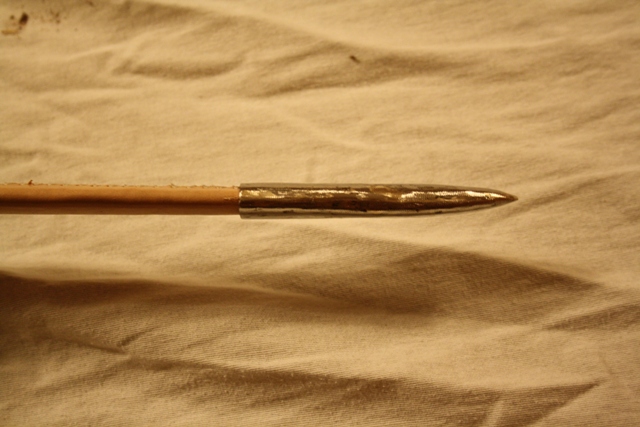
I started with marking the scabbard tip contour on the sheet and added 5mm around. I intended to make it from two halves. I shaped both pieces over the wood and stake, then ground away most of the excess with the coarse grinding wheel I have.
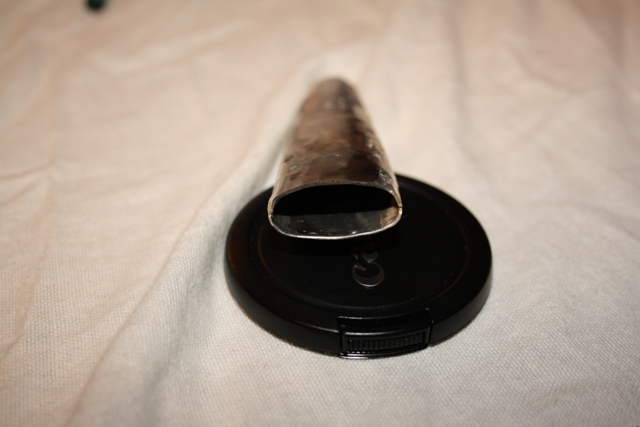
The two halves where then soldered together with silver solder. I started with a too small torch, so I nearly did mess up the piece. Bought me a bigger torch and managed to get the pieces together. They looked veeery rough then. Needed and still need to file down the marks and irregularities. Maybe 1mm thick steel is good, so no worries to file through. A belt sander or a finer grinding wheel would be great here. With a file I needed about half an hour just to smooth it out a bit. Next would be the sanding. Last picture is the fit as is at the moment.
I am already happy for the first attempt.
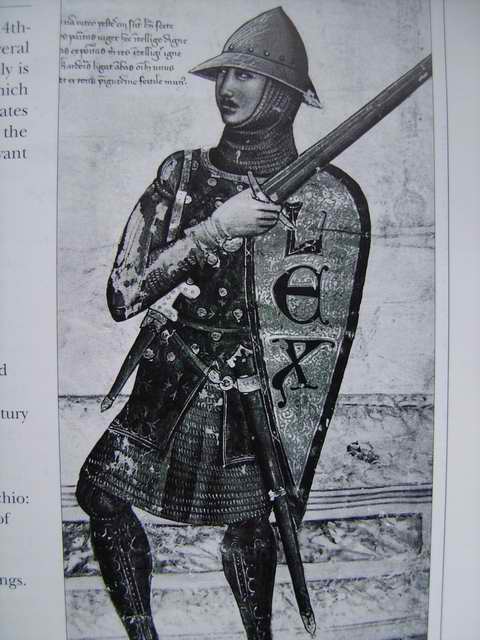
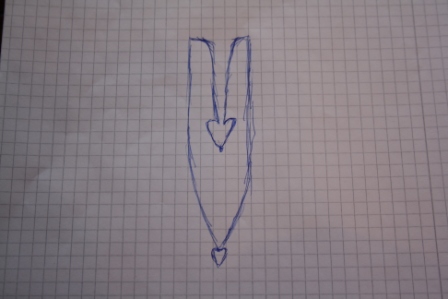
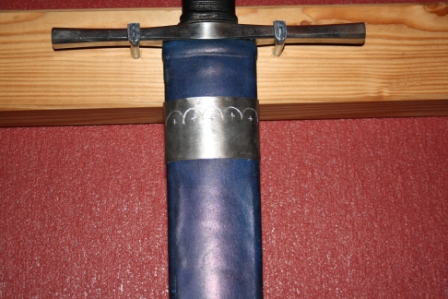
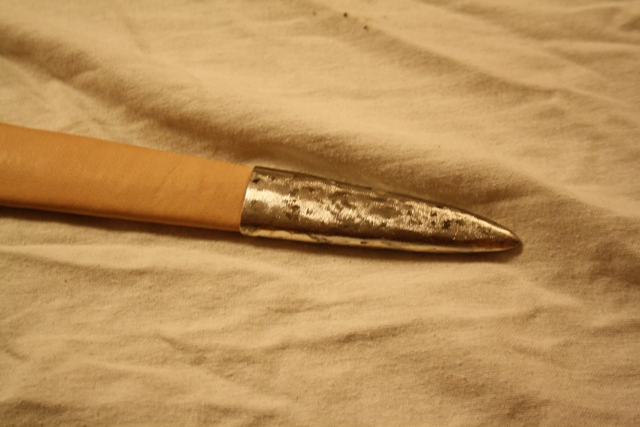
I will have to do some decoration though. This is for my Albion Crecy, I would like to put in some file work in the upper section and maybe add a tear-drop to the tip. Maybe someone has a few ideas what to file into the upper edge, I already thought about putting on a gothic arch. This straight line looks really terrible.
Next would be a scabbard fitting to the mouth off the scabbard, with two rings attached, made from one piece with simple decoration.
Thanks for your patience...

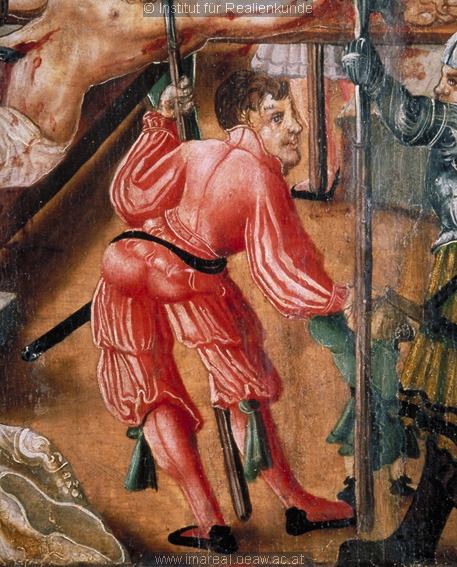
Plain Crecy sccabbard before dyeing
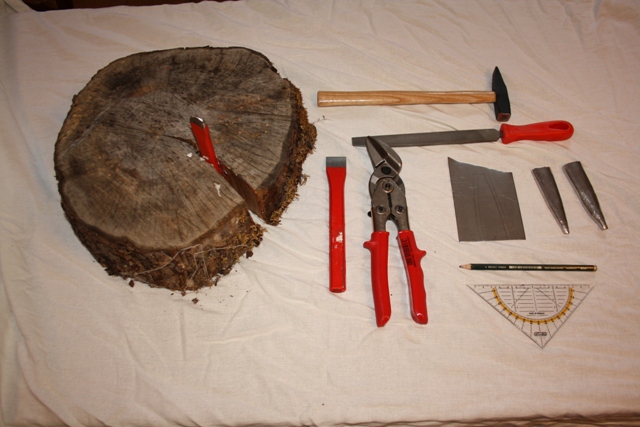
Tools, material and first shaped halves
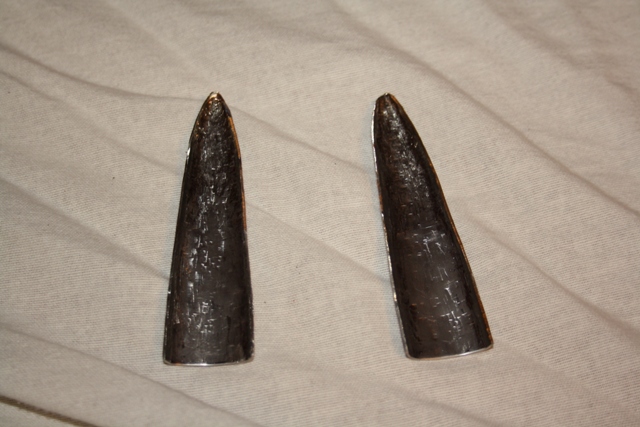
Shapeing on the inside
First fit before grinding down the sides.
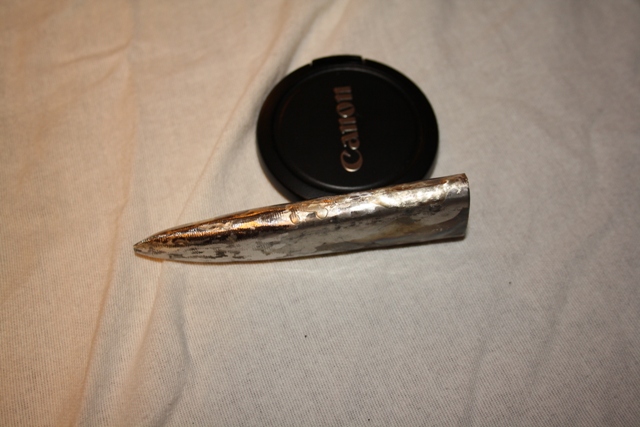
After soldering
After soldering 2
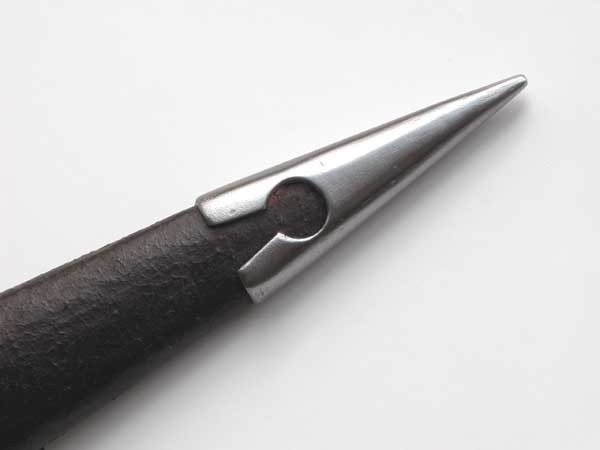
Fit on the tip
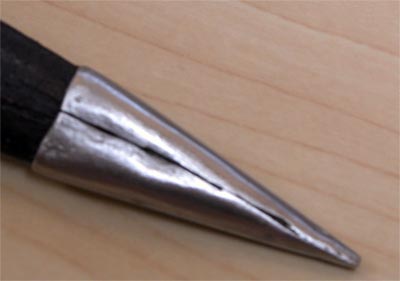
Side view