Basic Wooden Buckler Build
Hey all,

I've been working on a basic wooden buckler inspired by the early bucklers thread here and Roland Warzecha's viking shield work on youtube. I'm using all hand tools (save a jigsaw for the circles) and as traditional of materials as possible. I'm considering this a first round of practice for recreating the painted kite shield (or perhaps just inspired by) from the Szcezcin find. Also just practice with the materials and processes.

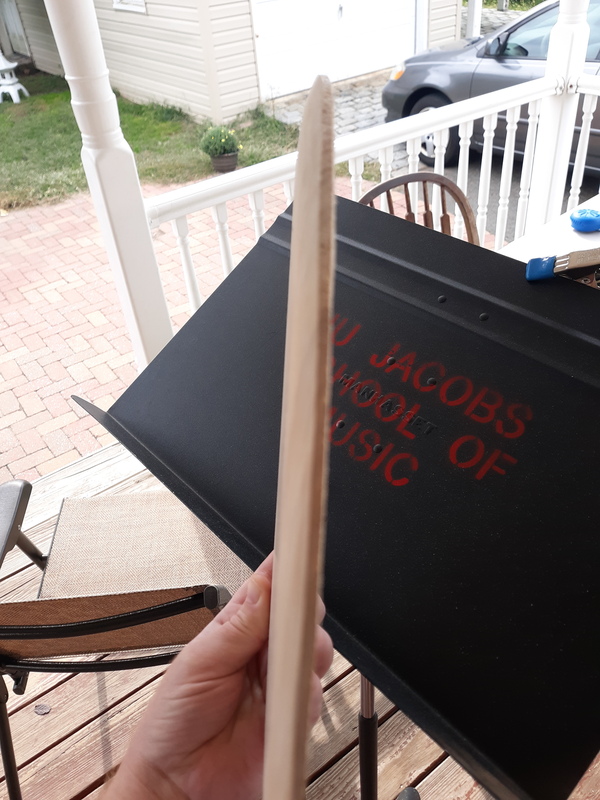
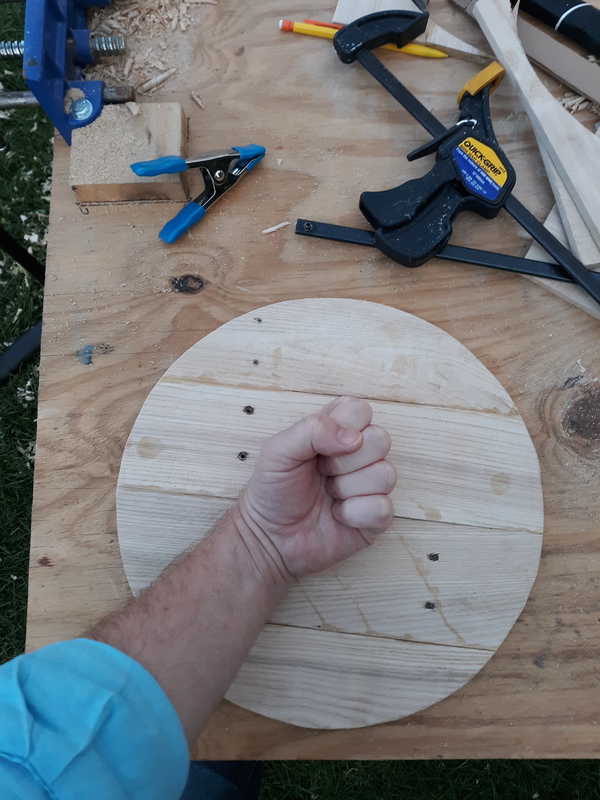
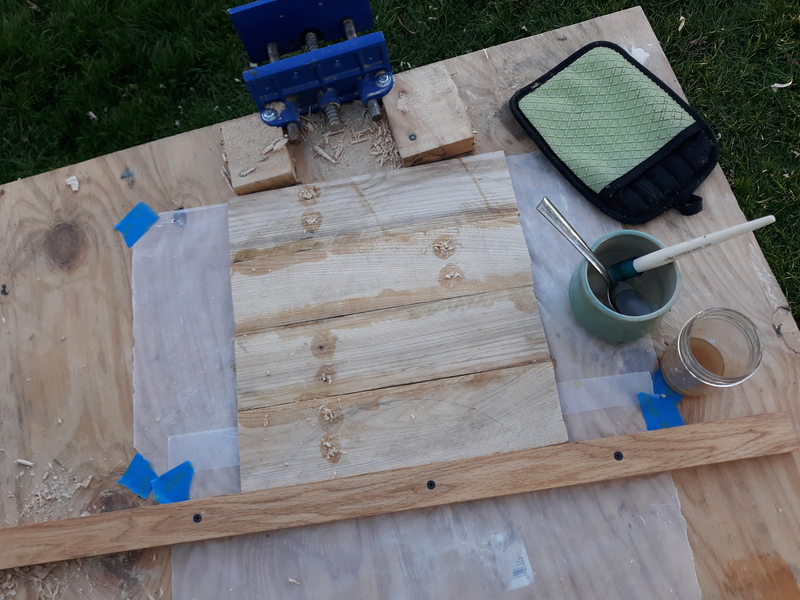
So, we started from pine pallet wood. There are some sources mentioning pine, and it was available, so I went with it. I planed as much as I needed for the buckler down to about 8mm with a draw knife and a rasp. That was a lot of "fun." I have never worked with hide glue before, but I used hide glue to join the planks once planed down to the correct thickness. I then marked out the circle with a pencil on a string and cut it out.

I thinned down the edges to about 3mm with a rasp and sandpaper, tapering from as close to the center of the shield as possible. This is when it really started feeling like a buckler instead of just round piece of wood. I then marked out the center circle and drew the design that I wanted on the face.

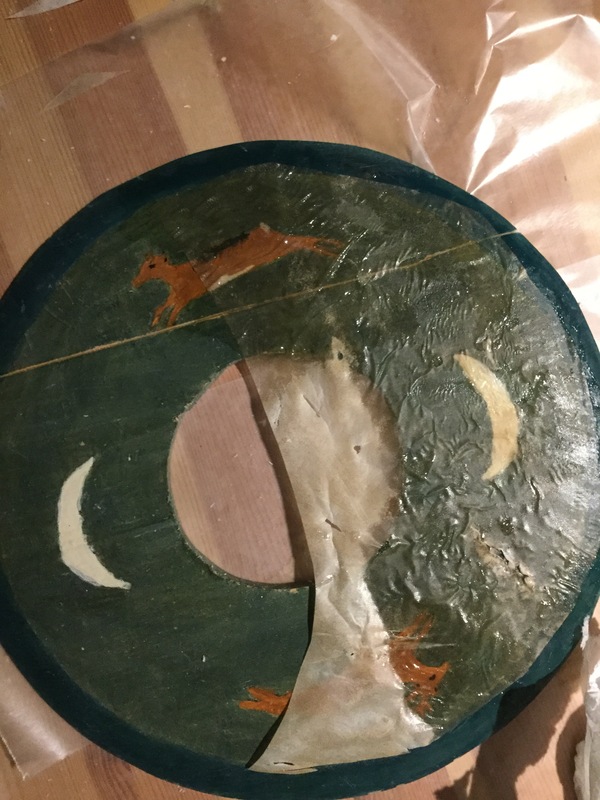
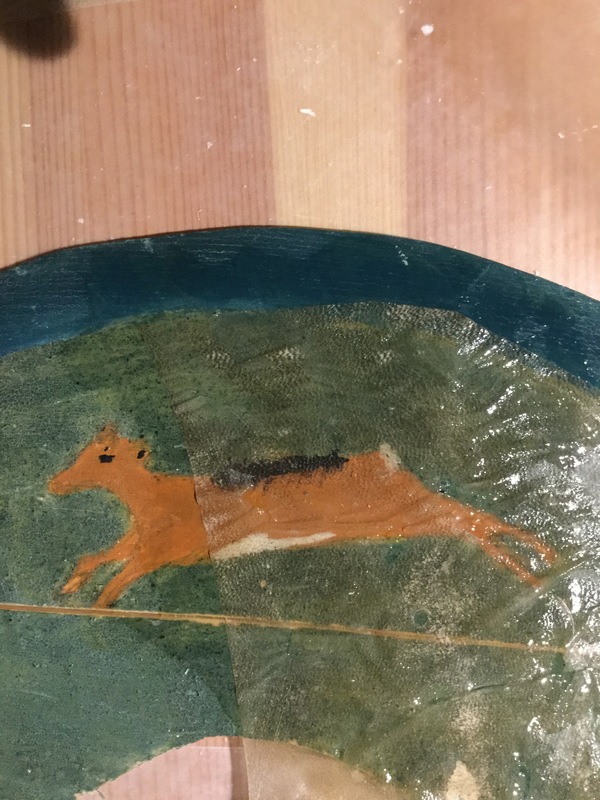
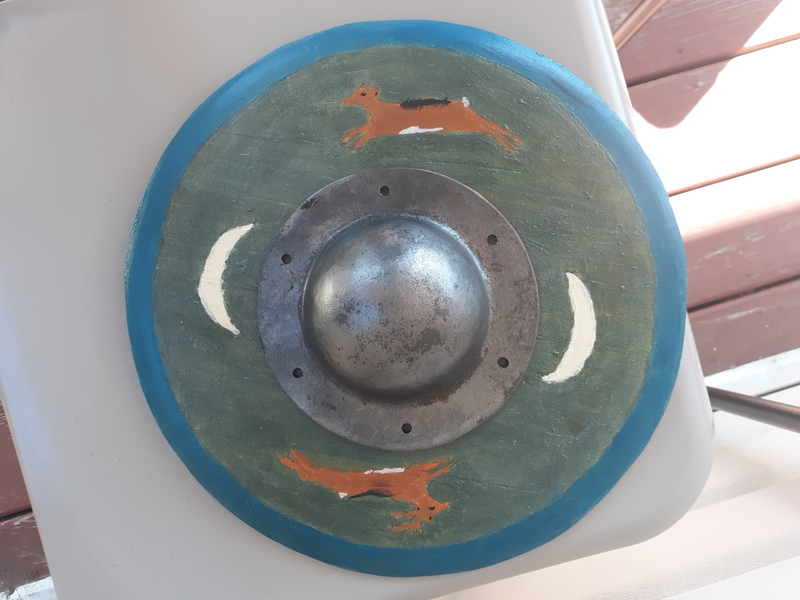
Once the center was cut out, I began painting. I used historical pigments and an egg tempera base, once again inspired by Roland Warzecha's youtube work. Painting with egg tempera on wood was not that easy, even though I sanded the surface down with 360 grit sandpaper. A couple of coats later, I had this design. The thought is to subtly represent slavic pagan imagery with the deer and a lunar motif, the full moon being represented by the shield boss. Not a historical design, but I did look at medieval paintings for inspiration on the deer.

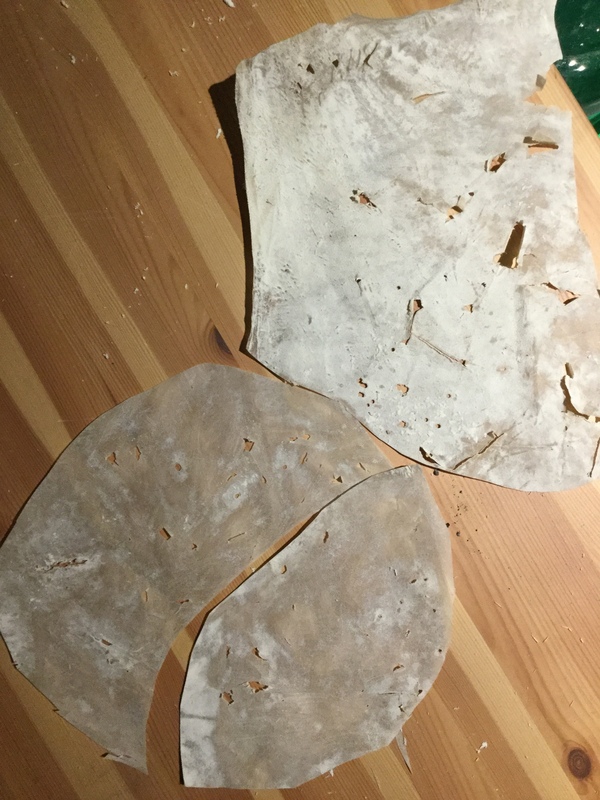
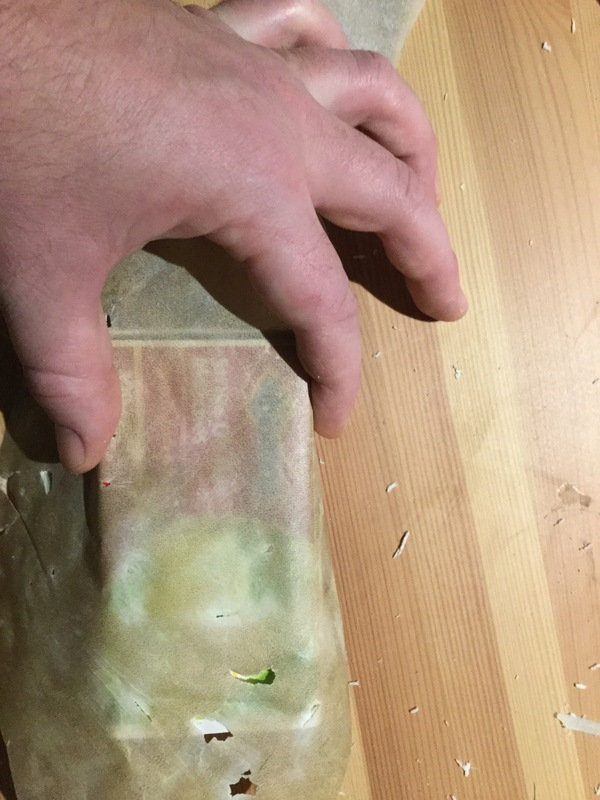
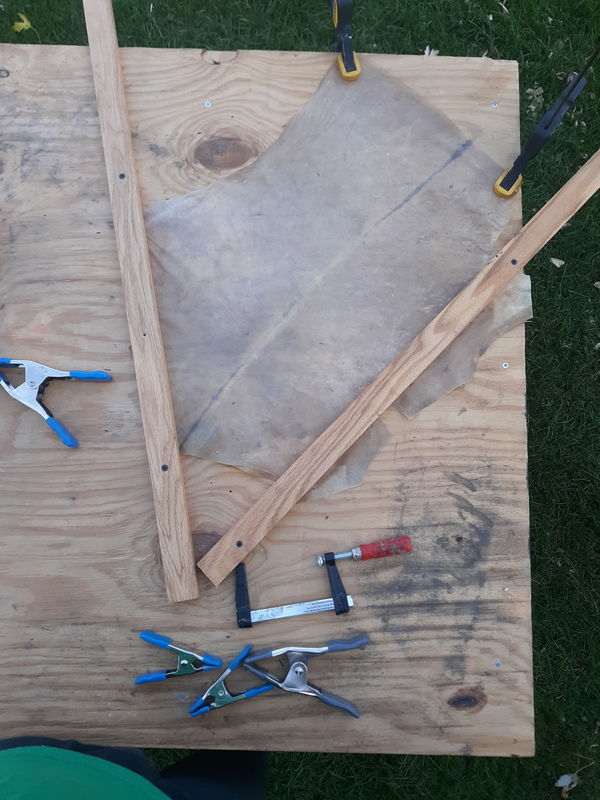
The rawhide is goat for the thinness, the picture shows it after soaking and being stretched slightly/flattened. In the next post I'll show thinning it down to translucence. The thought is that the Szczecin shield had a facing over the paint, as paint was found on the boards and it would have needed some kind of facing to be sturdy since it was just of planked construction. In the spirit of honing skills to recreate that shield, I am attempting that technique. Will have an update in a couple of days.

If anybody has experience with techniques related to any of these processes and has good pointers, I'm all ears! Thanks to everyone on this forum for the excellent resources.

Cheers,
Jeff

Videos in case anyone wants to see more of the process:
https://www.youtube.com/watch?v=y_4N2ncu1ng Joining and shaping
https://www.youtube.com/watch?v=uRSPpvONsds Painting
 Attachment: 247.67 KB
hidesmall.jpg


 Attachment: 188.08 KB
paintsmall.jpg


 Attachment: 229.96 KB
markedoutsmall.jpg


 Attachment: 225.56 KB
edgesmall.jpg


 Attachment: 241.16 KB
shapehandsmall.jpg


 Attachment: 253.39 KB
gluedupsmall.jpg


 Attachment: 248.39 KB
bucklerbeginsmall.jpg

Jeff,
Nice job! Nice way to take found wood and turn it into something nice. :) I'll admit my favorite pic has the Manhasset music stand in the background. I have a Wenger stand from my alma mater. :)
Haha thanks! I think all music students deserve one quality stand as a "parting gift" for the tuition we pay.

As far as the wood, there is a new subdivision going up behind my house and there are a ton of pallets. I did ask before taking a few, but got a few decent ones.
When you said “pallet wood”, I cringed inside. Huge props to you for making that look really good! I am duly impressed!
Thanks! Good stuff can be made from pallet wood with some time and patience. I really appreciate the compliment, it has taken a lot of time and still isn't done! Will probably glue on the rawhide facing in the next couple of days, will post some pictures.
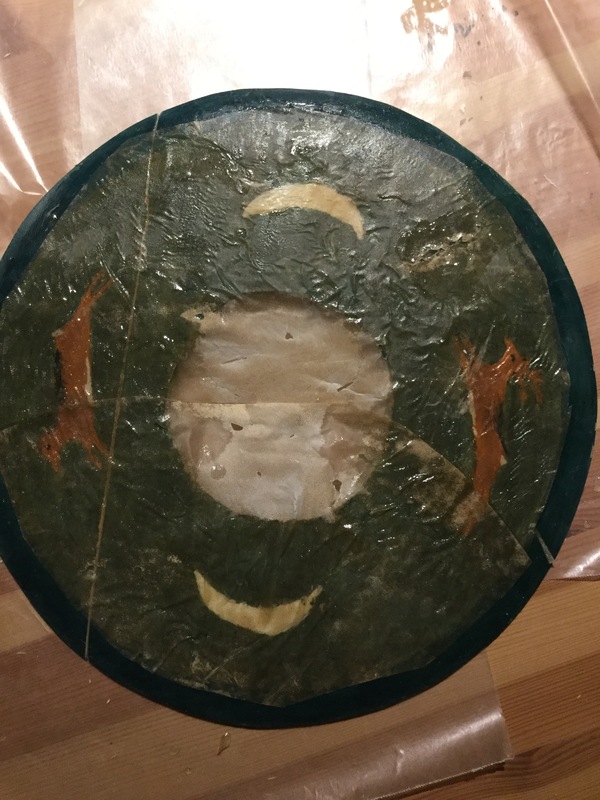
So, I'm actually quite pleased with how the facing turned out.

I thinned out the goat rawhide to the point that I could see the design of a matchbox through it. I did this with sandpaper and lots of patience. I tried a sharp knife like Roland did in his video, but it didn't work for me. I spent probably over six hours just sanding goat rawhide, and I will still have to do more to get the edge strips, but I won't be as picky on those. If you're interested in the particular technique, feel free to ask.

As you can see, I made a lot of tears in the hide. I got a lot better as I went along, though, and the smaller tears aren't very noticeable in the finished product. Once it was applied with hide glue, the smaller tears seemed to kind of meld in with the hide glue, though you can see the paint more clearly in those spots. It also became much more translucent when glued to the surface. I will use an iron to get out the larger wrinkles/bubbles, but honestly probably won't bother making it completely perfect.

This suggests to me that this technique is definitely historically viable. I'm just some bozo in 2020 trying it for the first time and I would call this success even though it's not perfect. I know that they didn't have sandpaper, but they also had generations of knowledge that I don't have, and they had tools that are close enough. If one did brighter, more contrasting colors and a design with less detail (cross, spiral, etc.) I'm sure you could get away with not thinning it down as much as I have, too.

Will be doing the edge strips soon, then attaching the boss and a handle. Video of the process coming soon. Thanks for checking it out!


 Attachment: 213.62 KB
hidecutoutsmall.jpg


 Attachment: 129.37 KB
hidematchessmall.jpg


 Attachment: 152.37 KB
hideprogresssmall.jpg


 Attachment: 169.88 KB
hideprogressclosesmall.jpg


 Attachment: 153.79 KB
hidewetsmall.jpg


 Attachment: 282.94 KB
hidedrysmall.jpg

That is coming together nicely!
Thanks! Like I said, clearly far from perfect but I've never made a shield at all before let alone tried some of these techniques. Lots of time invested, but I consider it a successful experiment so far.
Gesso
This looks really good! You did a great job with shaping everything.

I’m curious why you went to the trouble of painting the buckler and then glued hide over top of it. Was this something you’ve seen elsewhere?
My understanding of this (from other sources like the shields Roland has examined and the Black Prince’s beautiful shield at Westminster) is that a more common practice was to put the parchment on first (possibly over a layer of linen) and then to gesso the surface and smooth it with sandpaper/pumice before painting it. A varnish or sealant can be done with egg whites (whip them, let them settle back down, pour off the liquid and use that as a varnish).

Regardless, I think this looks amazing and I’m really impressed with your focus and hard work. I feel like I may be ripping up some pallets myself sometime soon ….

Page 1 of 1

Jump to:  
You cannot post new topics in this forum
You cannot reply to topics in this forum
You cannot edit your posts in this forum
You cannot delete your posts in this forum
You cannot vote in polls in this forum
You cannot attach files in this forum
You can download files in this forum


All contents © Copyright 2003-2006 myArmoury.com — All rights reserved
Discussion forums powered by phpBB © The phpBB Group
Switch to the Full-featured Version of the forum