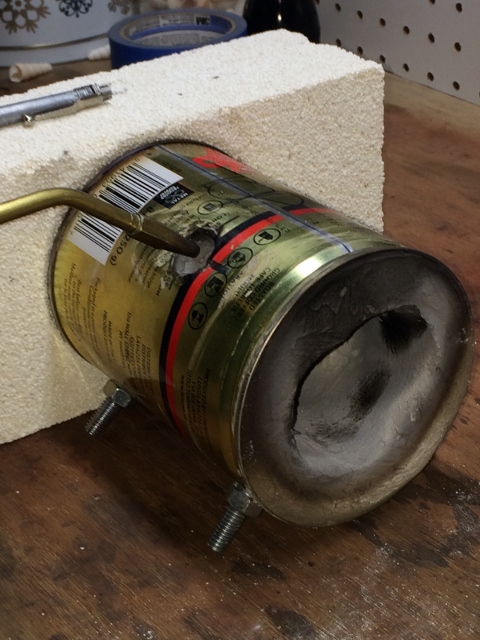
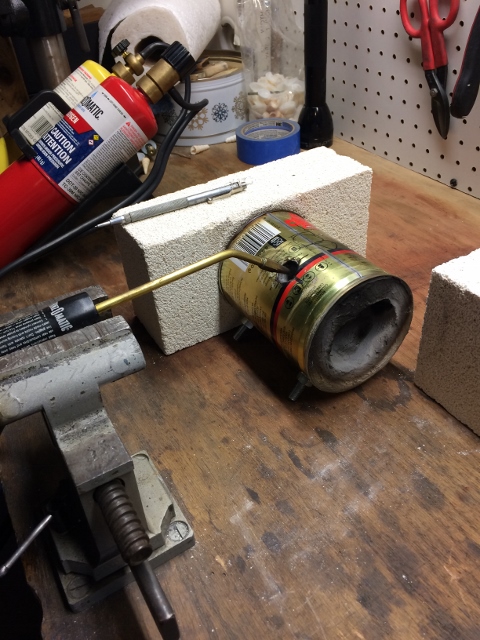
It was my first experiment with 1084 steel; with using a coffee can forge (used just a torch before, limiting myself to 3" edge at most); and with doing blade inlays more complicated than a single short line.
This time I took some WIP pictures so decided to start with them and some discussion of techniques involved rather than posting the finished knife right away.
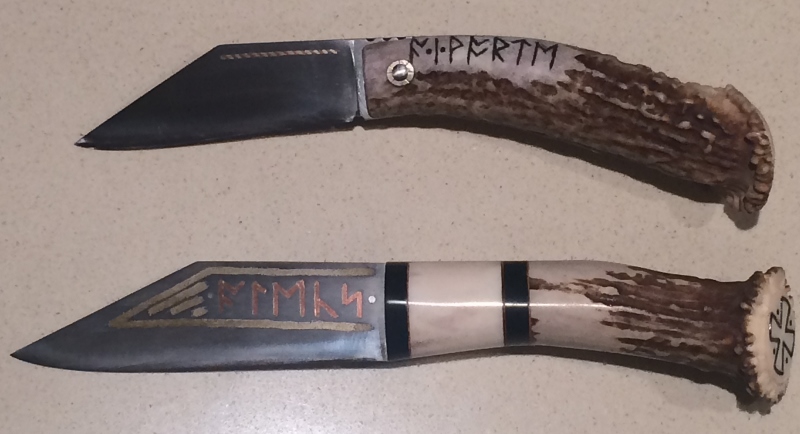
The blade was made by stock removal. 4" long, 1 1/8" wide, 3/16" thick back, flat ground almost all the way to edge (actually edge was later finished as slightly convex).
Just like with my last project, I decided to cut all the grooves for inlay before heat treatment. I was afraid that the back of heat treated blade may end up too hard for cutting grooves, and this time this is exactly what happened: even though I only dipped the edge for about 1/2" into oil, the whole blade including the back got hardened! Could it be something about 1084 steel (I used 1095 before a few times and differential quench worked)?
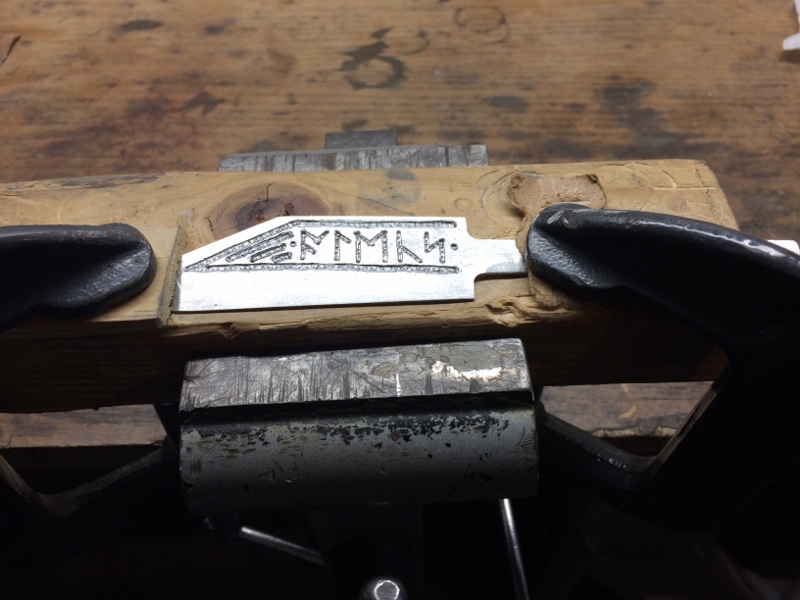
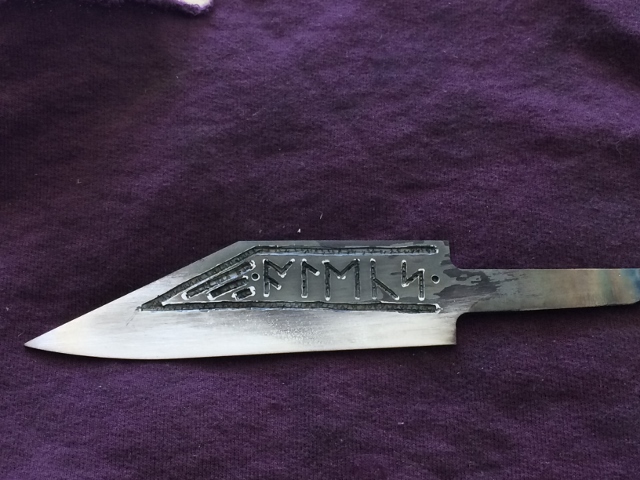
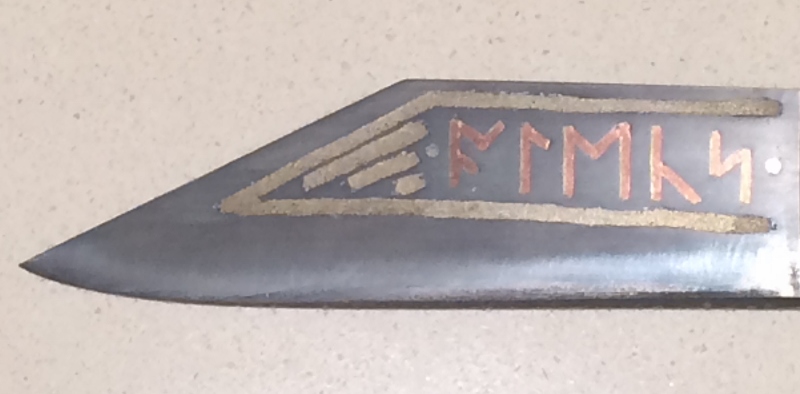
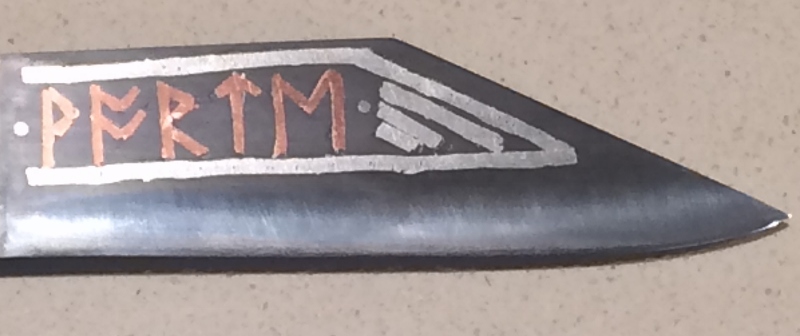
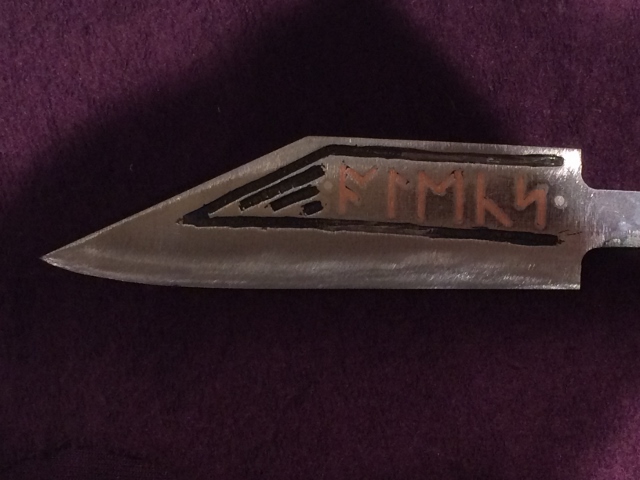
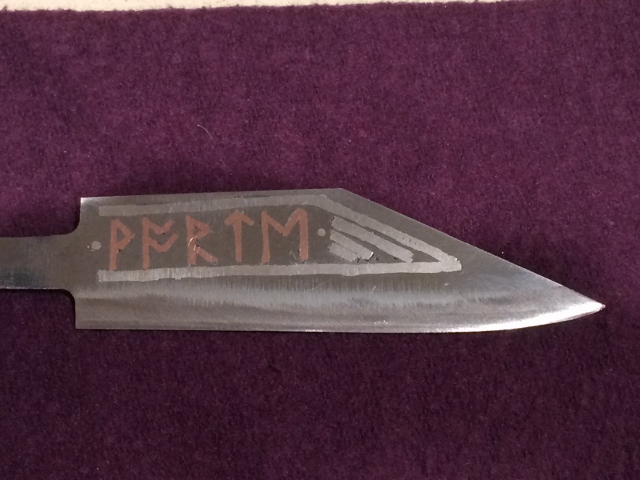
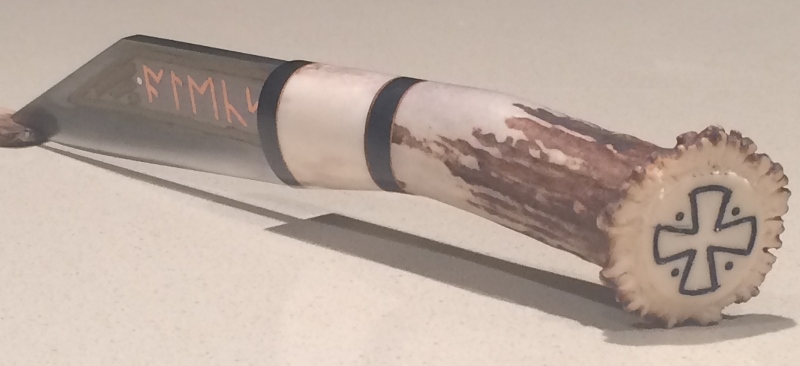
I originally planned for inlay in Anglo-Saxon runes, one word on each side: "ALEKS WORTE" (Alex made), to be surrounded by a border of two opposing strands of twisted copper/silver wire (to form the classic chevron pattern).
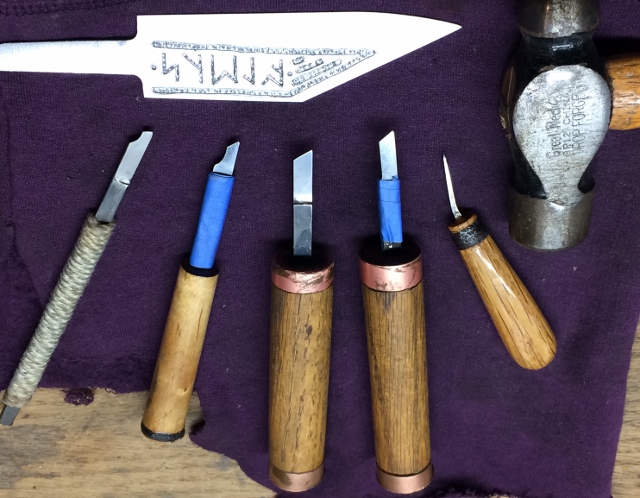
I also used self made experimental chisels (of 1095 steel) , some of which I used in the past for inlays in soft metals (Japanese style projects) and some specially made for this project. I know it must be a pain in the neck compared to modern tools, but I figured simple high carbon steel tools is what they used in the past for engraving unhardened steel so it can be done and would be more interesting.
So here are the tools and blade engraved for inlay.
To be continued...