I was not really documenting my DIY projects recently, but decided to do it properly this time.
For a long time I was intrigued by a "Swedish feather". Some time ago, Tod started an interesting conversation on this topic: http://myArmoury.com/talk/viewtopic.php?t=212...ht=feather and he has made an interesting interpretation of this weapon: http://todsstuff.co.uk/in-stock/img-ts-instock-11-large.jpg
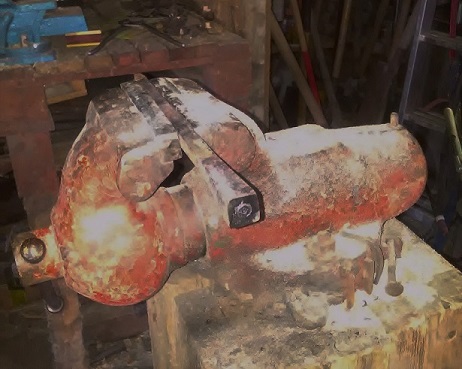
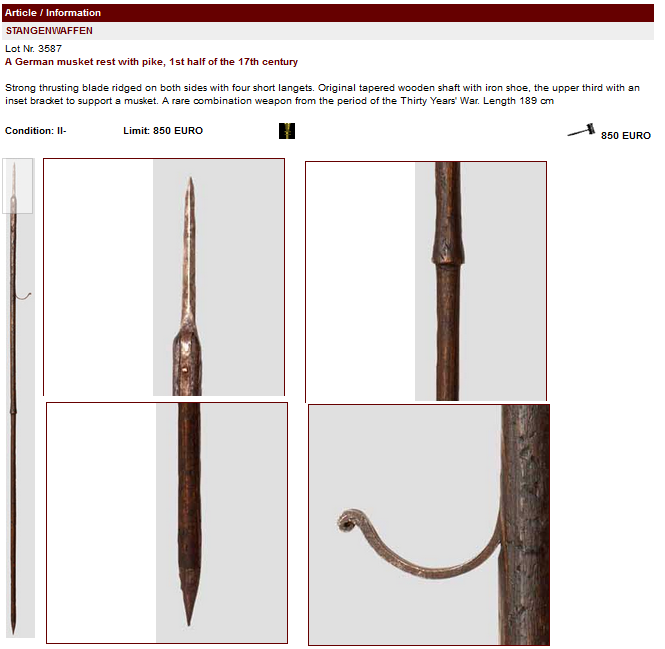
My project will be based on example sold some time ago in HH auction (picture 1). I will have to make the spike blunt, because it will be used in re-enactment. Unfortunately, I am not able to forge it, so I will not follow any specific historical production methods. Instead, it will be much about welding, grinding, etc.
I have started with the spike, shaping an old piece of steel I took long time back from my friendīs smithy. The original piece has no socket - the spike is secured only by four (?) langets. Instead of only welding the langets to the spike, I have decided to secure them by a bolt, running through into the spike.
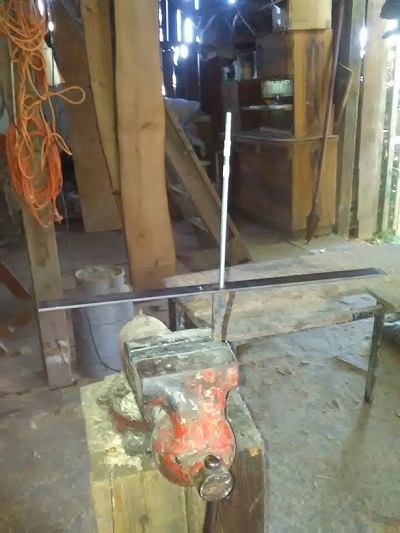
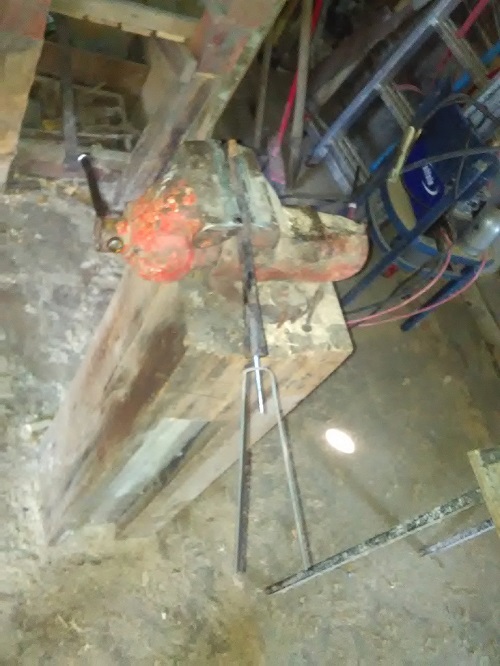
So the first thing was to drill a hole into its bottom, and thread it (picture 2). Same hole was drilled into a long steel trip - the first pair of langets.A preliminary assembly is shown in picture 3.
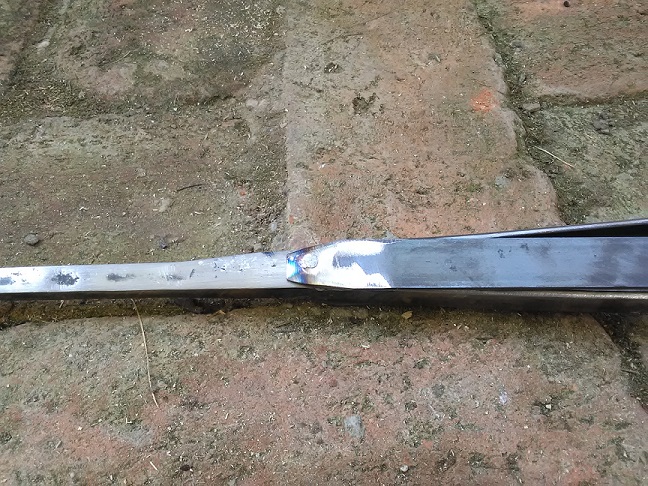
Then the first pair of langets was bent and secured to the spike - the last picture was taken in the process. And thatīs as far as I got now:)
Attachment: 125.05 KB
Attachment: 86.07 KB
Attachment: 81.38 KB
Attachment: 106.59 KB
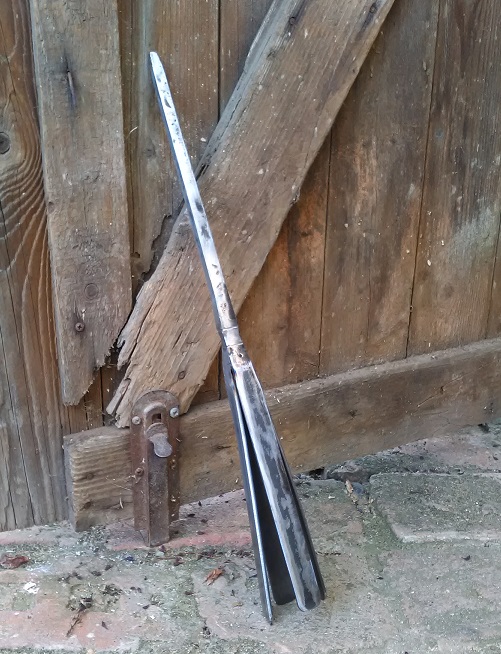
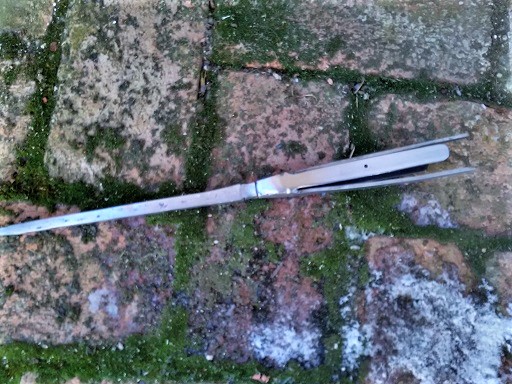
Iīve managed to move on with this a little. After welding and cleaning the first pair of nagets, the second one was riveted to the sides (picture 1) and welded (picture 3). It was quite a long job, filling all the holes and making it as solid as possible, and Iīm not really super-satisfied with the result. I really need to practice more with welding.
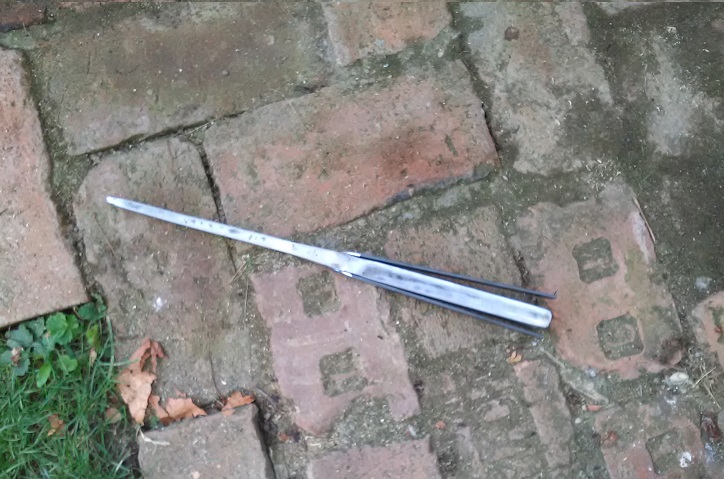
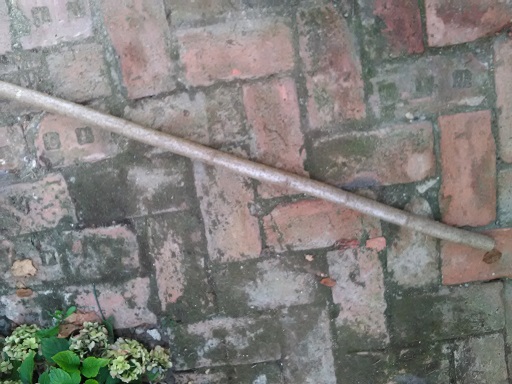
after some initial cleaning (picture 2) Iīm done for now with the spike, and will work on the haft. For that I took a nice piece of hazel (picture 4).
Attachment: 188.84 KB
Attachment: 155.48 KB
Attachment: 148.79 KB
Attachment: 90.22 KB
after some initial cleaning (picture 2) Iīm done for now with the spike, and will work on the haft. For that I took a nice piece of hazel (picture 4).
Attachment: 188.84 KB
Attachment: 155.48 KB
Attachment: 148.79 KB
Attachment: 90.22 KB
The work is nearly finished, unfortunately I did not make too many pictures.
First, I had to re-do the spike a bit, because it was too heavy. I have shortened the langets and narrowed them (picture 1).
Next two pictures show spike mounted to the haft.
The last thing would be attaching a hook / musket rest.
Attachment: 123.04 KB
Attachment: 74.68 KB
Attachment: 105.68 KB
First, I had to re-do the spike a bit, because it was too heavy. I have shortened the langets and narrowed them (picture 1).
Next two pictures show spike mounted to the haft.
The last thing would be attaching a hook / musket rest.
Attachment: 123.04 KB
Attachment: 74.68 KB
Attachment: 105.68 KB
Great work! a real trettioarkriget look about it. Are you going to add a musket hook?
Thank you, Stephen. Sure, I have already started working on it, just did not have enough time to finish it.
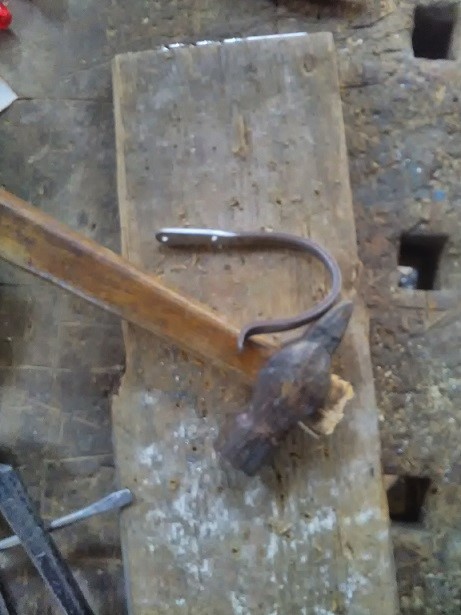
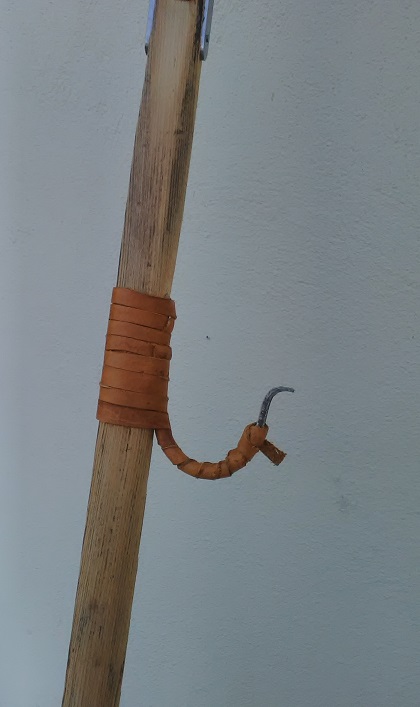
I am making a simple hook that will be riveted through the haft. I am planning to use this one in reenactment, so I will probably bind the hook with a leather cord - I had found it more practical (the musket does not slip on the hook, and it also partly protects stock from scratching).
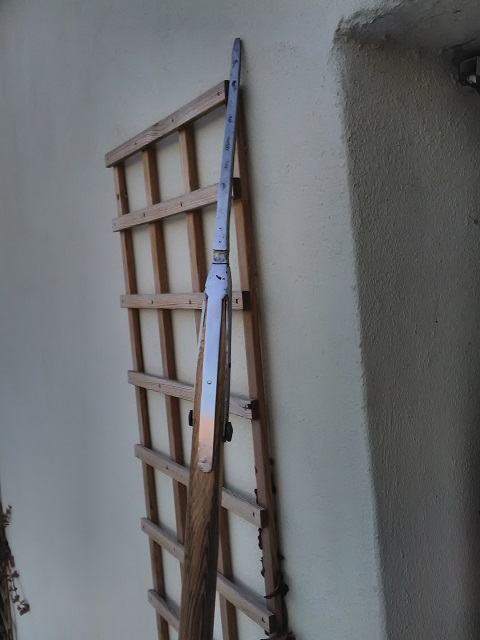
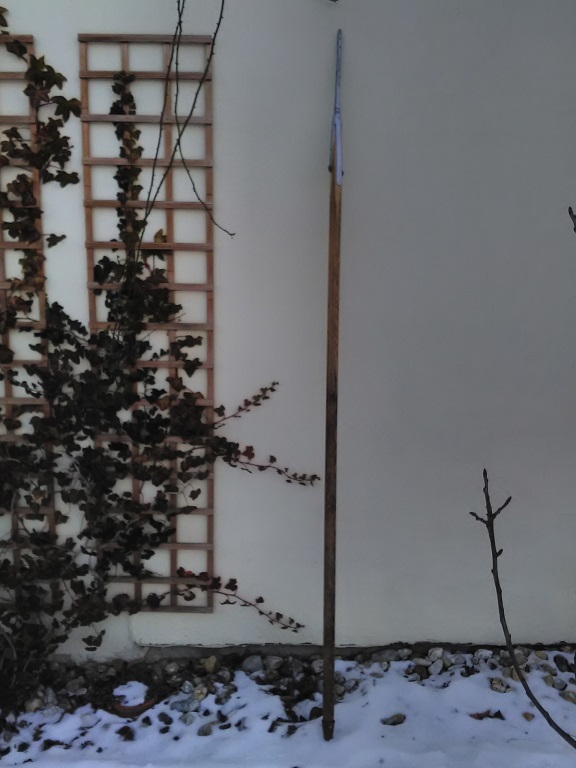
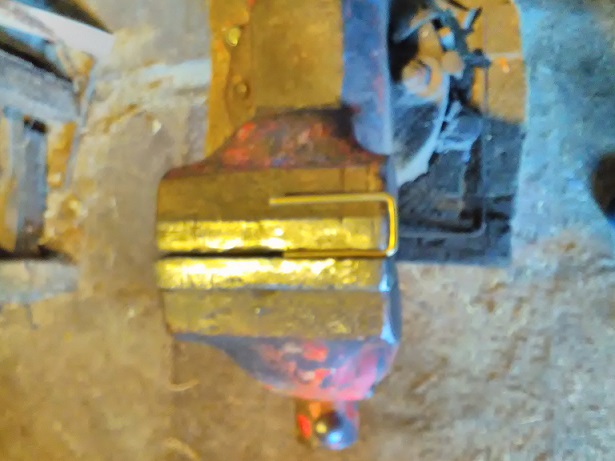
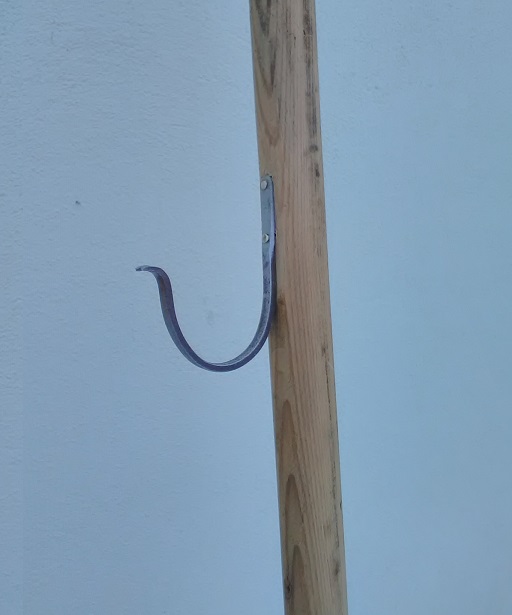
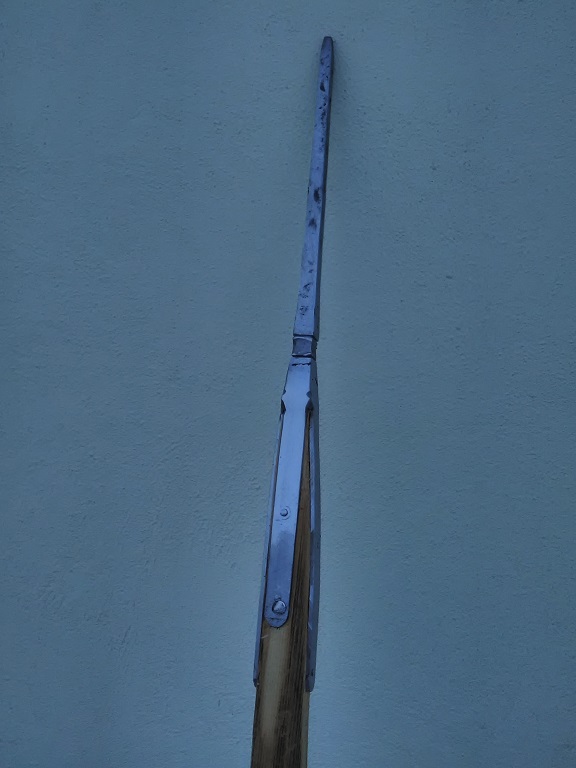
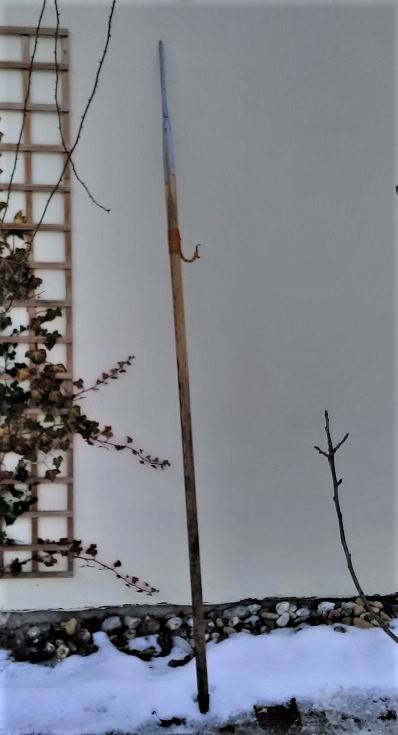
So, this project is finished. I have made a musket hook from a piece of soft-steel that I found in the workshop (picture 1). It has been riveted to the haft through two holes, using a U-shaped piece of brass wire (picture 2). The last picture shows the final assembly.
Finally I have decided to remove two big nails that were attached to the end of the langets - I did not like the look of it, and did not find it particularly period. Instead, I have used flat-headed nails, which do not protrude much above the langets - picture 4.
And the hook was wrapped in leather - picture 5.
Attachment: 89.42 KB
Attachment: 81.25 KB
Attachment: 50.51 KB
Attachment: 90.14 KB
Attachment: 62.37 KB
Hereīs the finished piece. Iīm going to put it in action at our regimentīs muster in April.
Attachment: 77.69 KB
This is excellent Radovan, as usual! Really impressed by the variety of things you are willing to tackle.
Cheers,
J
Cheers,
J
Thank you, Julien:) Apart from that spike, it was not a very difficult project. I can imagine that by forging, this could have been done even faster & easier.
Page 1 of 1
You cannot post new topics in this forumYou cannot reply to topics in this forum
You cannot edit your posts in this forum
You cannot delete your posts in this forum
You cannot vote in polls in this forum
You cannot attach files in this forum
You can download files in this forum
All contents © Copyright 2003-2006 myArmoury.com All rights reserved
Discussion forums powered by phpBB © The phpBB Group
Switch to the Full-featured Version of the forum
Discussion forums powered by phpBB © The phpBB Group
Switch to the Full-featured Version of the forum