I like to keep my DIY projects (at least for now) pretty cheap - bargain basement in fact. The project in total cost me about $40 - just the price of the head itself (with free shipping) as I was able to source the other materials from things I already had. After cleaning up the head, it was time to shape the haft. Being unable to source ash at the lengths desired (7.5 ft) I decided to go with some red oak, which ended up being lighter than I first thought, and is plenty strong enough for the task. Though I know ash is the historically preferred method, I told myself that period smiths or haftsmen in my situation might have done the same thing - when your desired material is either unavailable or too expensive, go with another good option. I began by ripping the haft to uniform size on the table saw - 1 1/4 width; 1 3/8 depth; 7 1/2 ft. long. After the rough cut, I went on to finer shaping. I octagonalized the haft and then used a combination of surform tool and file to shape the head for the socket and to narrow down the haft closer to the top in order to decrease any stress on the langets where they join the head.
After the shaping was finished, I applied some JB Weld to the socket, and down the length of the langets just for good measure. I used some bright nails from the hardware store and cut them off at half the width of the haft to create some langet nails. I also put JB Weld on the nail shaft before hammering into the pilot holes I had previously drilled. In order to make the nails a little less modern, I used the disc on my belt sander to create more of an angular shape and make them look a little more "forged." I chose not to place nails in the socket holes as the socket itself was rather thin and I didn't want to cause any splits or break-offs by trying to insert a nail. I tried cutting a nail head down to nothing and JB welding in place over the hole, but unfortunately it didn't stick. It's noticeable, but not something that bothers me too much - the head is definitely not going anywhere! Rather than make a buttcap for this piece, I decided to go with some furniture tacks on the bottom - 3 in total, just to give it a little ground clearance. I had previously read somewhere that this was a permissible solution for service grade weapons...but can't remember where.
Lastly, I oiled the haft and it brought out some very nice grain patterns. The red oak I sourced for the haft was sawmill cut lumber that had been sitting out in the weather for 2-3 years. As such it had some tiny wormholes and other imperfections which ultimately ended being a nice complement to the "rough" forging of the head. Though I do eventually plan on taking the grinder back to it in order to give it some kind of edge (and bevel the spear point a bit), I'm pleased with how it turned out. A nice service grade weapon that looks like it's been on a campaign or two - not bad for a bargain basement DIY!
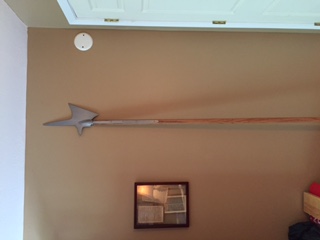
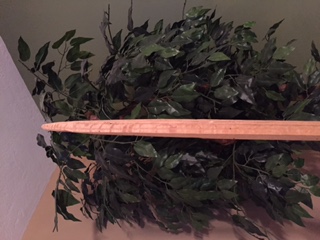
Finished project.
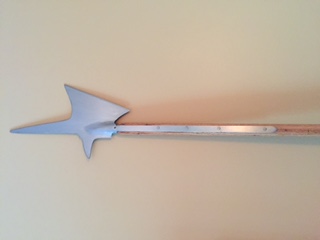
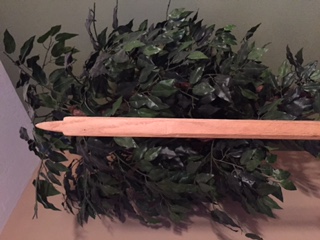
Finished project close-up.
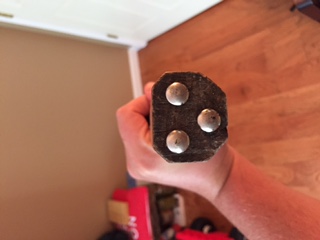
Tacks.
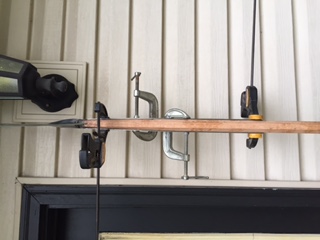
Clamps applied after JB Weld and langet nails.
After final shaping.
After final shaping.