Go to page 1, 2  Next

WIP: XVIIIa longsword
Hi guys,

so, the last sword has just been handed over to the owner and it's time to get started on the next one! The blade on this one is inspired by the sword of Albrecht II. Oakeshott describes it as a perfect example of the type XVIIIa. My version will be a bit longer and more slender in the upper half.

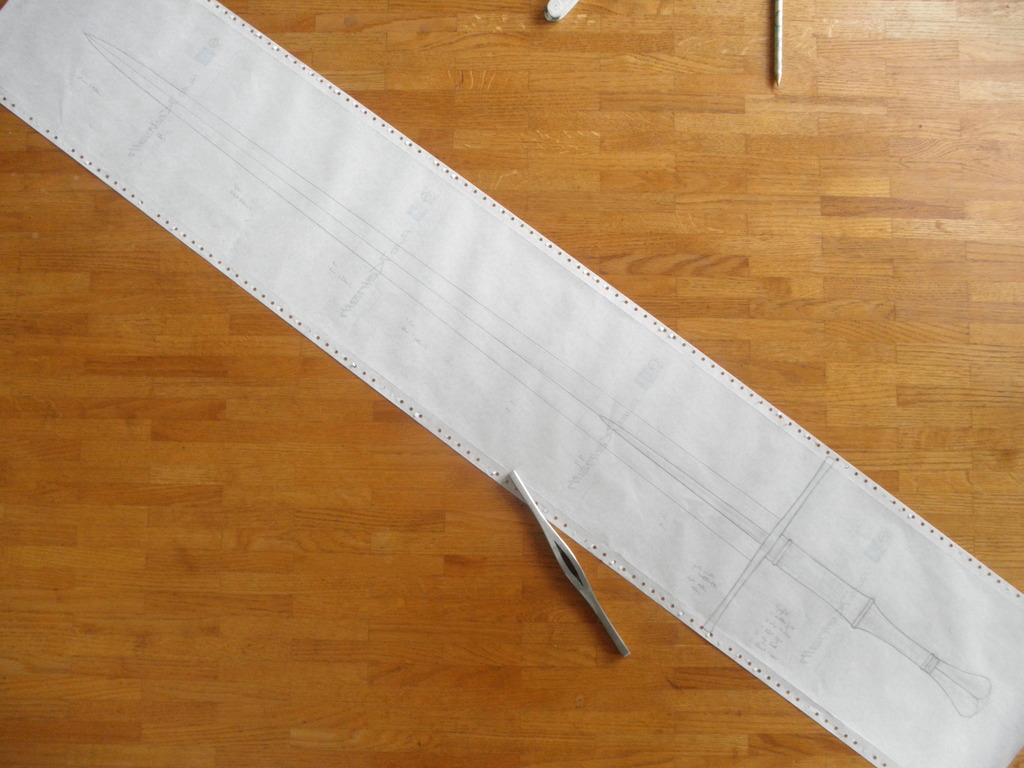
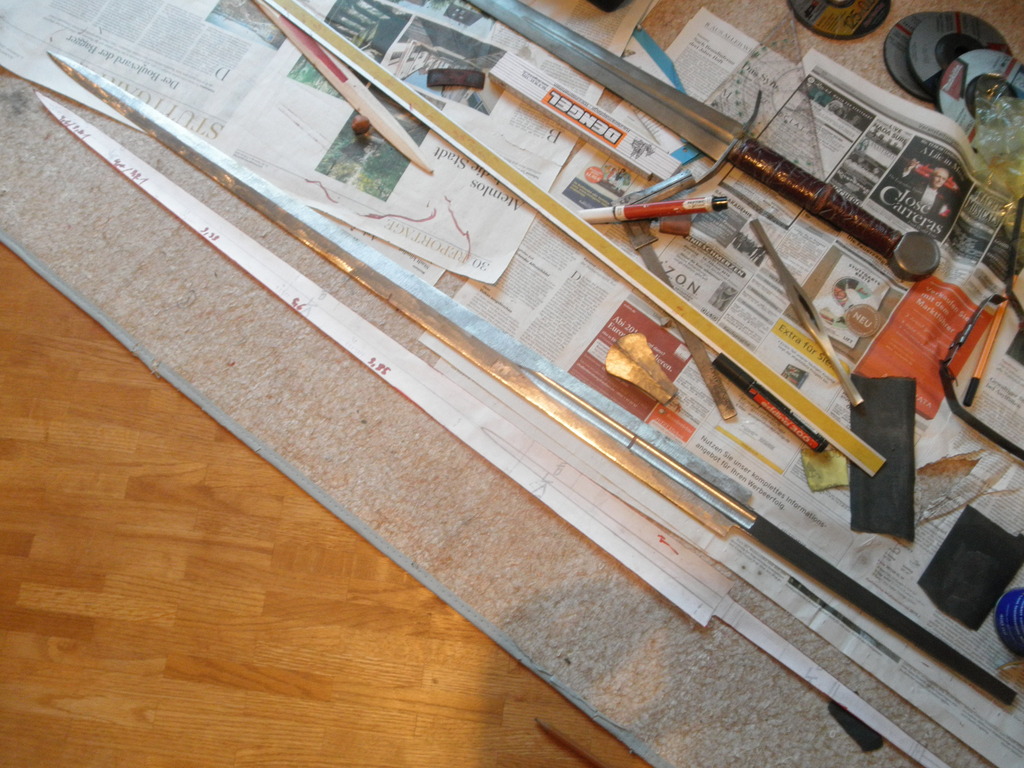
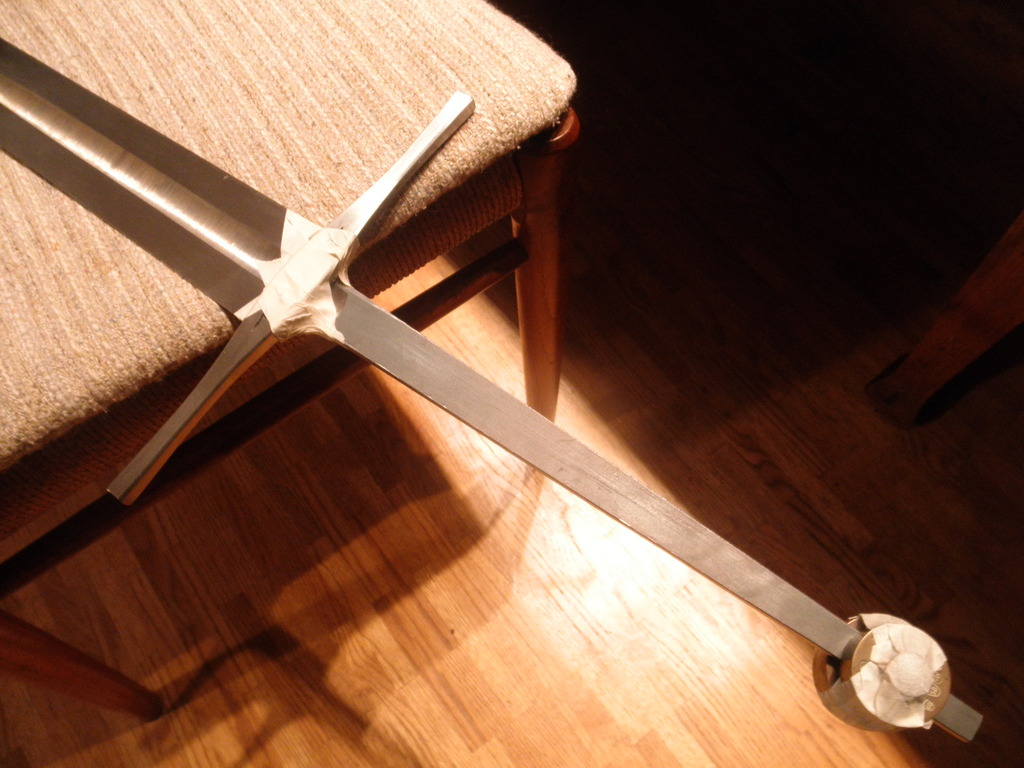
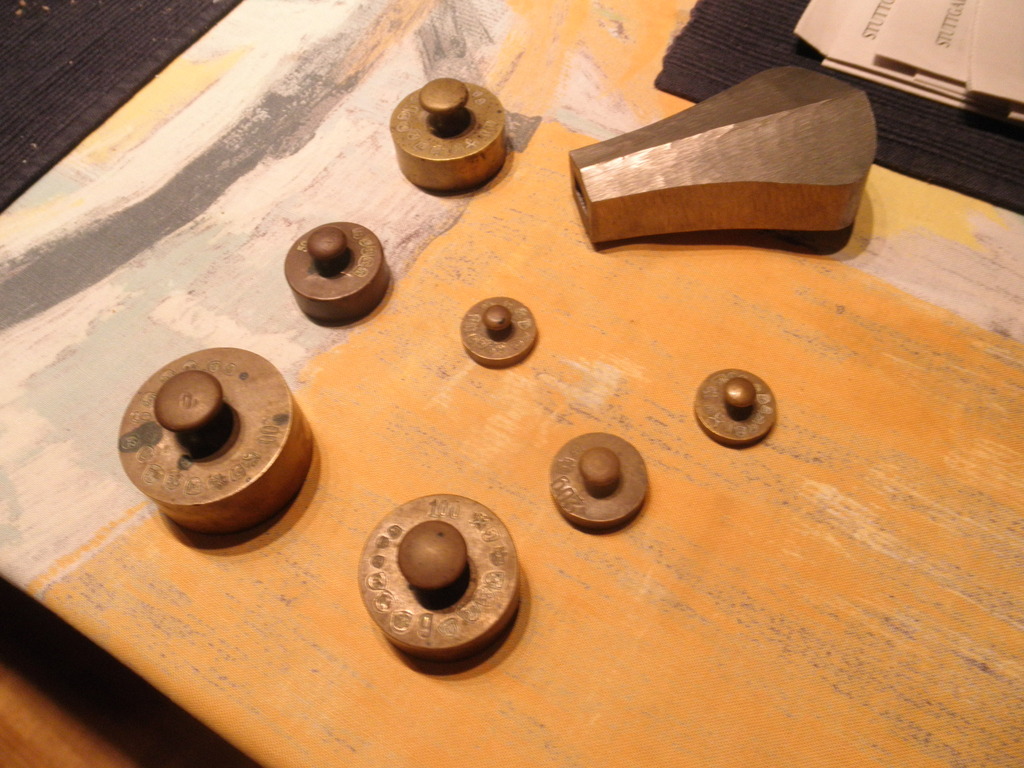
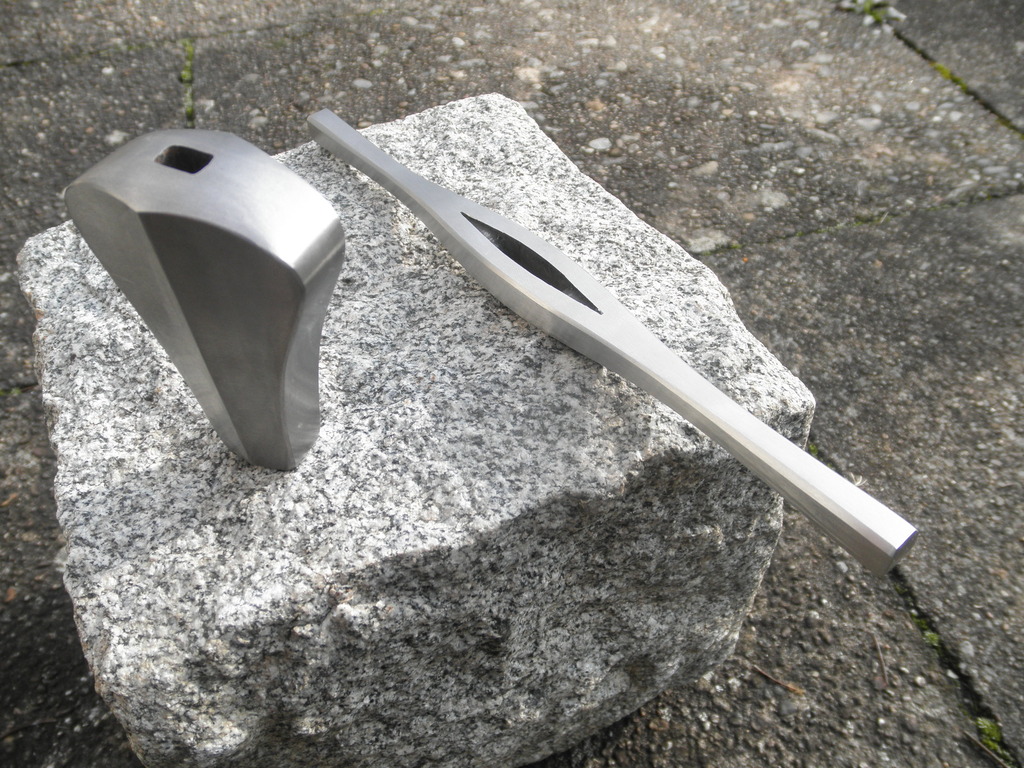
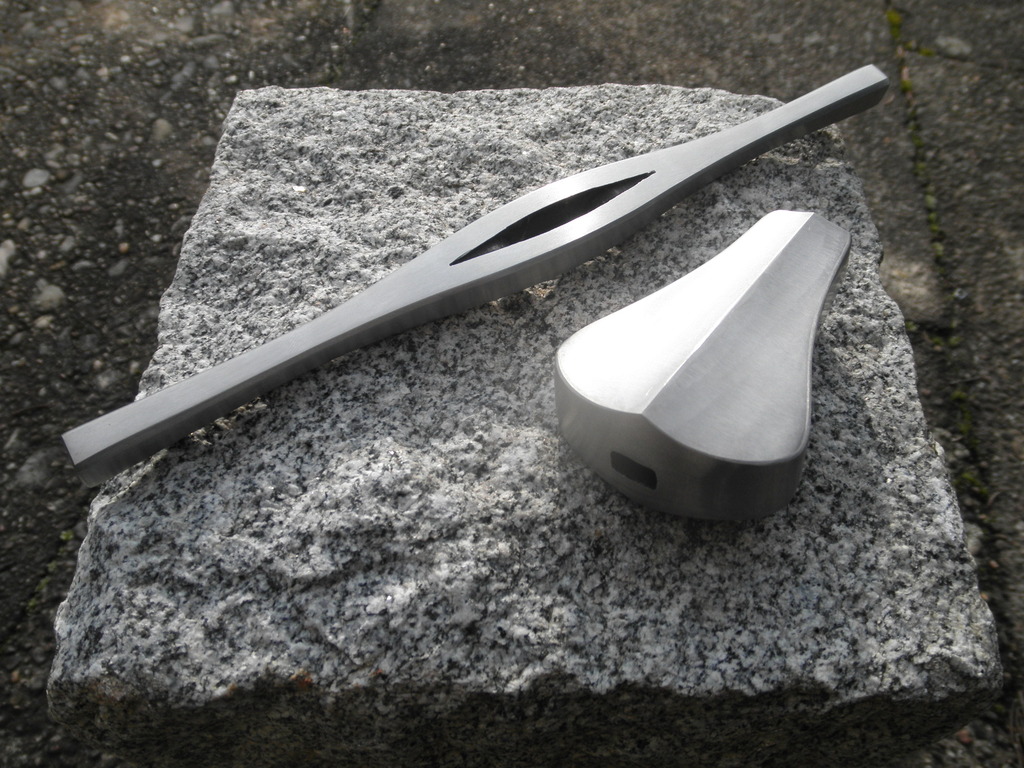
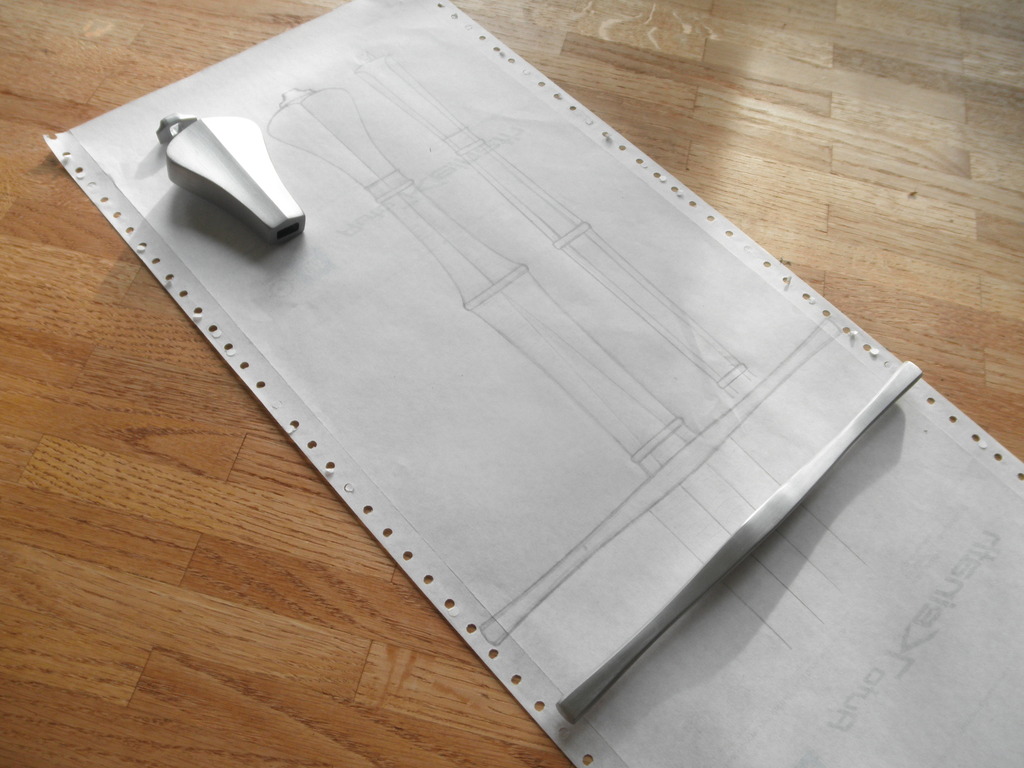
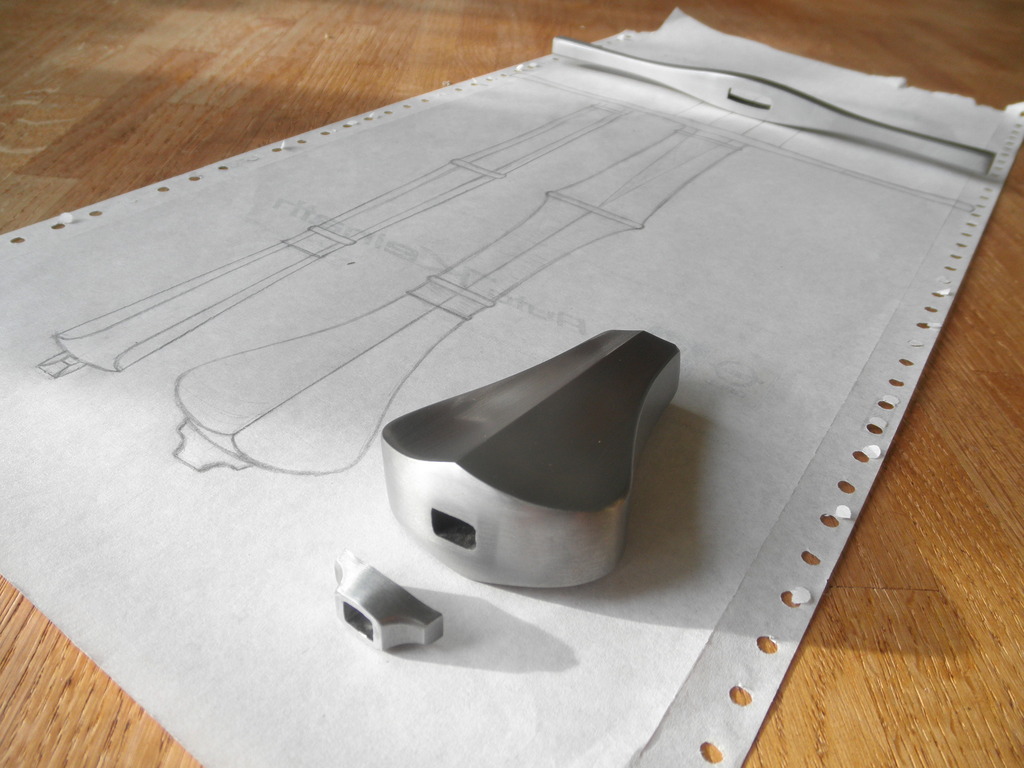
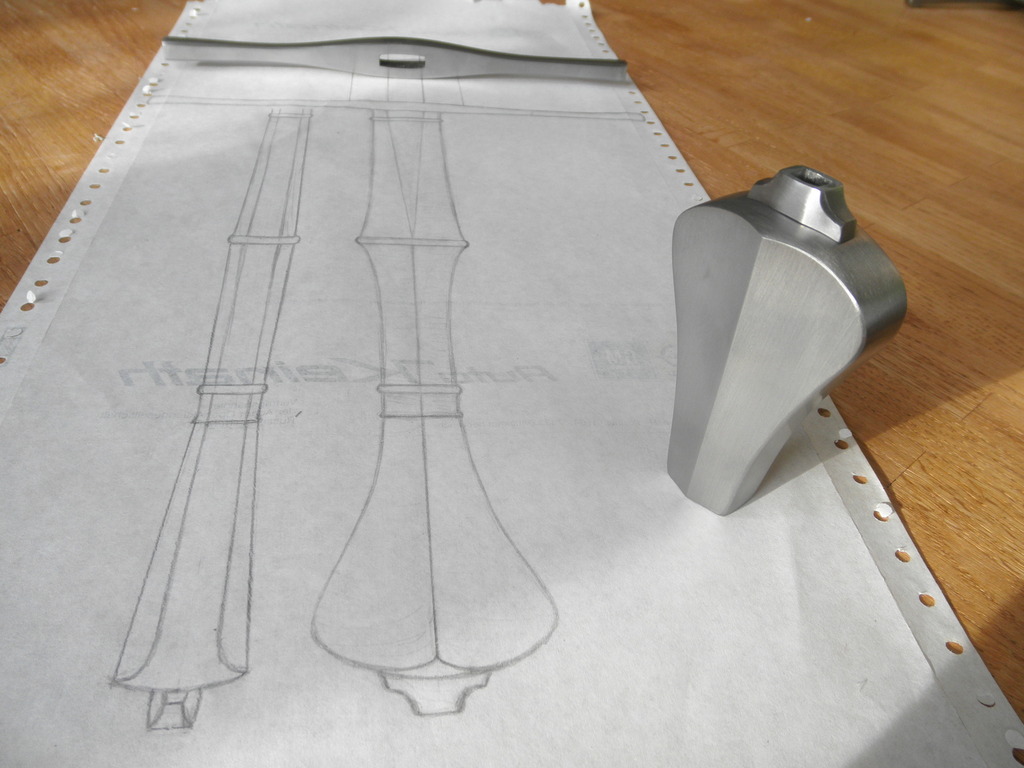
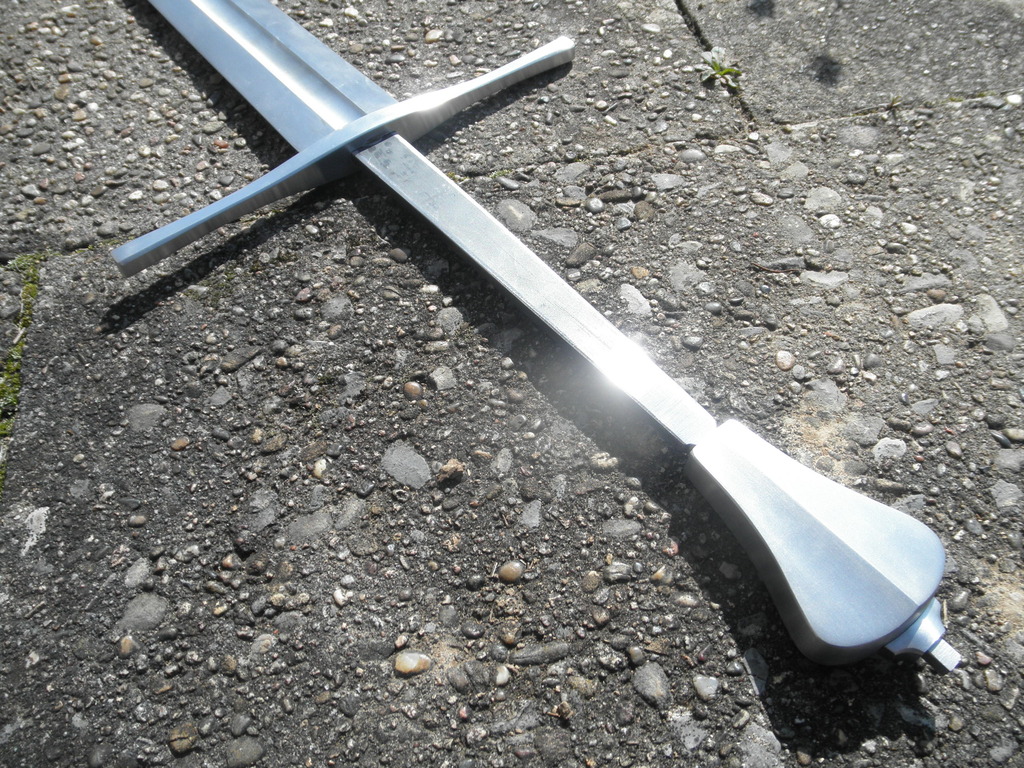
Here's a pic of the full size drawing. Every sword I make starts out like this. You can also see the guard and roughed out pommel in these pics. I made the guard a while back and roughed out the pommel while waiting for the steel delivery. The pommel is still a good deal oversized, it will be ground to shape once the blade is finished and the final pommel weight determined. For the guard, weight is not really a big concern, "as light as possible" (while retaining necessary strength) is the rule of thumb I use.


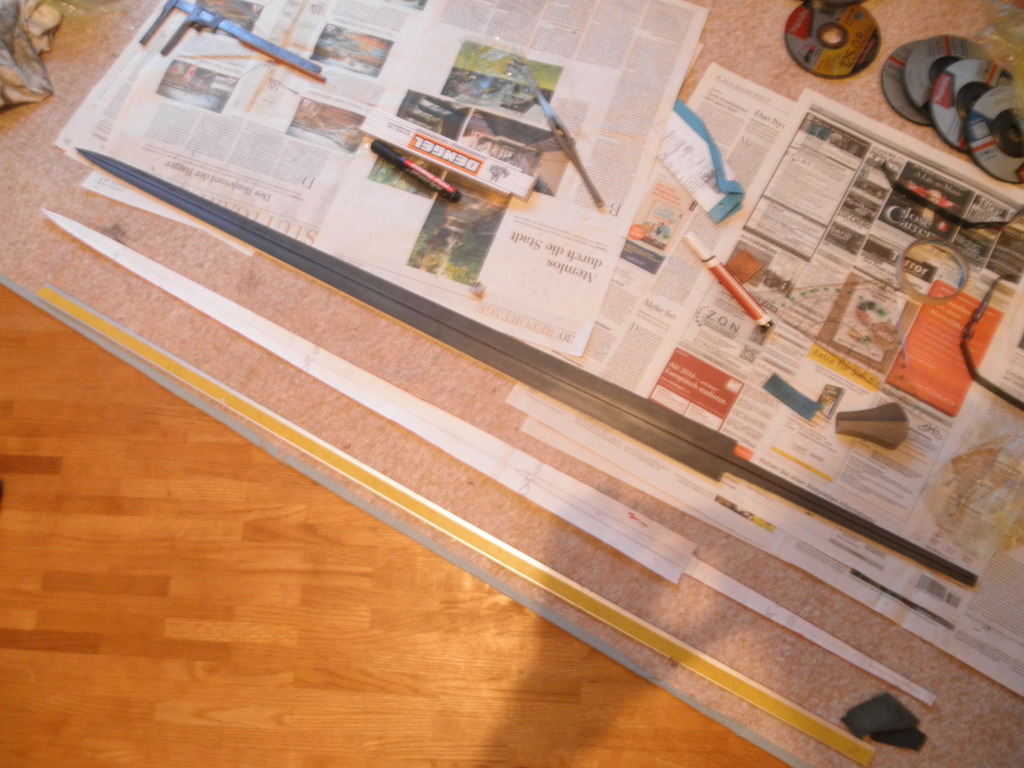
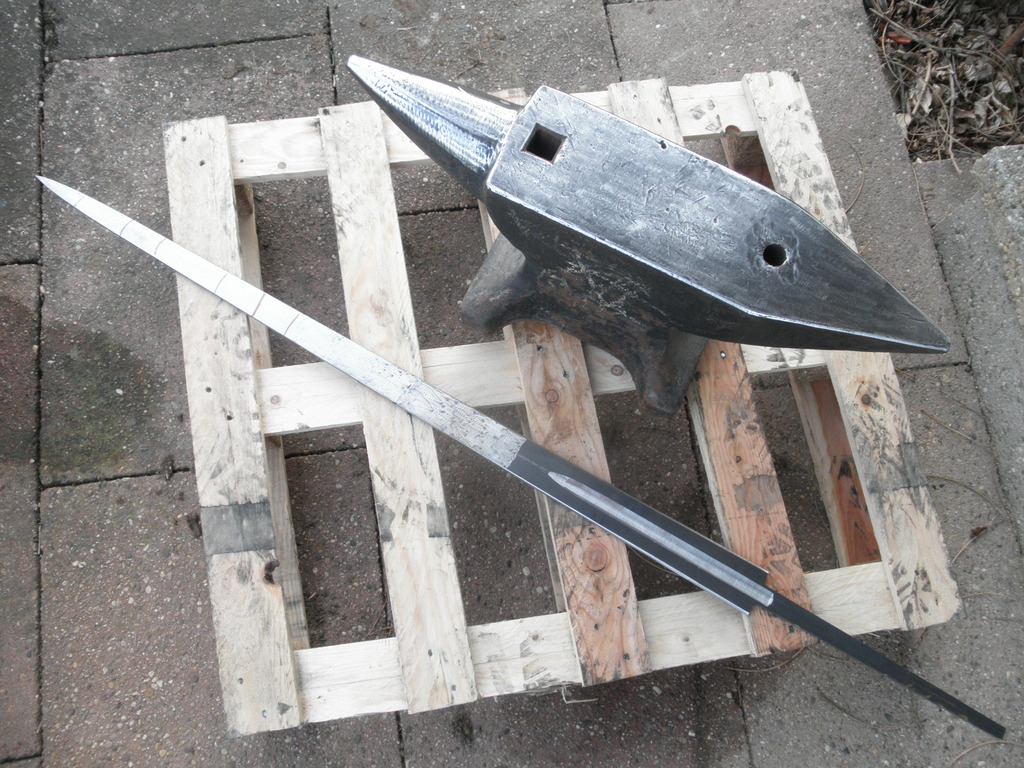
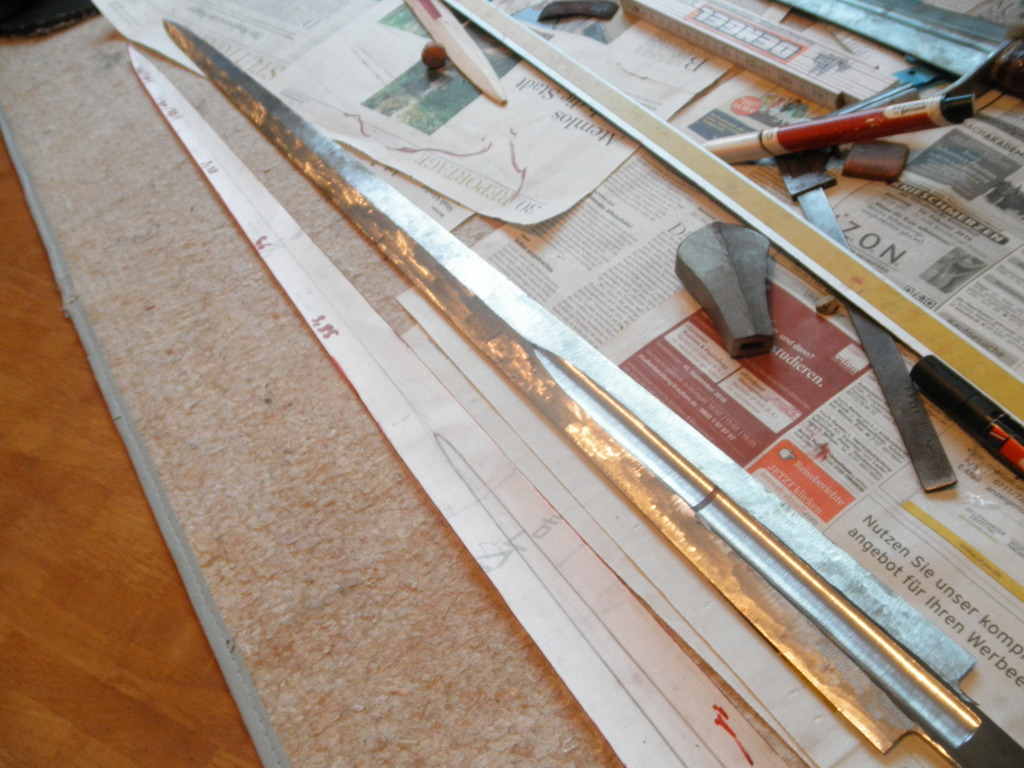
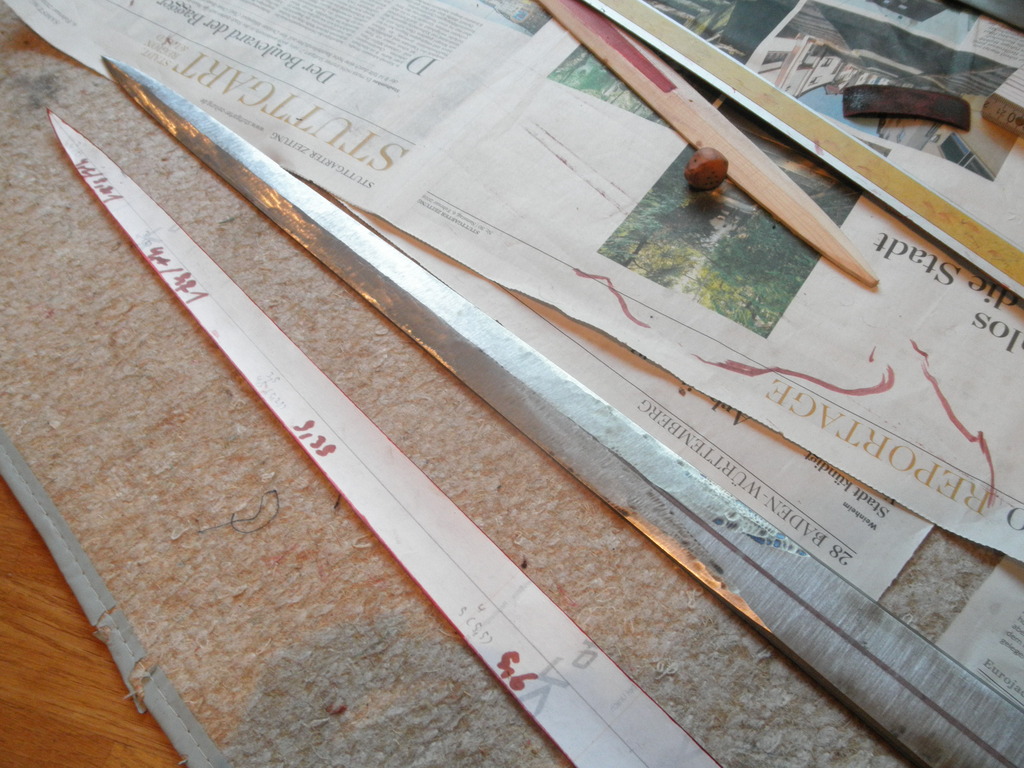
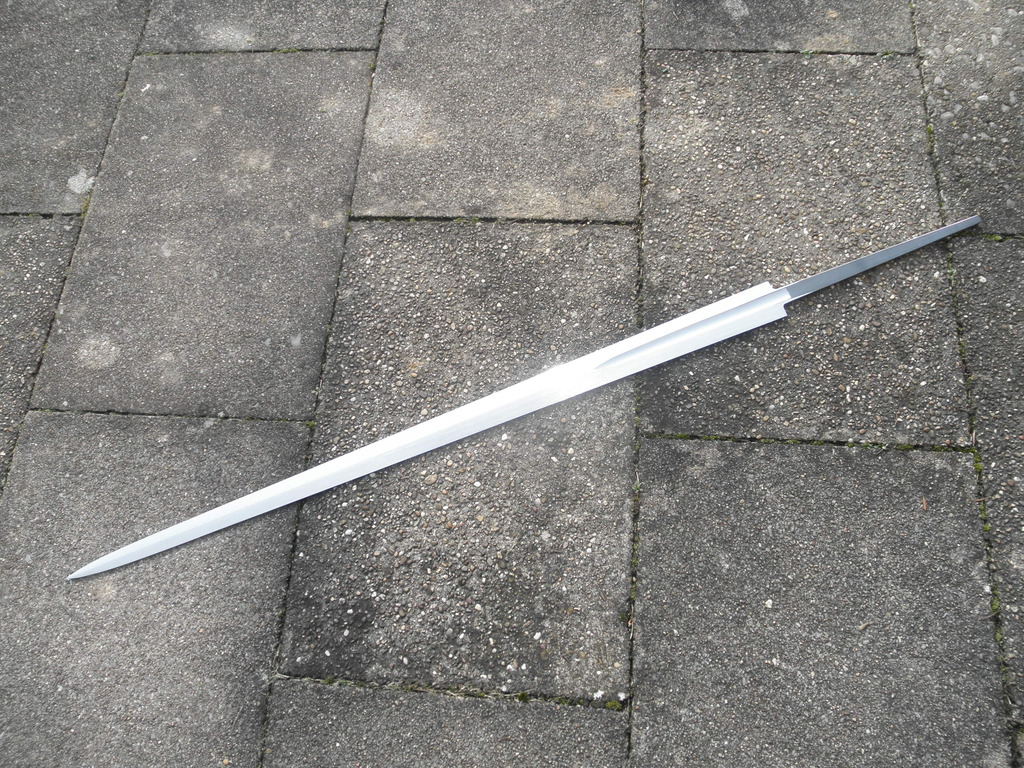
Here's the profiled blade blank next to the paper template:


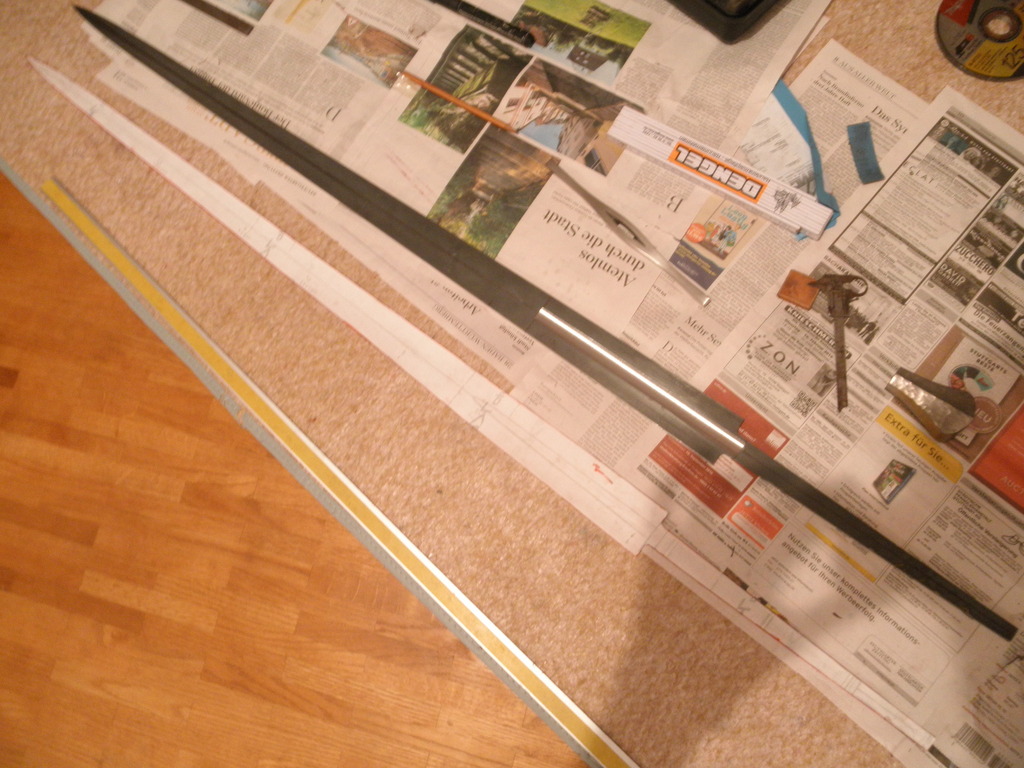
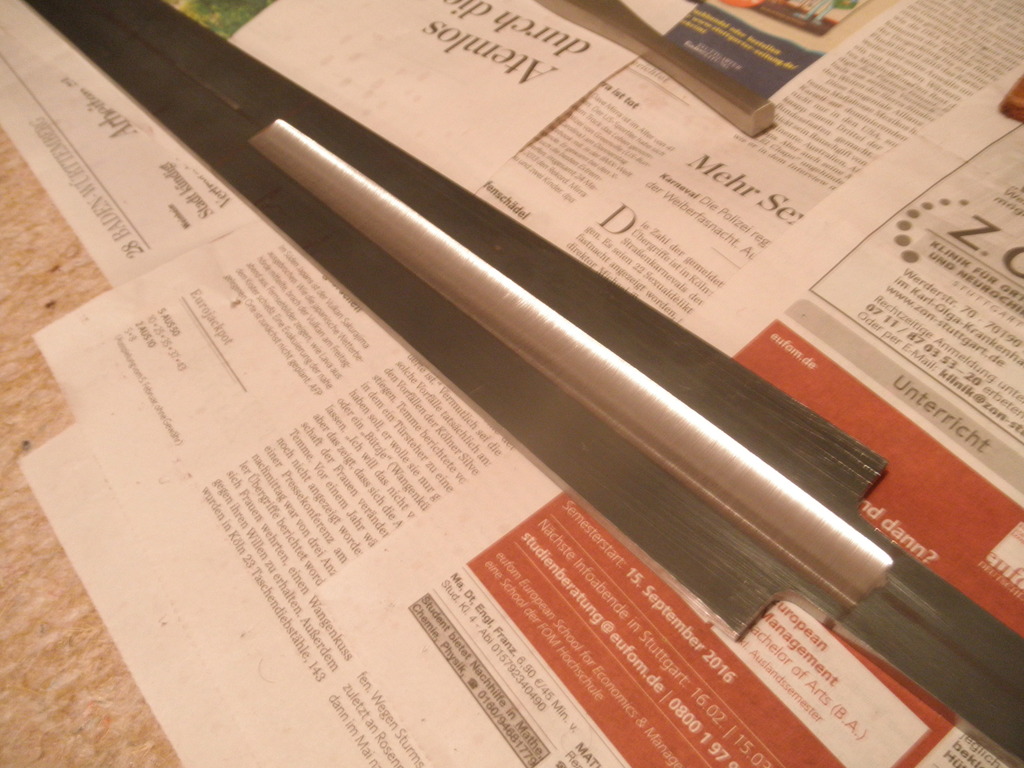
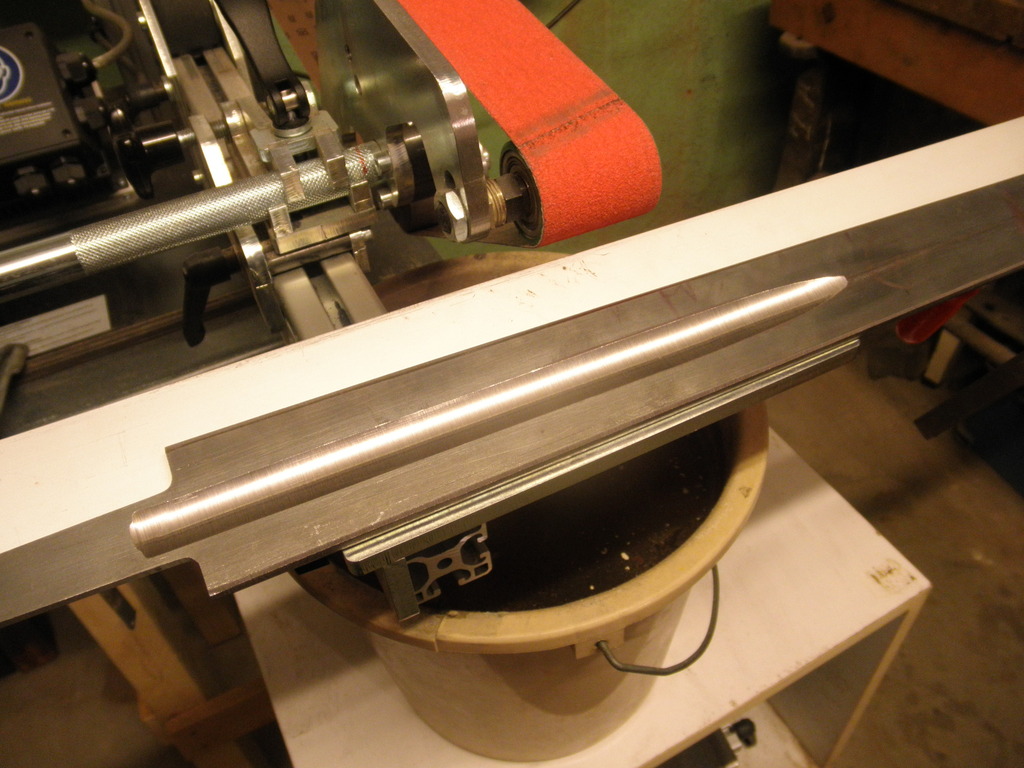
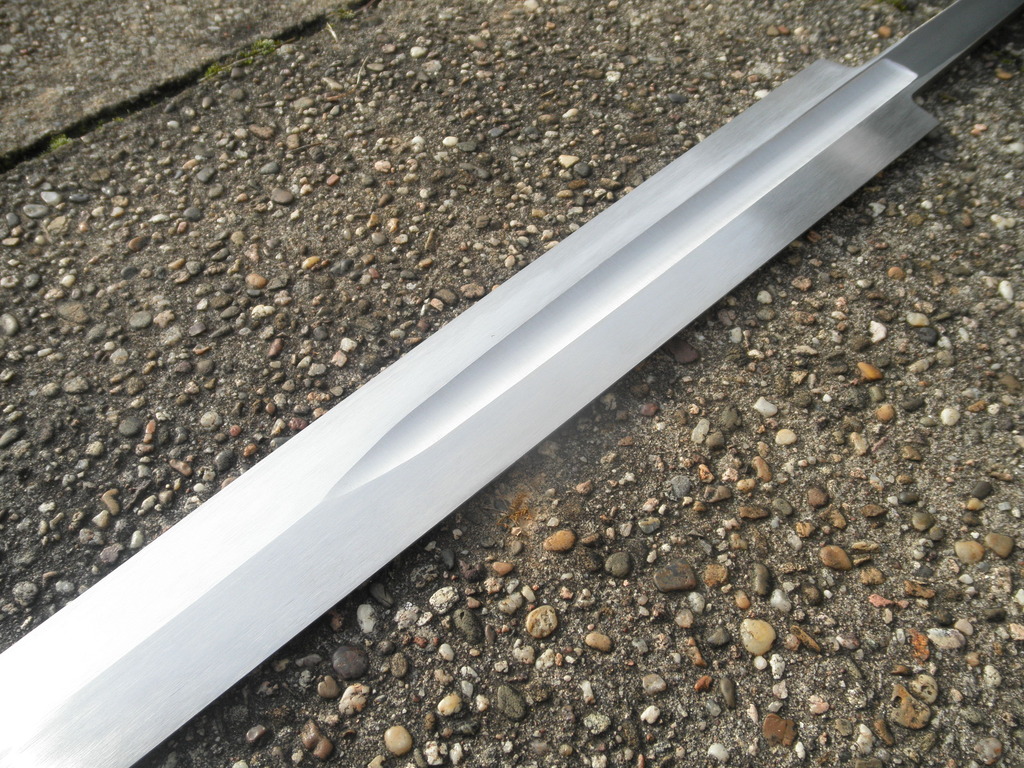
And with the fuller(s) ground in:


The fuller will develop its profile taper as I grind in the bevels and the distal taper.

Next step will be setting the edge thickness. Stay tuned...
Neat to watch and great advertising!
I was always interested in such pattern of making the fuller, but never tried it by my own.
Impatiently waiting to see the result

Good luck!
I'm glad you find this interesting and enjoyable.

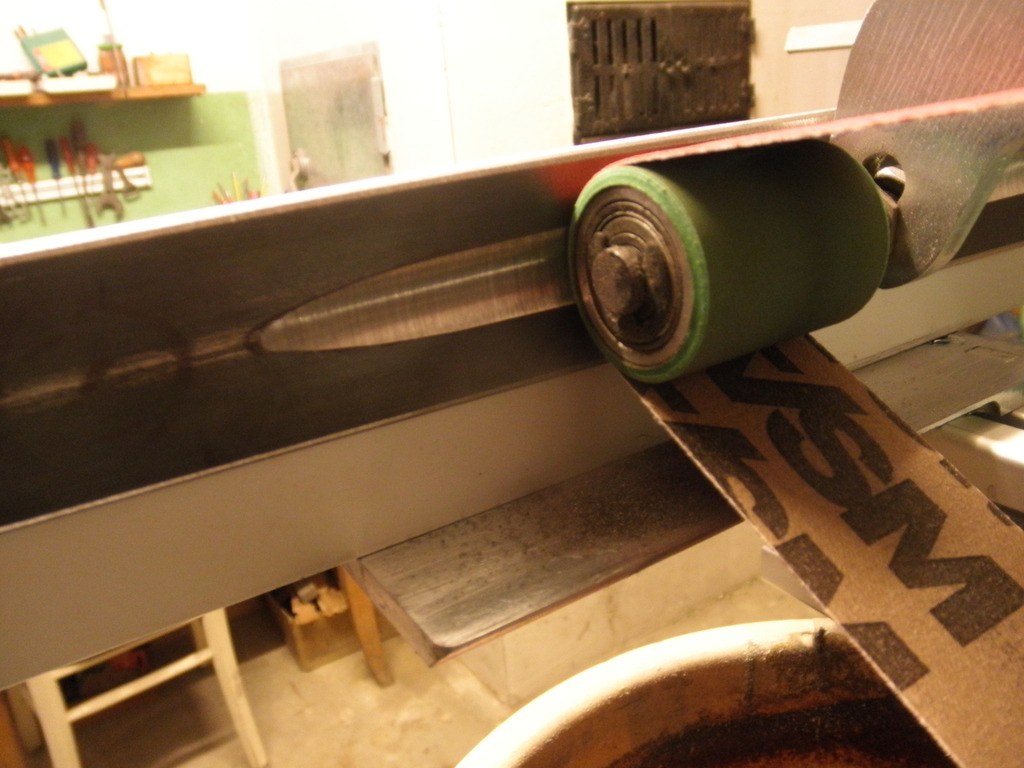
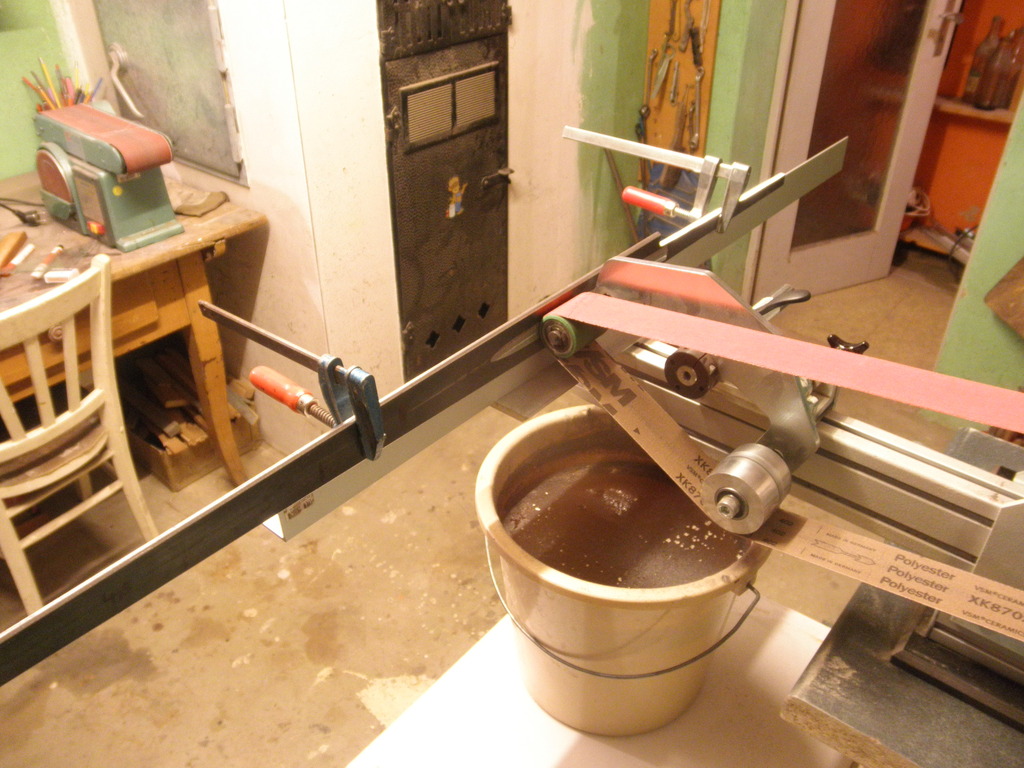
I had originally thought leaving the end of the fuller rectangular would be sufficient to get a nice transition once distal taper and bevels were ground in but after some playing around with a wooden dummy, I found that this only works if the thickness of the blade after the fuller is not thicker than the web between the fullers (makes sense once you think about it, too). Otherwise there is a noticeable "step up" in the blade thickness. Since on this sword the fuller is only in the base and the blade stays thicker, I had to go back and grind a "lift-off", gradually tapering the fuller out.

I took the chance to shot some pics of my fullering set up as well. The idea for this was originally thought of by Dave Stephens.


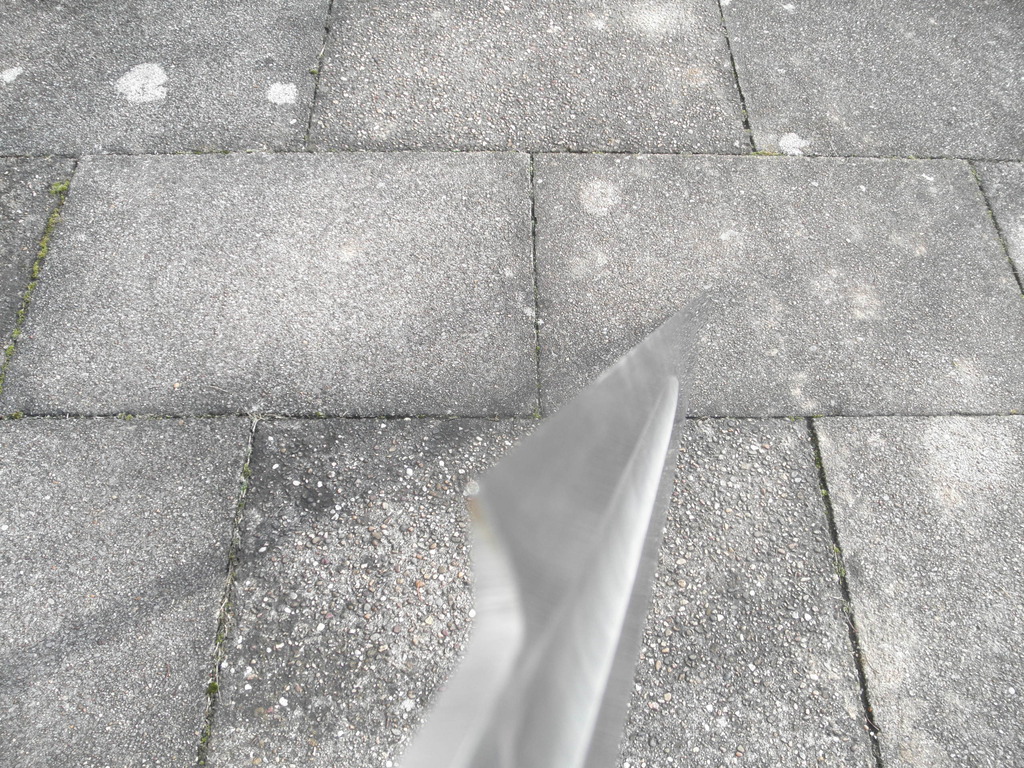
Here is the blade with the edge thickness set and the rough distal taper ground in with the angle grinder. The blade is still 1mm too thick for most of its length, the final thinning will happen once the bevels are ground in and the cross section established. Distal tapering a blade is much like tillering a bow, you have to slowly remove material until the flex is right. So after doing the heavy lifting with the angle grinder, the rest has to wait until the final geometry is there.

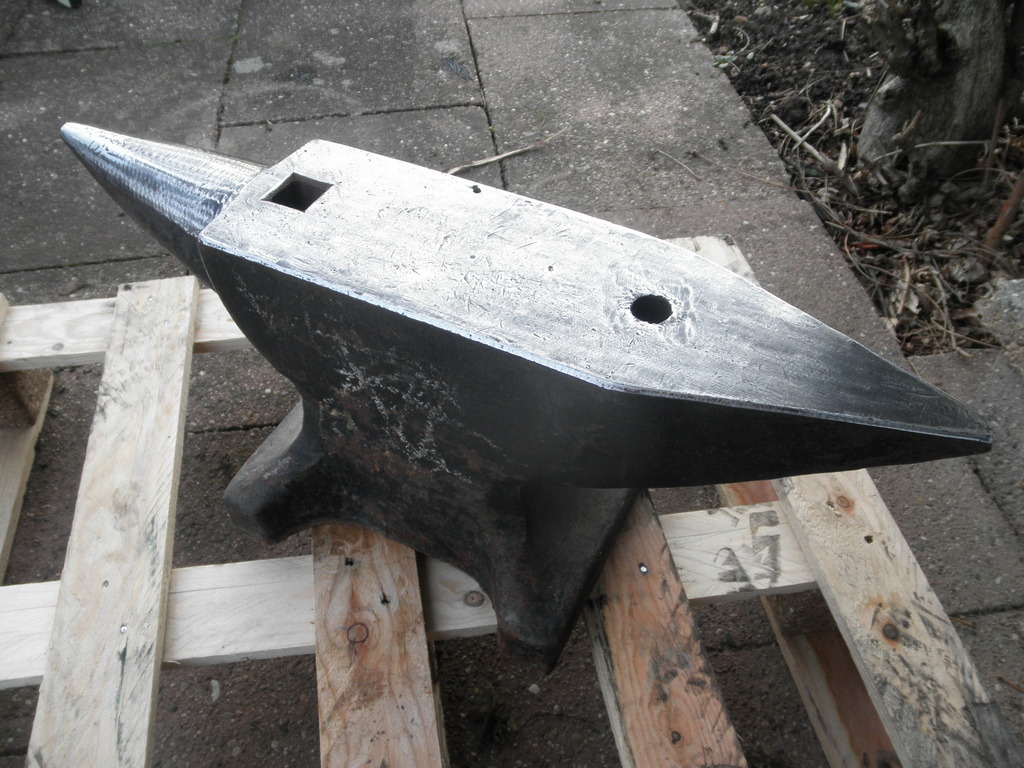
You can also see my new anvil. I got it fairly cheaply on ebay, after unsuccessfully looking for one in my neighborhood for a long time. I needed a fairly small one that I can move around. This one has around 75kg. It came covered in rust but otherwise in excellent condition, no cracks, dents or anything. Has a beautiful clear and loud ring. I polished the face and gave it a good oiling. And guess what? After cleaning it, I was able to make out the maker's mark. It says: "Original P.F.P." It's a Peddinghaus!! Whohooo!! Those are top-of the line anvils and go for WAY more than I paid for this one :) I'm stoked!


Lukas Great anvil blacksmith, 75kg weight very good for making swords.
I will be happy to watch your work.
Thank you. I won't be forging sword blades anytime soon but I do intend on doing more forge work for fittings and smaller stuff (knifes, daggers, etc).
Grinding the blade bevels with the angle grinder. One side done, the other half way. I left some more meat in the fullered part, too easy to slip with the angle grinder and ruin the blade there. The rest will be done on the belt sander.
The blade is starting to come to life, it is loosing a lot of weight and begins to feel like a sword.
----
small side-note: the other sword in that pic is a H/T longsword blade that I hilted up years ago. It actually was the very first project of mine. Horrible thing but I still like it :)


Hi Lucas, Not posting (nor doing!) much these days but I'm following your progress here and on facebook with awe and envy.
Great job and you are getting geared up to professional standards fast which only annonces better and more daring work (like this fuellered blade!).

Thx for the detailed WIP's, that's exactly the kind of thing that gets me back to the workbench :)

Best, J
Thanks Julien, I really appreciate that! I would love to see you getting back to your projects and posting some progress!
The blade is ready for heat treat. I'm really happy with how the fuller turned out and I learned a bunch that will make the next one easier (like going to 240 or 400 grit when initially grinding in the fullers and not once the bevels are already in place).


I have also now determined the necessary pommel weight. I do this by taping the guard in place and then adding different weights to the tang end until the harmonics are on target. This sword needs a pommel weight of around 300g, the roughed out pommel sits at 330g so I still have a bit material to remove.


Blade weight currently is 1040g, the completed sword will be around 1500g.
Here are pommel and guard with machine finish. Hand sanding will have to wait until the blade is finished and everything ready to be mounted. Not pictured is the peen block I have finished since.


Here are guard and pommel with rough hand polish to 100 grit and a full-size drawing of how the hilt will (most likely) look when done.


Elegantly simple design, nice clean lines, really like this one.
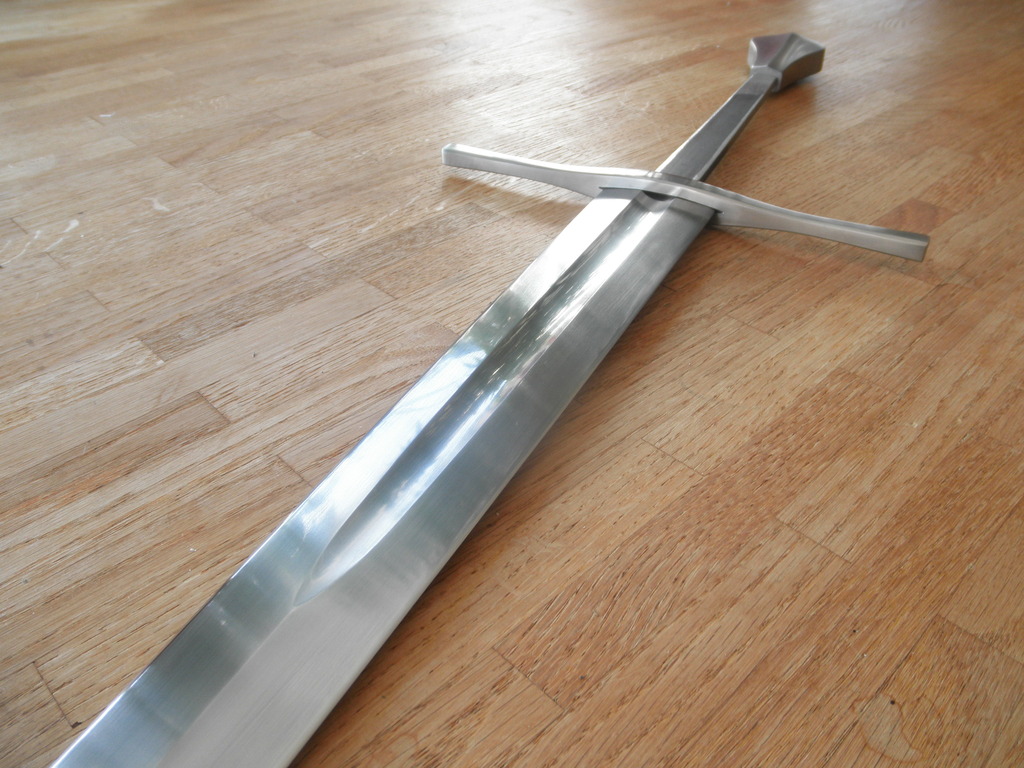
Here is the successfully heat treated longsword blade after final grinding and with the fittings ready to be mounted. Both guard and pommel will be hammered down the rest of the way to make for a very tight fit.

Overall weight right now is 1420g.

Now comes the tedious step of hand sanding.


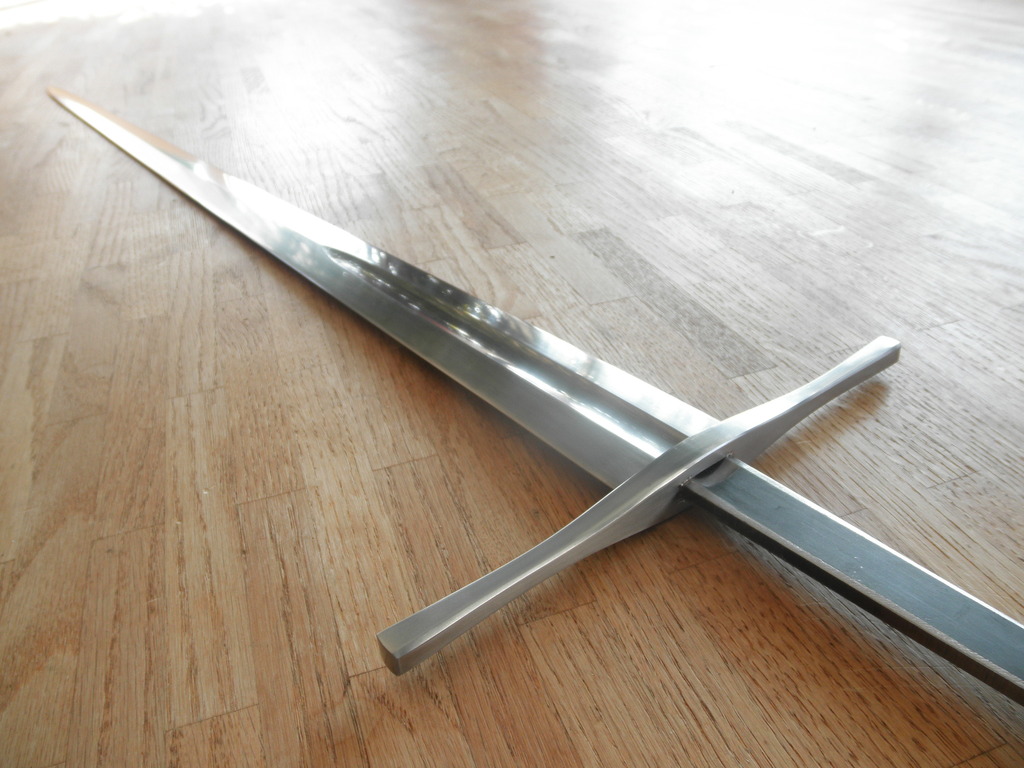
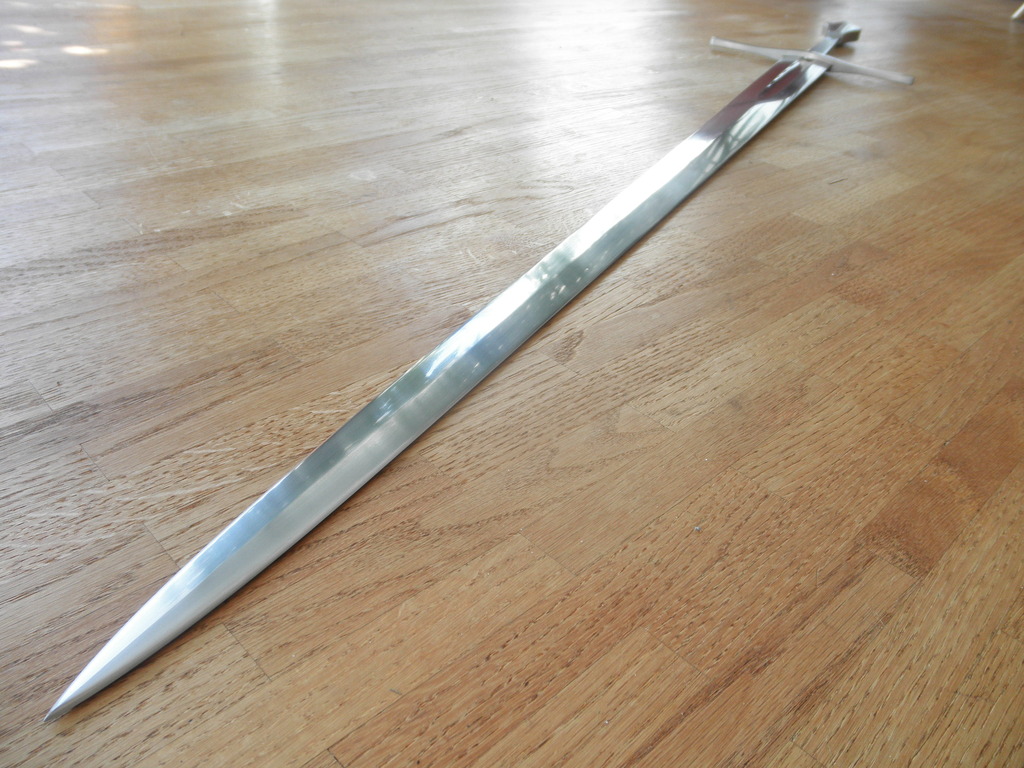
Here's the sword with all components polished and in place.

Hot peening the pommel is the next step. But that will have to wait until next week. I'm totally beat, worked the last 2.5 days essentially non-stop on this. I'm very happy with the result though.

And thanks to Giuseppe Verdi for making such beautiful music, made the hours spent with sandpaper and sanding block go by much more easily :)


Really top notch Lukas. Beautiful lines and finish. Might be a detail but struggled to make these so very nice peen block...very impressed!
Thanks, Julien! I'm happy to hear that :)

Two last in-progress pics:

Dry-fitting the wooden grip core:
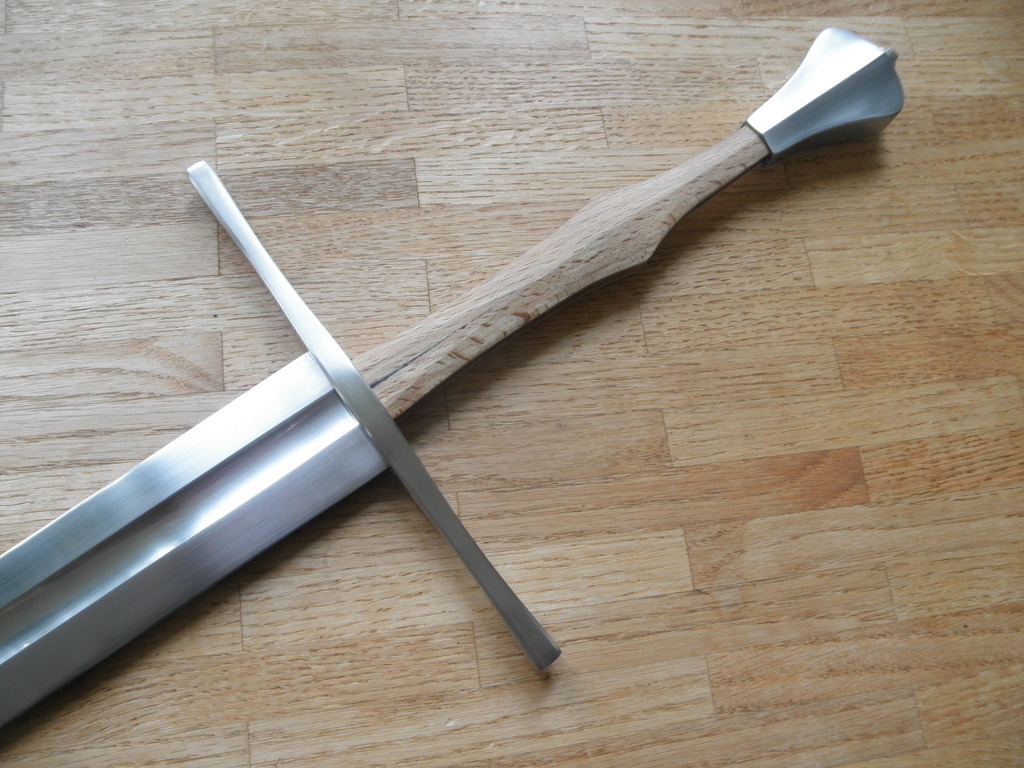


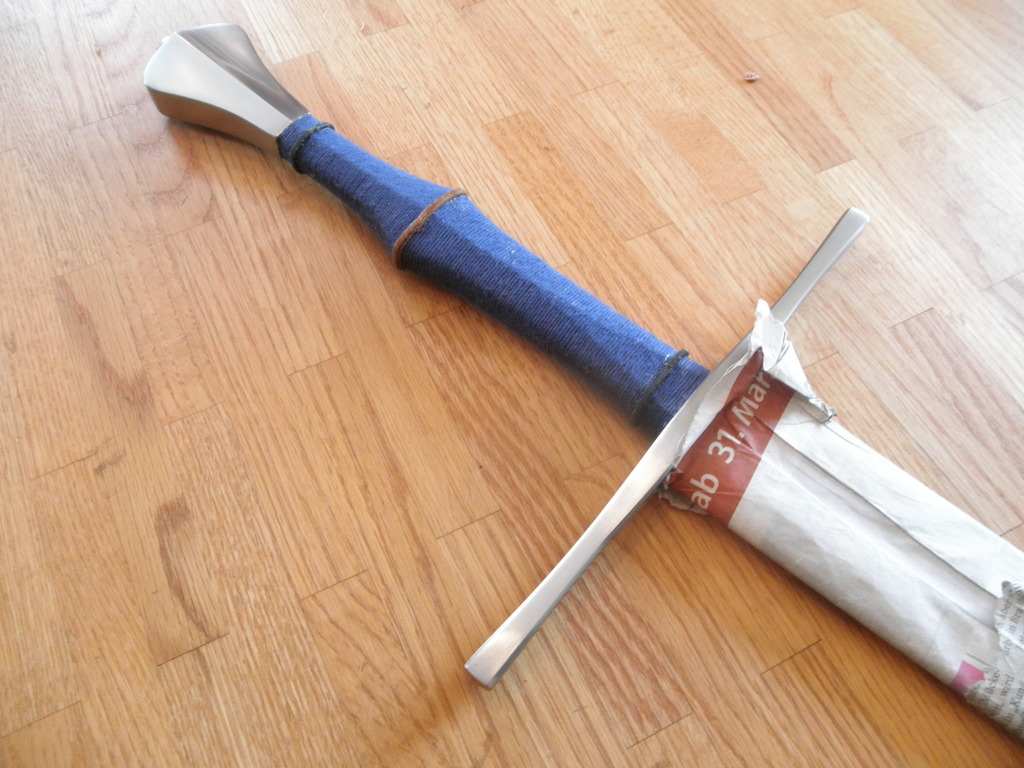
After mounting, ready for the leather wrap:


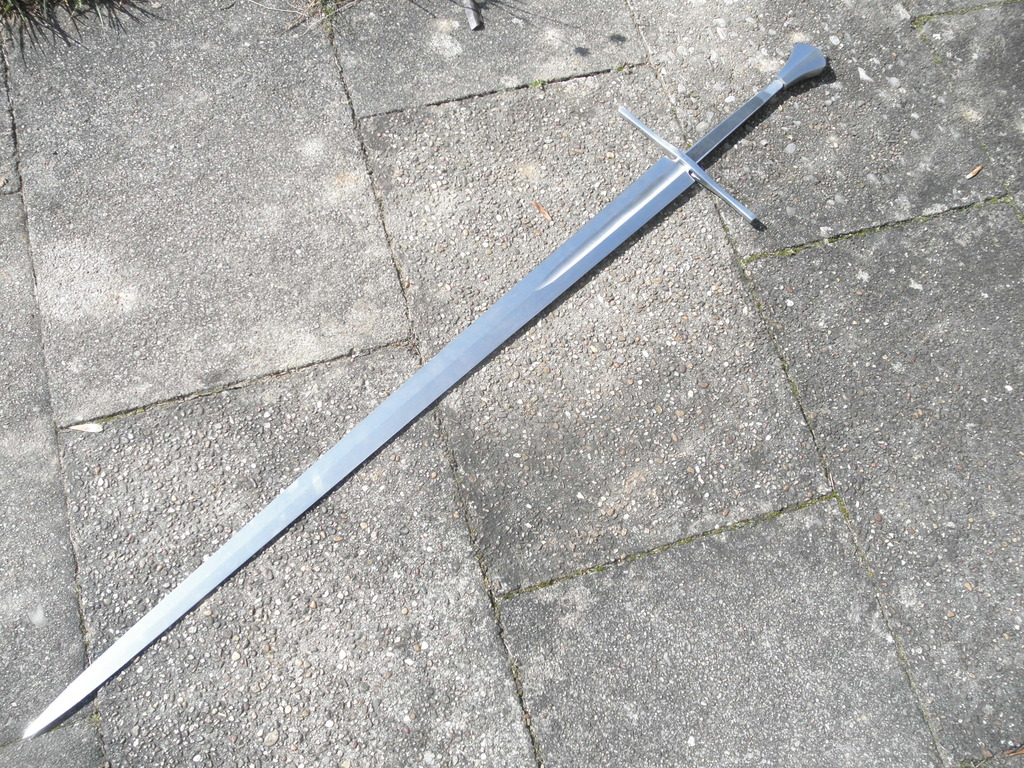
The longsword is now complete. It usually isn‘t my goal to create a direct replica of an original (though it would of course be possible to commission such a thing). I would rather describe my pieces as being inspired by a certain time period or made „in the style of xy“. This is true for this sword as well, being a civilian longsword that wouldn‘t have looked out of place on the hip of a well-situated merchant or nobleman in the mid 15th century. Someone who appreciated a thoroughly practical fighting weapon but also had a keen eye for aesthetics.
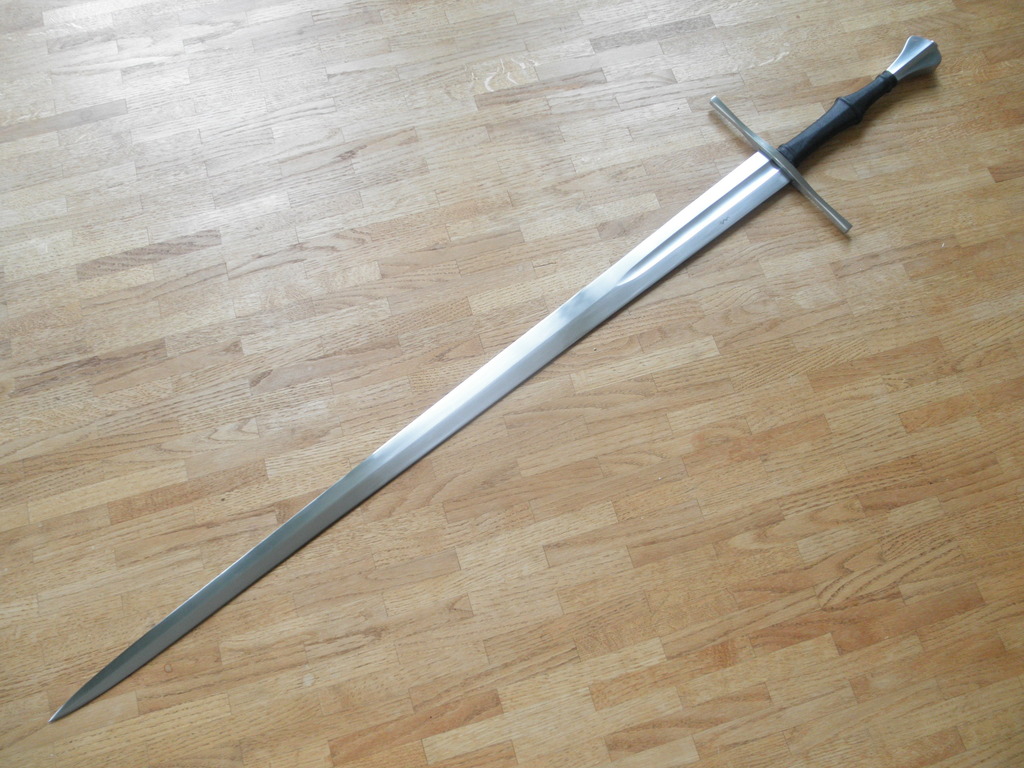


Here are the final stats:

Steel: 56Si7, heat treated to 57-58Rc by fellow sword maker Daniel Rosenfeld
Overall length: 122.5cm (48“)
Blade length: 94cm (37“)
Handle length: 19cm (7.5“)
Blade width at base: 5.2cm (2“)
PoB: 11cm (4.3“)
CoP: 60cm (23.6“)
Forward pivot point: just behind the tip
Hilt node: 6cm (2.3“) behind guard (just where the handle‘s cross section turns hexagonal)
Weight: 1467g (3.2lbs)

Compared to my last swords, this one is a shorter, handier longsword and solely intended for unarmored combat. It lacks the positively massive, powerful impression of a warsword and instead feels lighter and quicker in hand. It is not without blade presence though. While the sword is intended for two-handed use, single-handed techniques can be performed with it quite well. The blade is wide and thin enough at the tip to allow for efficient cutting all the way to the point. Consequently, the tip is unsuited for penetrating harder targets such as mail though the edge bevels do steepen a bit towards the point to reinforce it. The blade has a good deal of flex in the last third but is stiff enough for thrusts into soft targets. The lower half is absolutely rigid, as it should be for winding techniques and the like.
Because the edge is formed on a fairly thin body, I shaped the final sharpness at a slightly obtuse angle to allow for enough support should the edge encounter something harder than just soft targets. The edge is still plenty acute enough to fulfill its role as intended for unarmored combat.
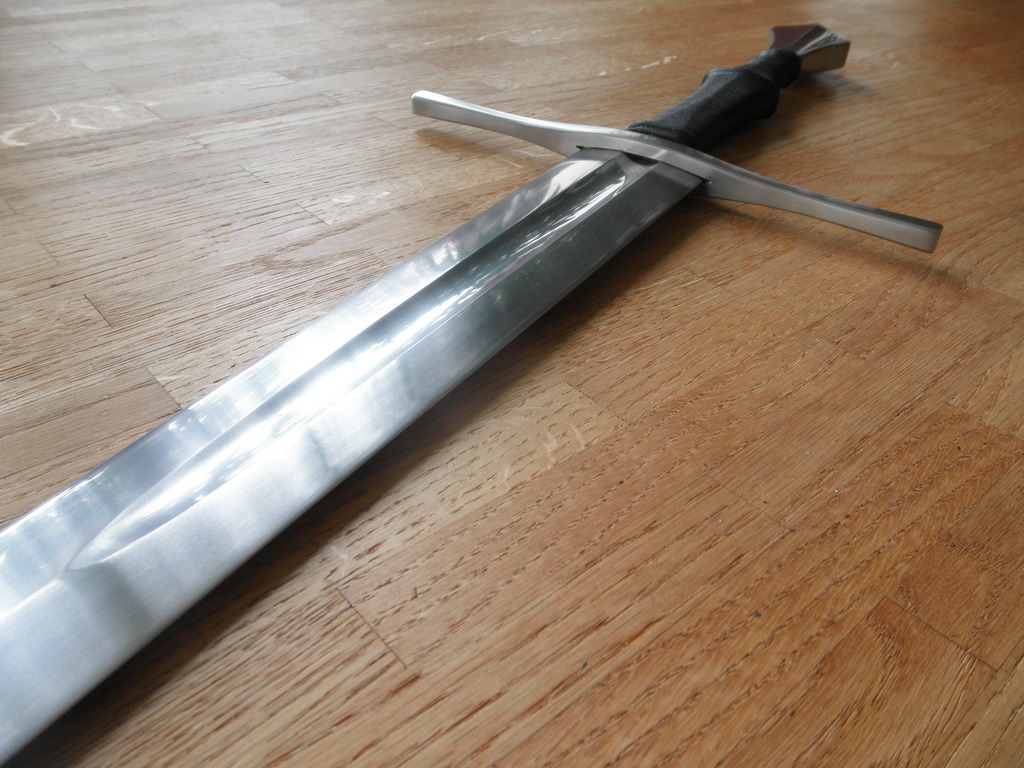


The proportions of this longsword are simple yet graceful. Everything is straight to the point and has purpose. Despite that, aesthetics play a subtle but nonetheless important role as well. One obvious primarily aesthetic feature is the peen block. I guess you could argue from a functional point of view that it would make a pommel strike even more unpleasant but that‘s not why I added it. I felt it gave the pommel that last bit of flair I was looking for.
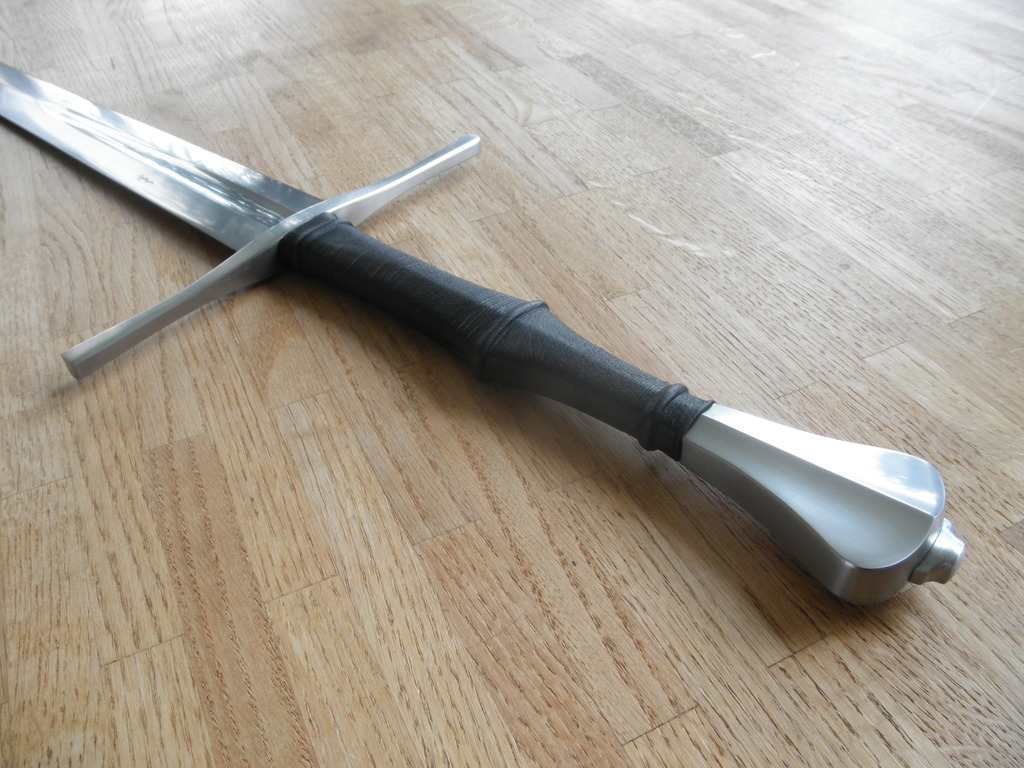


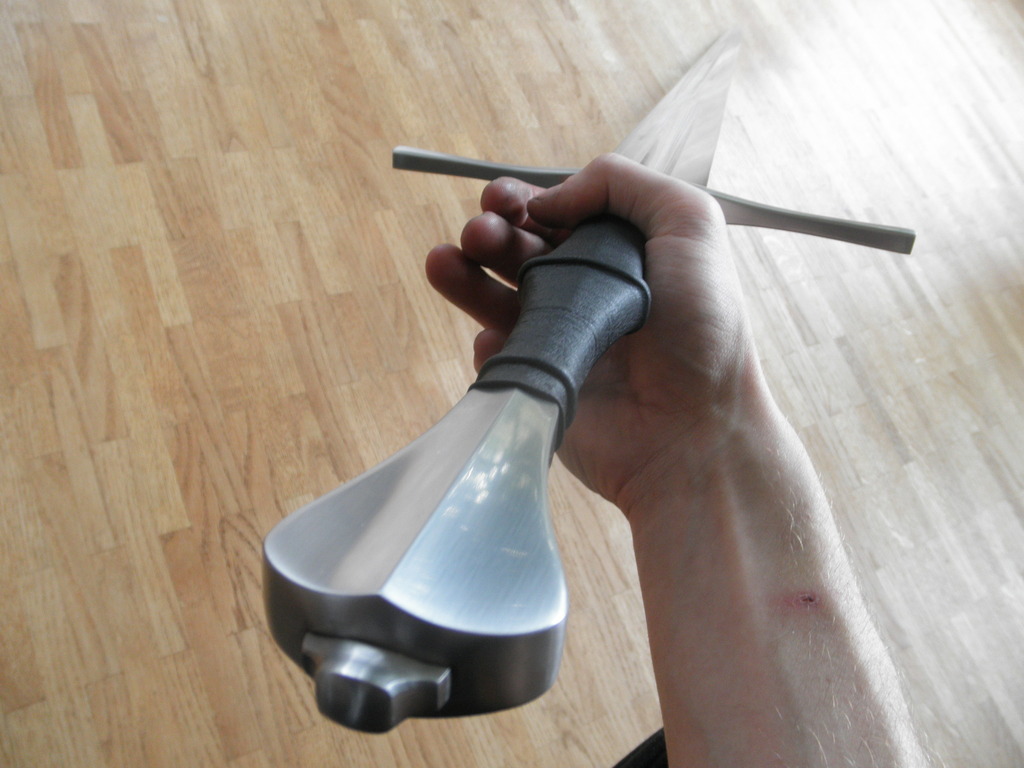
Talking about it, this is the first type V pommel I have made and while I hesitate to call anything „the best xy“, it sure is very high on my current list of favorite pommel types/shapes. It combines the smooth hand-caressing feel of pear shaped or ball pommels with the very clear, instict edge orientation that wheels or other „flatter“ pommels offer. As an aside, it also has some very cool aesthetics going on.
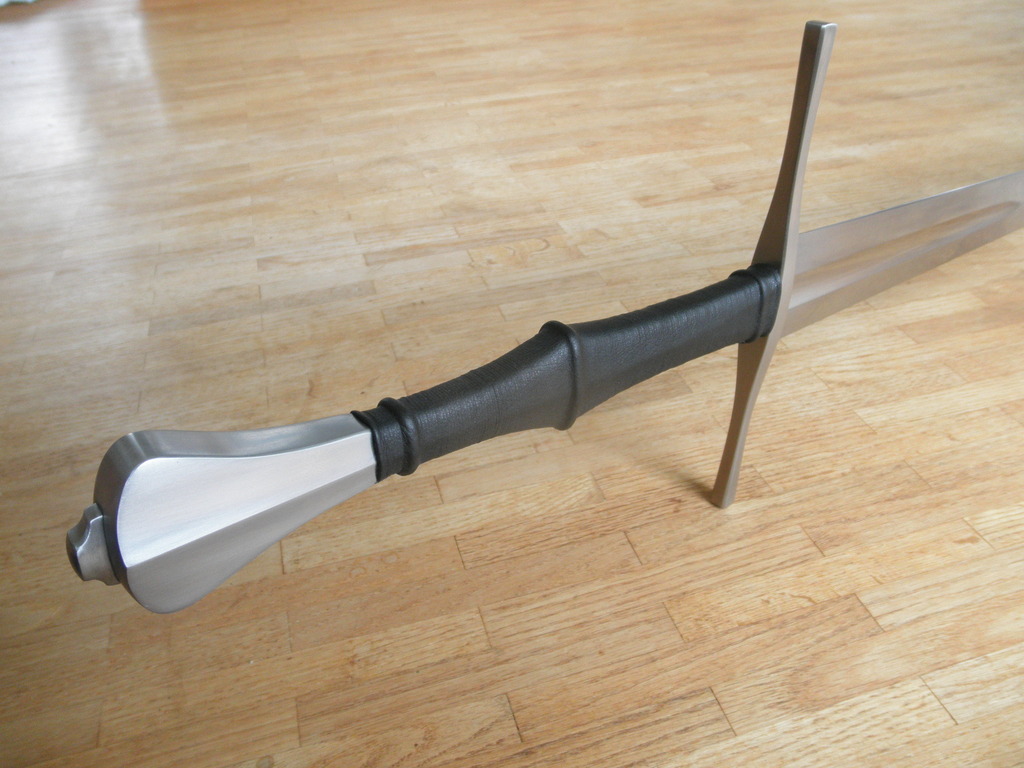


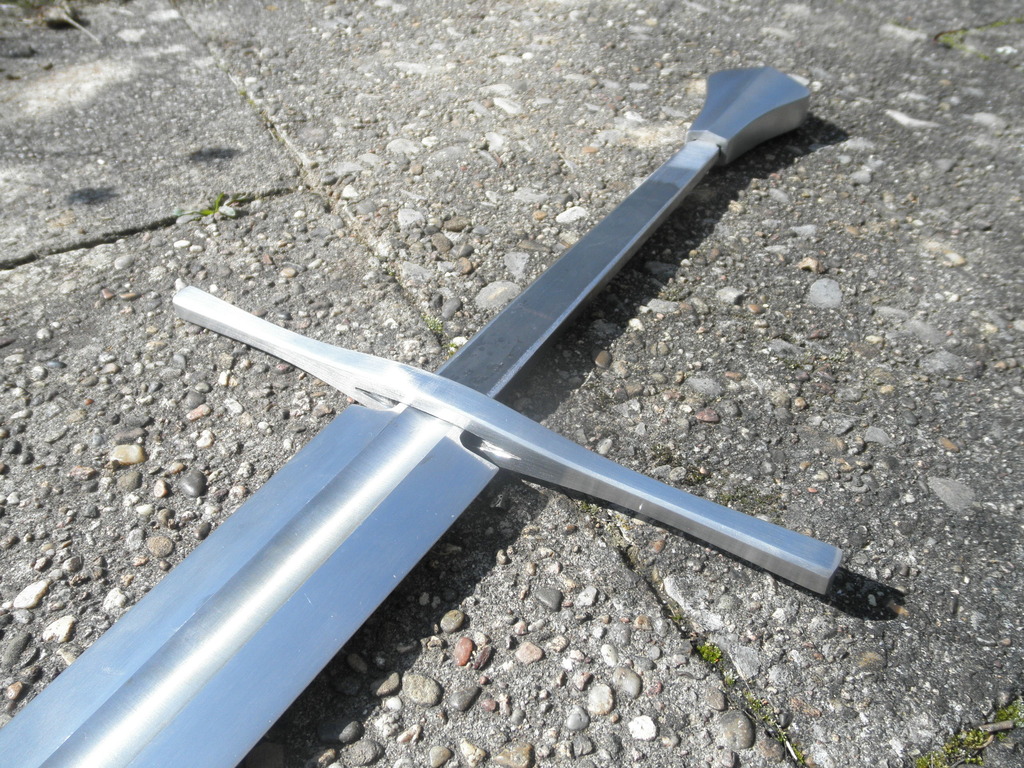
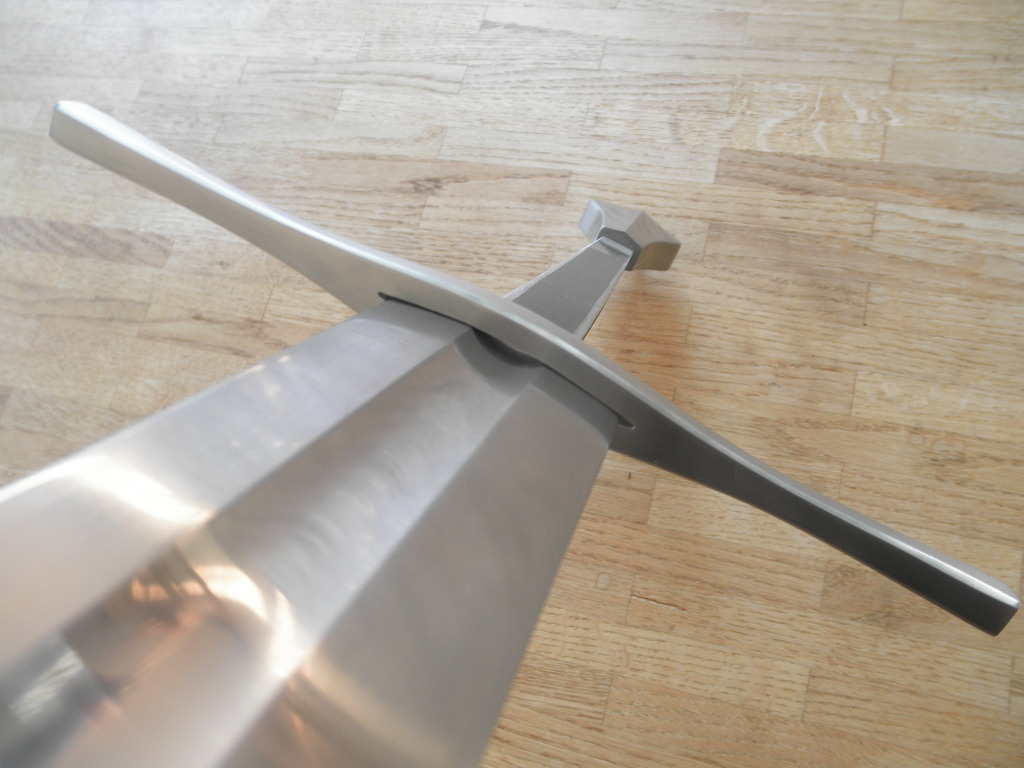
The style 2 guard is a simple affair but features the same clean lines and smooth curves. A nice little detail are the quillon ends, they aren‘t just straight and flat (like cut-off) but in fact subtly convex, following the pommel shape. Clear facetts give the guard a more three-dimensional feel.
The lines in the handle mirror the ones in the pommel, a well-defined center ridge with concave outward sweeps towards the end (right where the hilt node happened to fall into place) that mark the width of the fuller. Though somewhat hidden by the leather and cord wrap, the hexagonal and partly octagonal cross section of the handle is quite obvious and continues the theme of the pommel. Unlike one might think seeing the many ridges and edges, the handle, just like the pommel, is very comfortable to grip and gives excellent feedback concerning edge alignment.
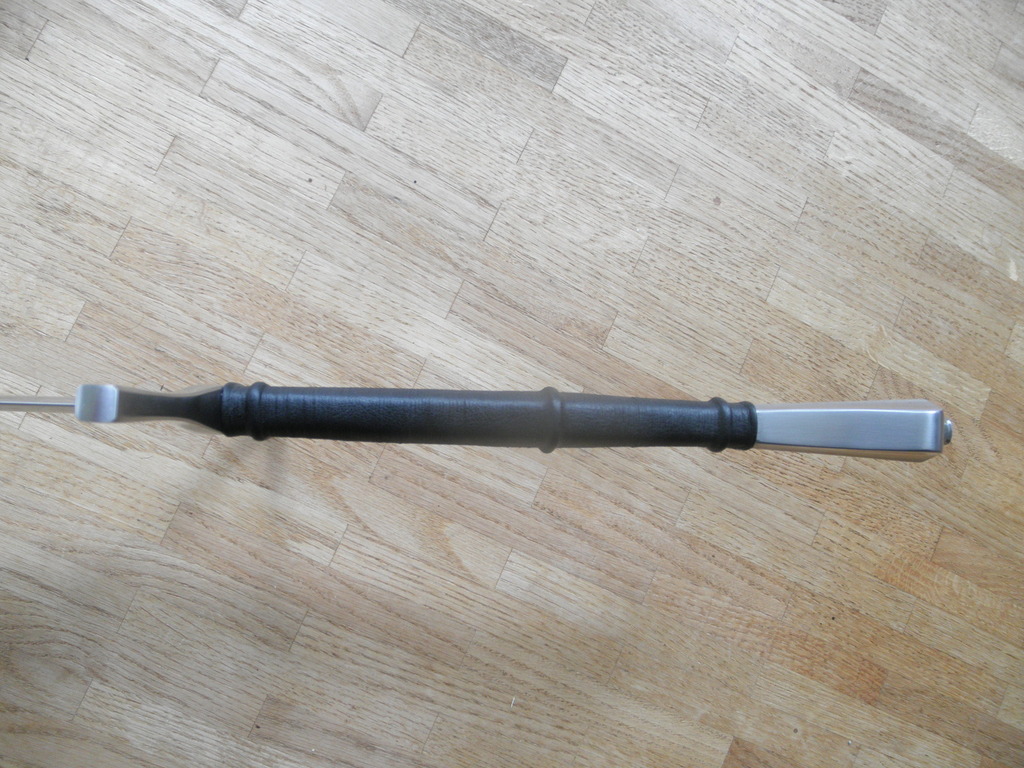


One last point concerning the handle: I don‘t usually like black as a grip color. It is a bit over-used, especially on cheap swords. However, in this particular case I decided to go with black for once. With this sword more than with any other I have made so far I tried to express beauty solely through form and shape and I felt any (actual) color other than black would have detracted from that.

In hand(s), the sword is very agile, offering excellent point control and effortless handling. Change of directions and complex blade actions come naturally and put no strain on the user. All aspects of longsword blossfechten following the teaching of Liechtenauer can be executed with ease.

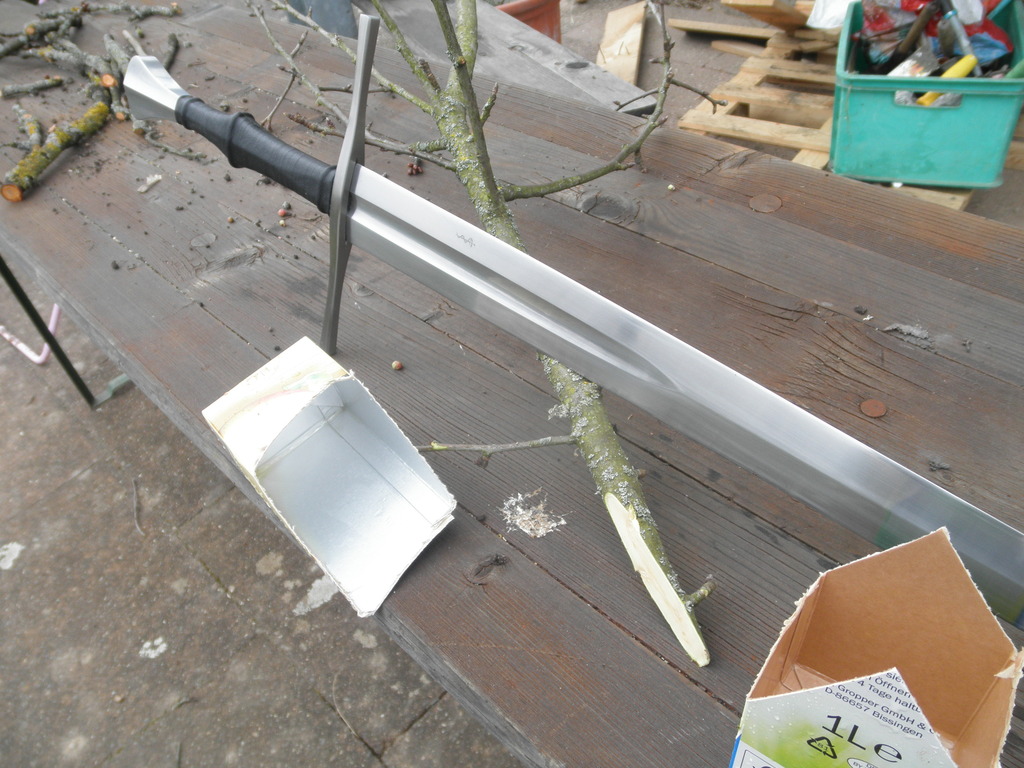
As it‘s raining at the moment, I will post a cutting video later. I couldn‘t resist running outside real quick to slaughter just a few bottles and an evil-looking branch though. I expected the blade to cut well but it still surprised me at how easily it snickered through the branch. The tetra packs were of course absolutely effortless.
More about cutting performance later once I‘ve done the vid but I can already say that this swords cuts very, very well. The blade is sharp, quite thin, not too narrow and of decent stiffness, all attributes that make for a good cutter.


I will be sending this sword to the UK to be reviewed by Peter Smallridge and David Rawlings, both very experienced HEMA fighters. The review was originally planned for this summer but I got the sword done a lot quicker than I expected... not sure when I‘ll send it out now. I will use it at a cutting event at my club in late april and then again at a cutting presentation this June. You can expected video material from that I hope.

So stay tuned for more info on this sword and my work!

Cheers and thanks for watching!


That is a beautiful sword! Also I very much enjoy your progress pictures.
Really great work.
Thanks!

Here‘s the cutting vid. Mainly tetra packs, as usual, but two fairly fresh medium size branches as well.

https://youtu.be/fNQpPGWq3k0

As is pretty obvious when watching the video, this swords cuts very well indeed. Anything that cuts empty tetra packs so easily is good in my book. These targets are very light and require a sharp edge as well as sufficient speed to cut successfully.
The sword is easy to get up to speed and the handling is just so smooth. Accelerating and stopping the blade is effortless. At the same time, it is not un-authorativ, it hits solidly and doesn‘t feel flimsy in any way. It‘s not a massive overkill cutter of course but very efficient, especially considering how little energy it takes to get it moving. Point control is excellent.

There is no uncomfortable hand-shock or vibrations noticeable even on harder targets. Haven‘t tried the sword out against tatami yet but I don‘t think there will be any negative suprises there.

A nice additional feature that‘s mainly noticeable on hard targets is the beautiful clear ringing sound the sword makes. A bit hard to hear in the video but it‘s audible when cutting the branches.

All things considered, I kinda want to fence someone with this sword, it would be such a pleasure to let it dance for more than just cutting.

In other words, I‘m one happy camper ;)
Go to page 1, 2  Next

Page 1 of 2

Jump to:  
You cannot post new topics in this forum
You cannot reply to topics in this forum
You cannot edit your posts in this forum
You cannot delete your posts in this forum
You cannot vote in polls in this forum
You cannot attach files in this forum
You can download files in this forum


All contents © Copyright 2003-2006 myArmoury.com — All rights reserved
Discussion forums powered by phpBB © The phpBB Group
Switch to the Full-featured Version of the forum