Two years ago Iīve bought a superb blade from a Czech maker Stanislav "Had" Elias (http://www.mece-had.cz/en.html). Heīs making superb blades (at least, thatīs my experience) and he was selling this one as a bare piece for an affordable price - a very good basis for a DIY project.
The blade was waiting for two years in my workshop and I was looking for an inspiration. I wanted to make something close to my period of interest (16th and 17th century), of a simple form (no complex hilts), but with some interesting features.
Then, some time ago, somebody posted on this forum a link to a sword in the DHM collection: http://www.dhm.de/datenbank/dhm.php?seite=5&fld_0=AK004361 - and that became my inspiration.
The plan is not to make a replica of that piece - first I do not have enough information on the original, and Iīm not planning to make any modifications to the blade. I take it as an inspiration, and will try to capture general "flavour" of the sword.
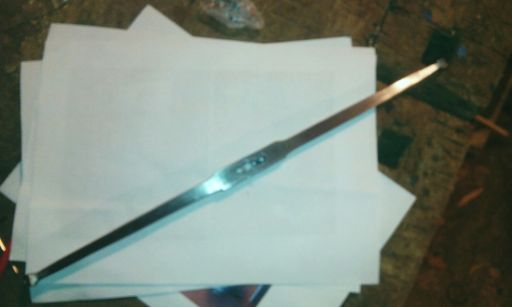
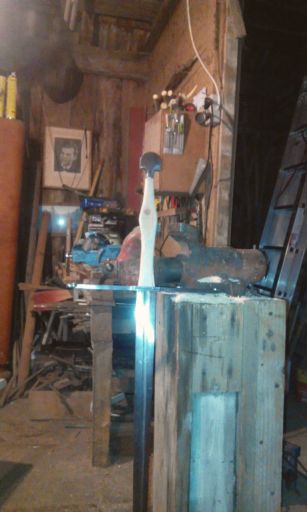
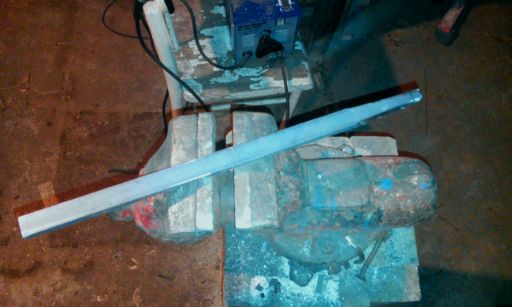
The first thing was to make the cross-guard. It had started as a simple steel bar (picture 1 - with some initial shaping).
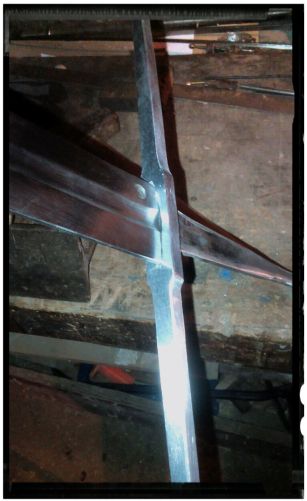
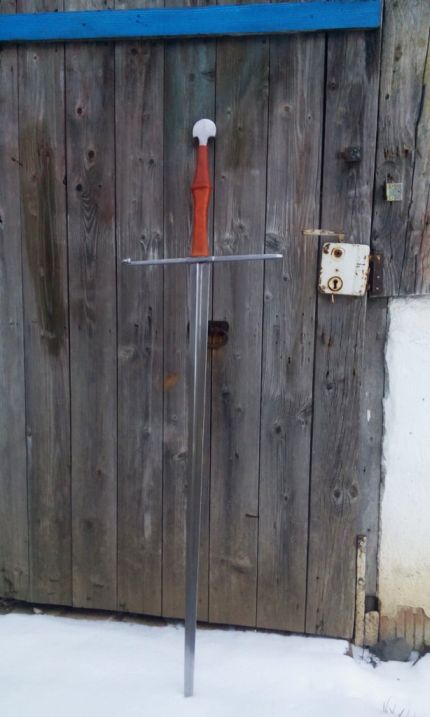
After cutting and grinding with angle-grinder, the basic shape was finished. Picture 2 shows the piece, with holes drilled for the tang.
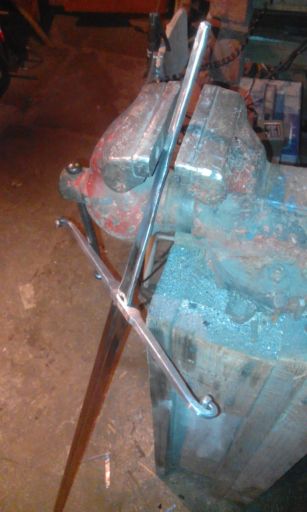
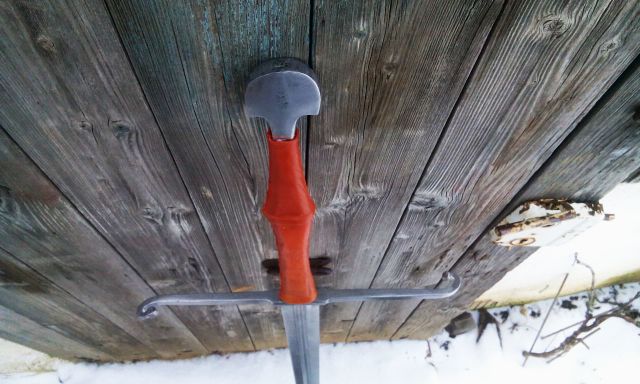
Then came a painstaking work with needle files, but at the end I was able to fit the tang quite nicely and tightly (picture 3 - but this is the side of the blade).
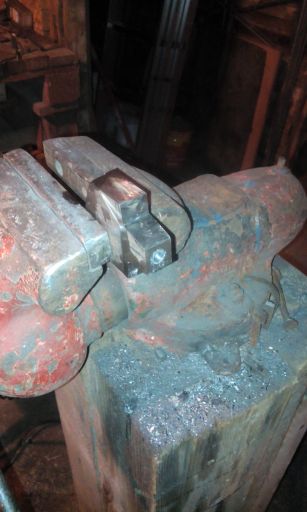
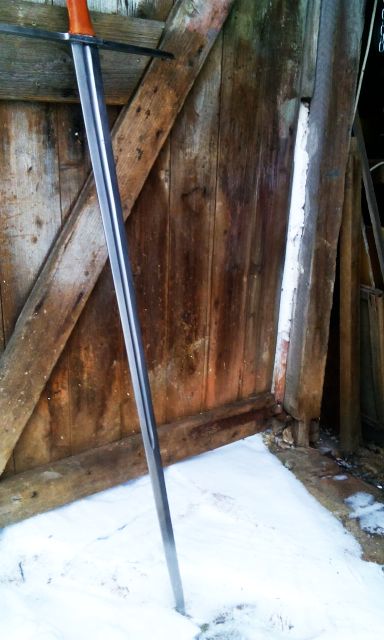
The cross-guard was bent and I cleaned a bit - more will be done at a later stage. Picture 4 shows the cross-guard assembled on the blade.
The next step will be (hopefully this weekend) to make a pommel. Thereīll be lots of cutting and grinding... Iīm still wondering about the grip. I only know it will be red - any suggestions for the shape?
Thanks for looking and any comments! And sorry for crappy pictures - with this phone-camera and no natural light it will not get any better...
Attachment: 41.83 KB
Attachment: 24.06 KB
Attachment: 27.03 KB
Attachment: 38.54 KB
I was the one who wrote the post about that DHM sword. Glad you got inspired, I'm looking forward to seeing what you do with the blade!
Matthew, thanks again for posting that picture - itīs a very interesting sword.
Last evening I had some half an hour to work on the pommel, so hereīre some first steps.
- it all started as a block of steel (picture 1 - with the drawn outline of the pommel)
- a rough shape was cut with the angle grinder - it is not perfectly symmetrical, but itīs not a problem, as it will be corrected by grinding (picture 2)
- Next, I have drilled a hole for a tang (picture 3). I do not have a drill press, so I have to work from free hand, moving very carefully not to drill off-center. This time it came out quite well. I will still have to enlarge the hole in the lower portion, where the tang is beefier.
Thatīs it for now, more would come, hopefully, after this weekend.
Attachment: 35.04 KB
Attachment: 36.42 KB
Attachment: 38.65 KB
Radovan, after your sword is finished do show us its photos.
I wonder how does that sword look like after completion. ;)
Hi Radovan,
I am considering buying a blade from mece-had.cz, do you have any more pictures of the blade you're working on?
Hi Ian,
Unfortunately I donīt, besides those that Iīm posting now here. However, I will try to make some in full light asap and send them to you.
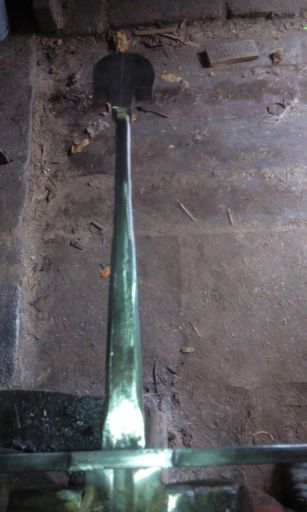
After this weekend, the pommel is more or less finished. First, I have roughly corrected the shape with angle grinder and files (picture 1).
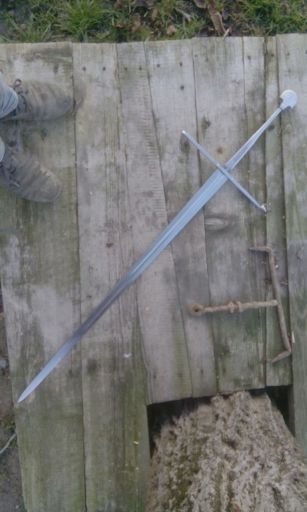
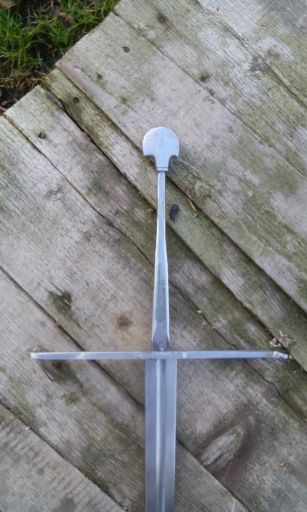
Then, the profile of the pommel was changed by grinding from oblong to a flat hexagon. The whole piece was cleaned and Iīve tried to assemble it on the blade (pictures 2, 3). My pommel is probably somewhat bulkier than the original, but I needed more mass to counterbalance the blunt blade.
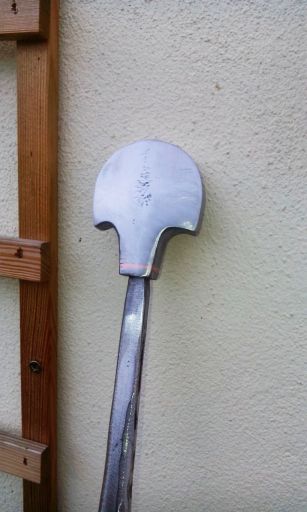
In the end, I have decided to make a simple copper inlay around the base of the pommel. Itīs the first time I was trying it, so itīs far from perfect (picture 4).
I have also started to work a handle and a wooden core for the scabbard, but did not take any pictures.
Attachment: 37.2 KB
Attachment: 39.46 KB
Attachment: 45.54 KB
Attachment: 34.76 KB
A minor update: I have made a core of the handle - itīs a simple sandwich construction. Later on, it will be bound with a linen thread for added strength.
Attachment: 38.67 KB
Some pictures of the finished sword. Now working on a scabbard.
Attachment: 50.66 KB
Attachment: 64.23 KB
Attachment: 55.97 KB
Attachment: 55.03 KB
Attachment: 50.66 KB
Attachment: 64.23 KB
Attachment: 55.97 KB
Attachment: 55.03 KB
Ah, more nice work on a DIY project, the pommel profile shape sort of reminds me of a Cinquedia pommel in shape if not assembly method that is different with a Cinquedia.
Thanks Jean. It was that pommel shape that attracted me to this sword. However, mine is (probably) a little thicker, and longer, than the original in DHM. I needed to make it heavier to counter-balance the blunt blade.
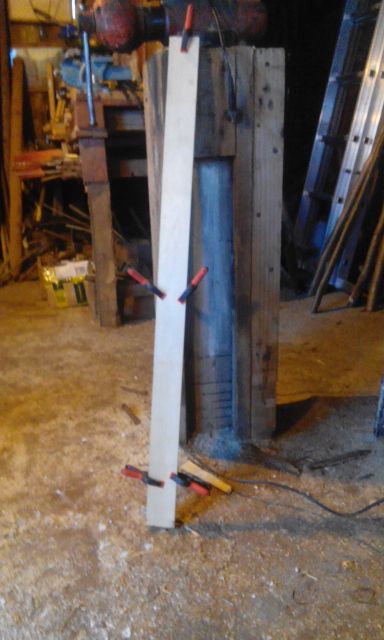
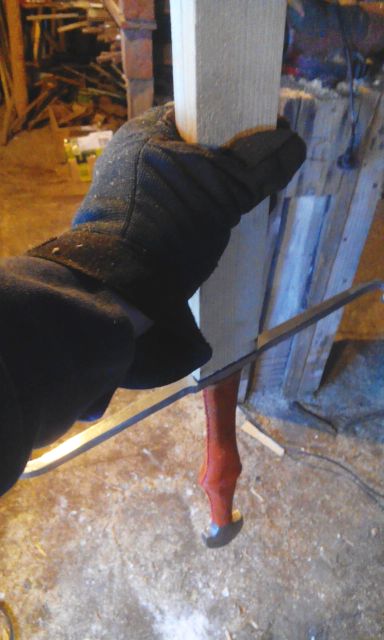
Some progress pictures from working on scabbard. I have used two thin planks of some soft wood. Following a well-known method, Iīve made to shallow recesses, glued & clamped pieces together (picture 1). After two days the glue set. Iīve tried the fit and itīs just fine: wooden core keeps the blade inside, but not too tightly (picture 2).
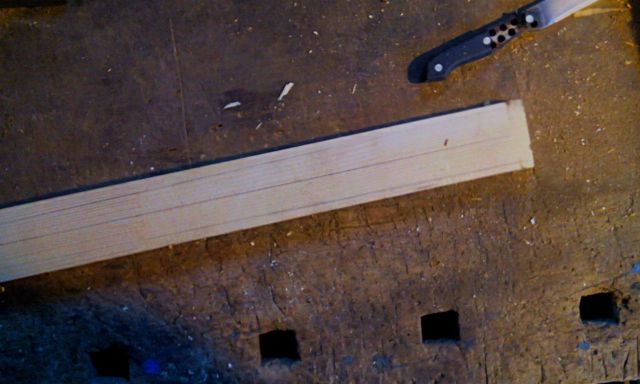
Then Iīve traced the blade on the outside (picture 3) and shaped the core with saw & rasp.
More pictures to follow soon.
Attachment: 54.19 KB
Attachment: 51.35 KB
Attachment: 49.66 KB
Then Iīve traced the blade on the outside (picture 3) and shaped the core with saw & rasp.
More pictures to follow soon.
Attachment: 54.19 KB
Attachment: 51.35 KB
Attachment: 49.66 KB
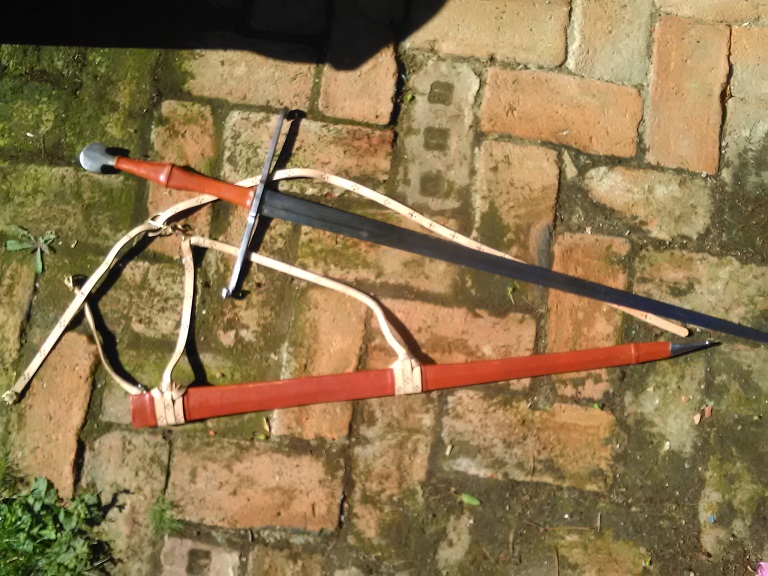
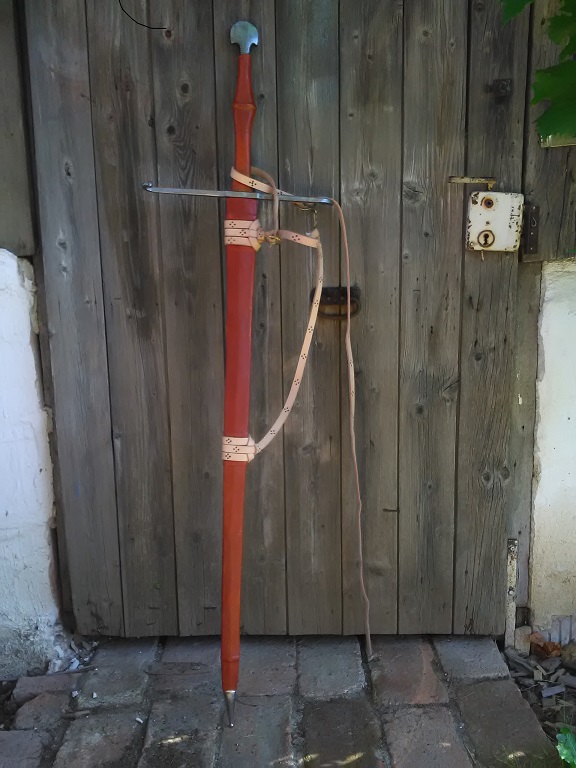
Iīve realised that I had never posted pictures of the finished sword, so here it goes. The scabbard is from red-dyed leather on a wooden core, with simple suspension system and belt with brass fittings.
After a year of use (Fecht presentations, theatrical fencing etc. - the sword is blunt), the shade of the leather on the grip is somewhat dimmer and it differs from the scabbard - a little nuisance, but I have no clue how it could have been prevented (the leather was waxed to seal the colour). Maybe I could have used a different dye, maybe thatīs just what happens when the sword is used.
Anyway, Iīm quite happy with the result. The sword is really lively and the blade holds really well - using a blade from Mr Elias was definitely worth investment.
Attachment: 190.86 KB
Attachment: 141.03 KB
That came out very well! I love that guard. Great job all around.
Nice looking sword Radovan! Do you know anything about Elias' sharps?
Thank you, Ian. I donīt own any, only handled some over the years. In general, Mr Elias has a very good name as blade-maker.
Page 1 of 1
You cannot post new topics in this forumYou cannot reply to topics in this forum
You cannot edit your posts in this forum
You cannot delete your posts in this forum
You cannot vote in polls in this forum
You cannot attach files in this forum
You can download files in this forum
All contents © Copyright 2003-2006 myArmoury.com All rights reserved
Discussion forums powered by phpBB © The phpBB Group
Switch to the Full-featured Version of the forum
Discussion forums powered by phpBB © The phpBB Group
Switch to the Full-featured Version of the forum