Posts: 399 Location: Slovakia
Mon 10 Feb, 2014 1:18 am
Now, for the project itself:
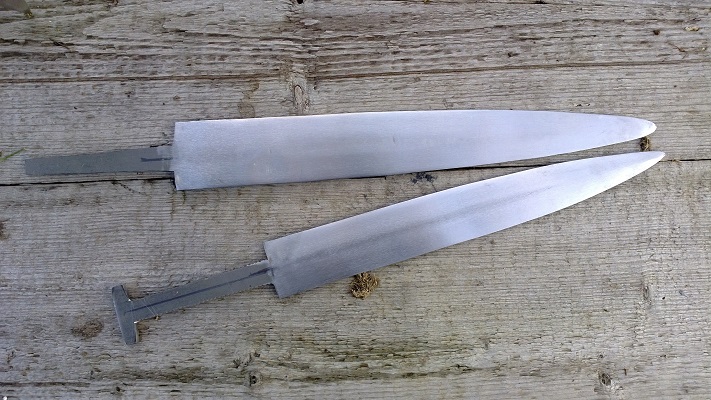
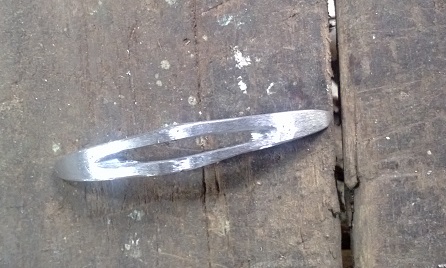
The blade was cut from a spring steel, 6.5 cm in width, 58 cm in length overall, with 45 cm for blade itself. I´ve decided not to use the flat diamond
cross-section, but a lenticular one (I did it purely as my personal preference, plus lenticular profile has been used on historical pieces). It is 5 mm thick close to the hilt, thinning down to some 3 mm in the last third. It is made blunt as it will be used for stage-fencing. At that point it weighted slightly above 500 g (picture 1 - the longer blade)
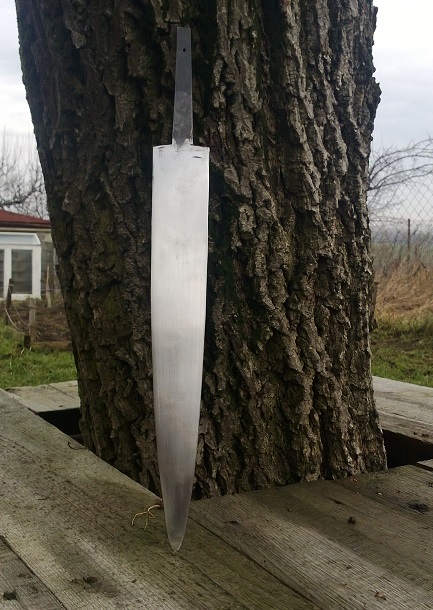
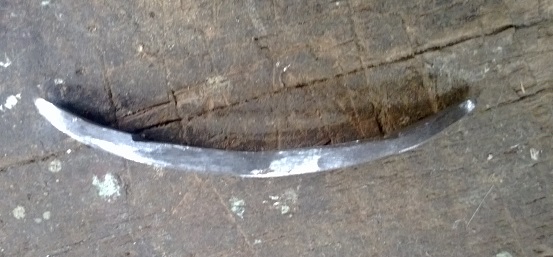
When I received it from heat-treatment, it had some dents from hammer. I´ve removed them on a belt-grinder, working super-slow and cooling the blade regularly, and then polished it with send-papers. I´ve managed to remove most of those marks, except for a handful of deeper ones near the hilt. Now the weight has lost some 50g (picture 2).
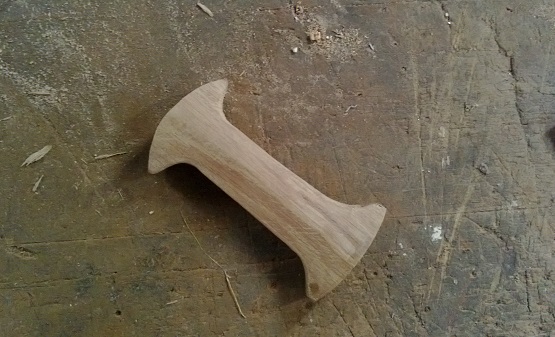
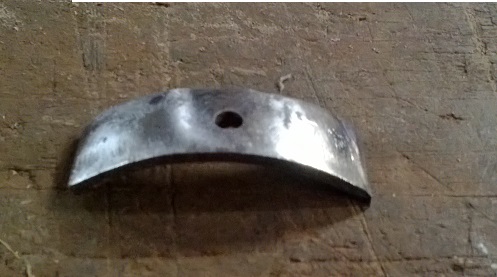
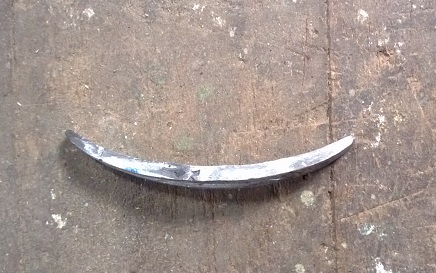
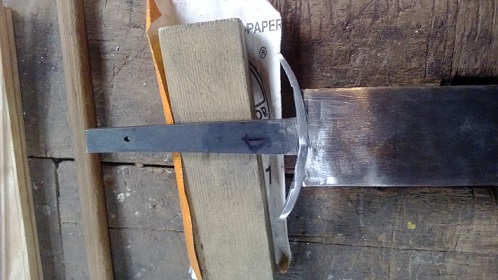
With the blade nearly finished (it will be polished further before the final assembly), I started to work on the cross-guard. It was cut from an old piece of soft steel and bended to a crescent shape (picture 3).
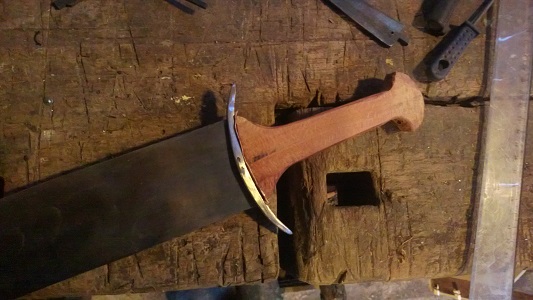
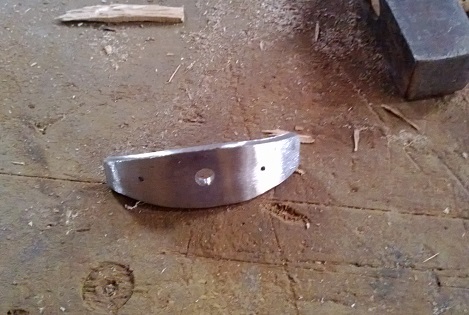
I drilled a hole for the tang and enlarged it with files (picture 4), and filed a recess for a handle (picture 5). Then the crossguard was cleaned on the belt grinder and fitted to the blade (picture 6).
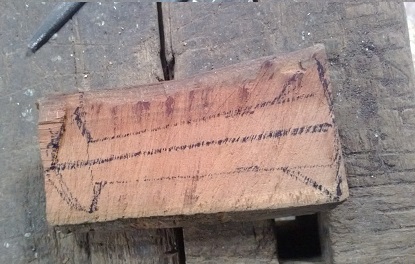
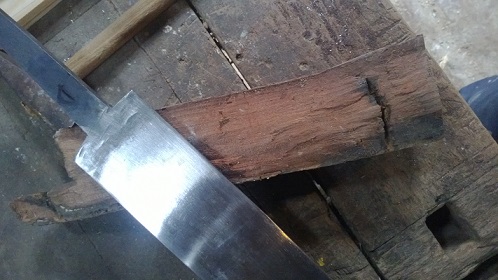
Next came the handle. I had a piece of wood I always wanted to use on this project - it was a piece from some 50 years old plank. Originally it formed a deck of a barn in our old house. The plank was nearly all rotten, except for some 30 cm in the middle, which I kept when I was reconstructing the house two years back. I have no clue what type of wood it is, but it has an interesting deep-orange/red colour, and it is very hard (picture 7).
With a hand-saw, I´ve cut a plank of it, and marked the future handle (picture 8). Then I drilled the hole for the tang, cleaned it with rasp, rough-shaped the handle and fitted it to the blade. I´ve also made a thin spacer from a copper sheet, as it could be often seen on swords from that period (picture 9).
Next steps: a pommel sheet, lots of shaping and cleaning on the handle,
polishing, and the final assembly.
As always, I´m very interested in your comments, remarks, advices...
 Attachment: 157.97 KB
Attachment: 138.96 KB
Attachment: 75.69 KB
Attachment: 70.87 KB
Attachment: 74.05 KB
Attachment: 75.91 KB
Attachment: 73.56 KB
Attachment: 68.78 KB