Posts: 8,310 Location: Montreal,Quebec,Canada
Thu 01 Nov, 2012 11:17 pm
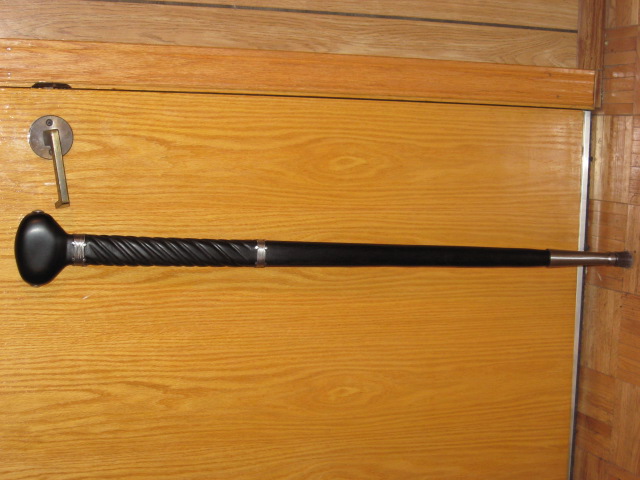
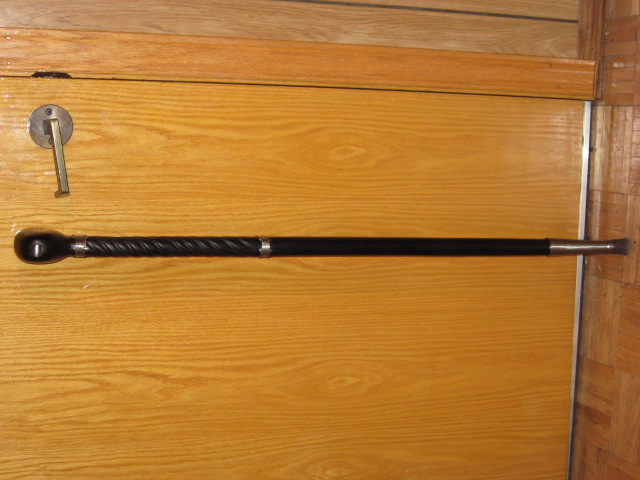
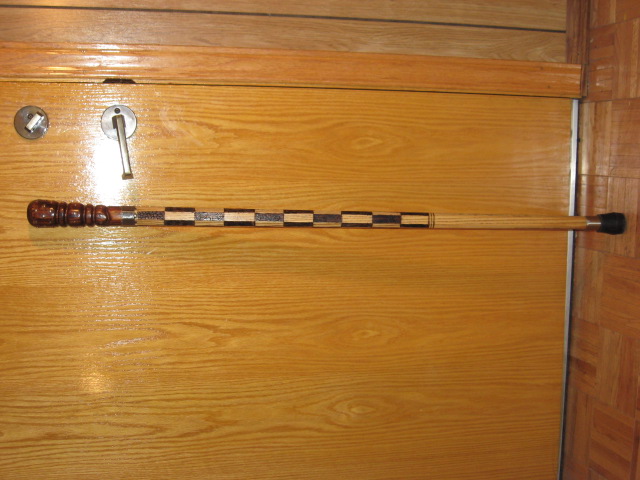
Stick number 11 in my list of recent sticks since I started taking pics and posting them.
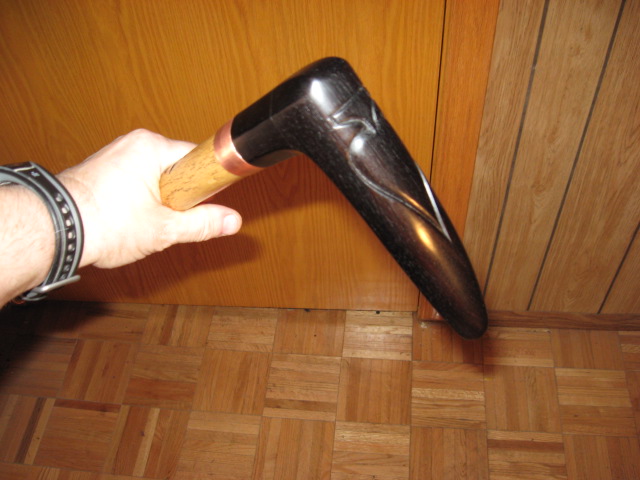
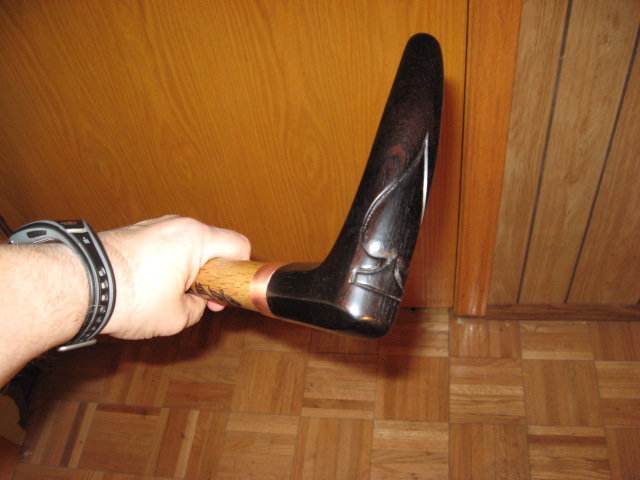
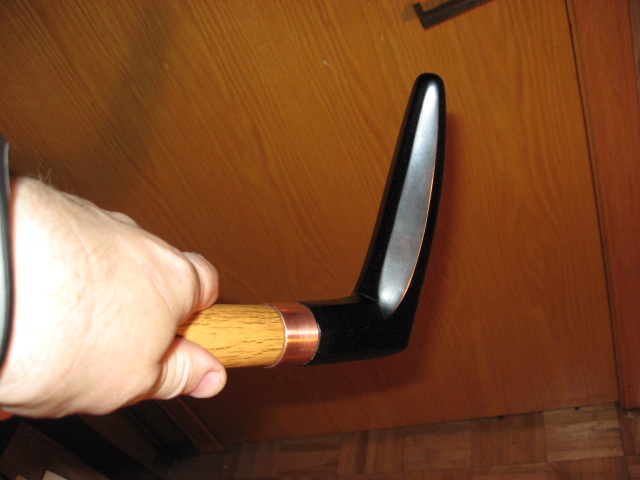
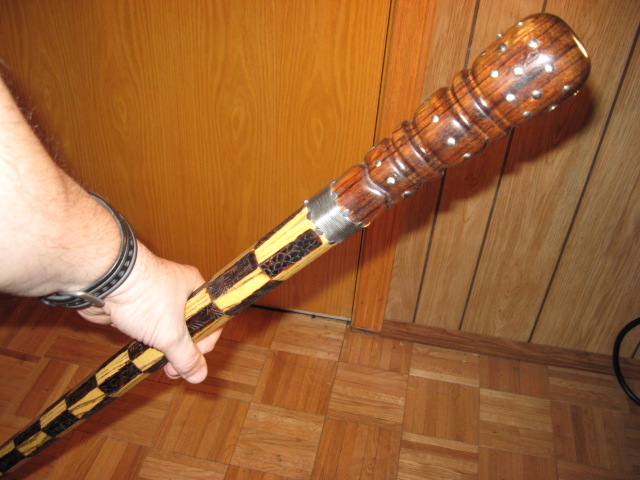
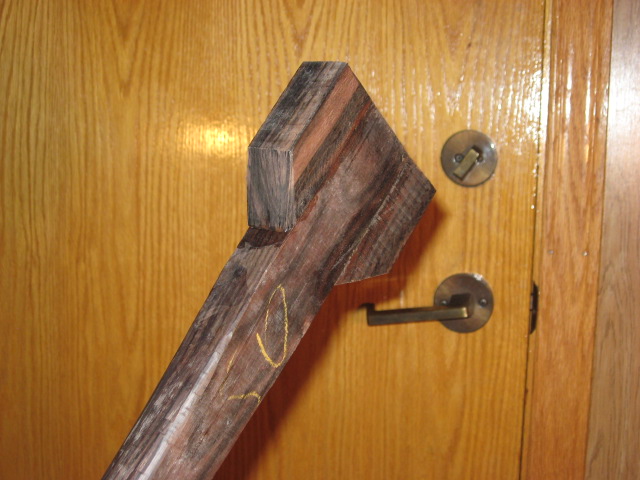
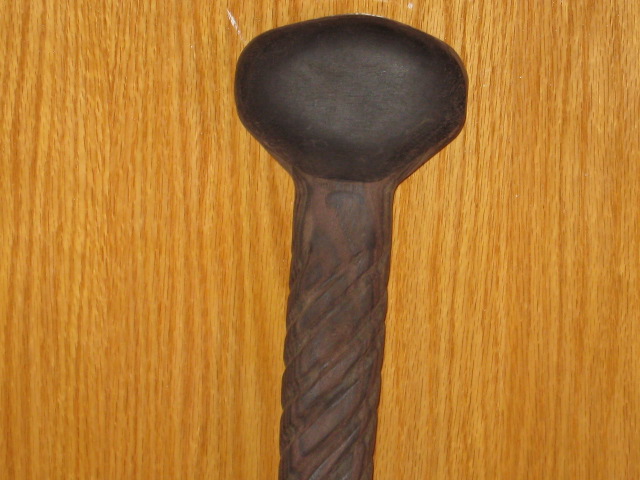
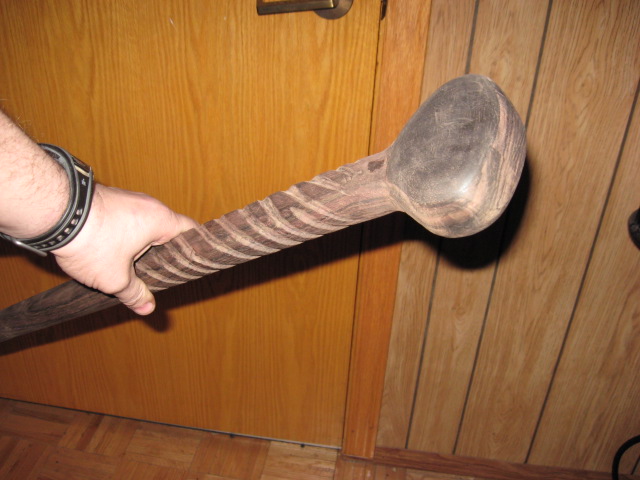
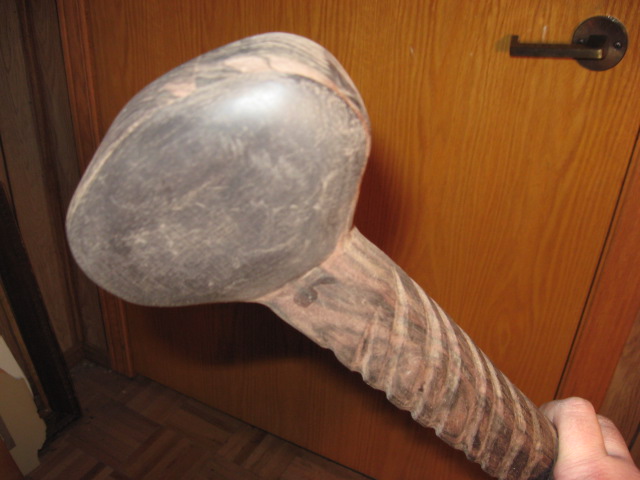
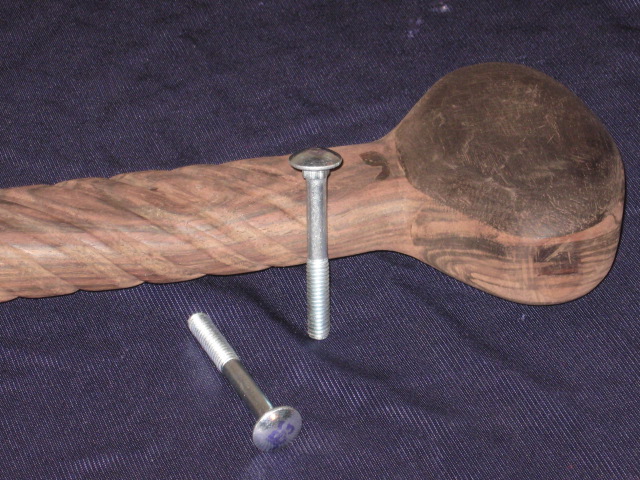
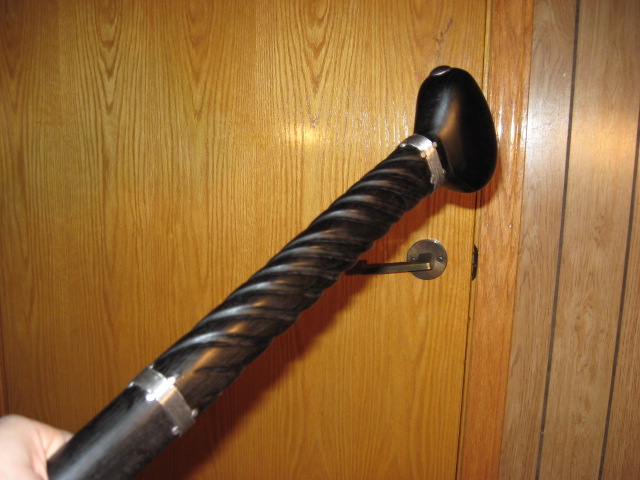
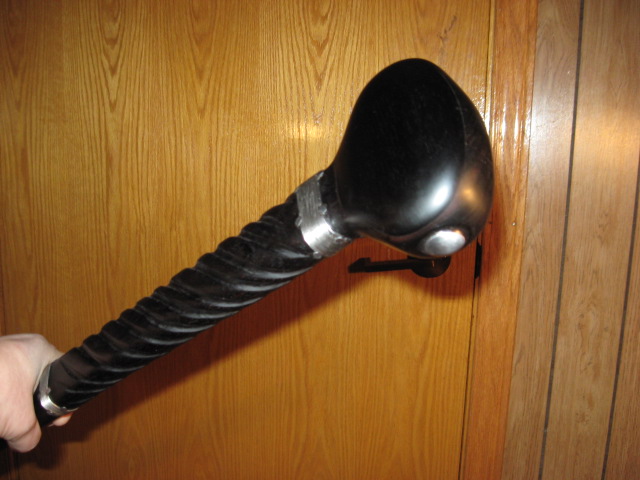
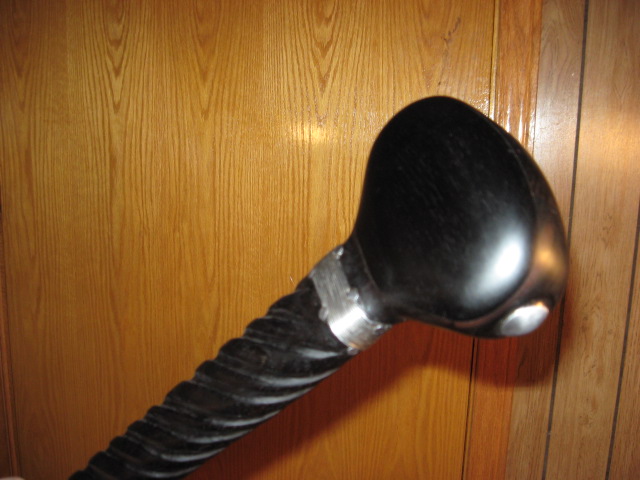
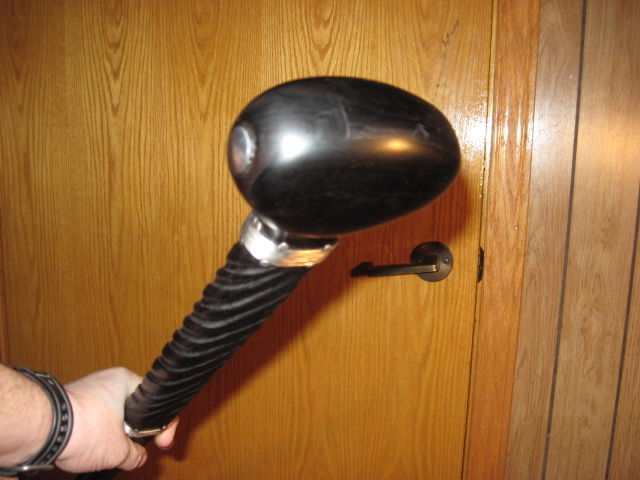
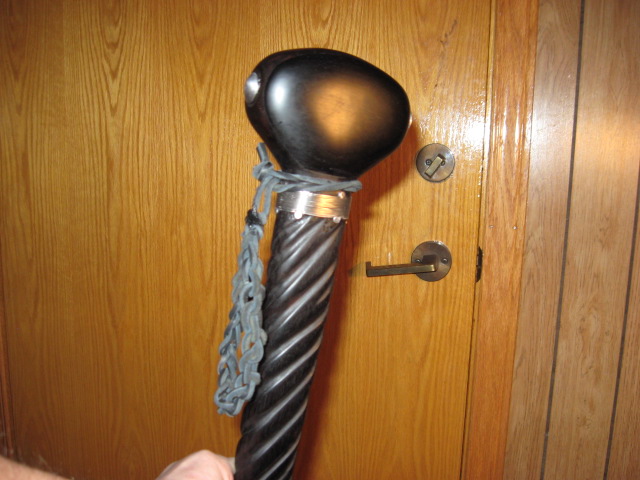
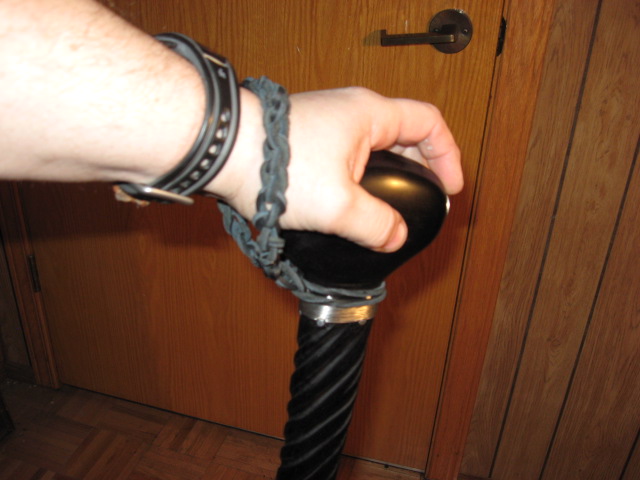
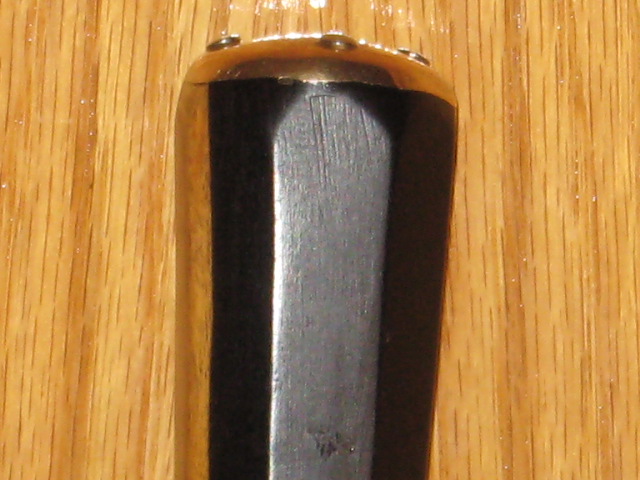
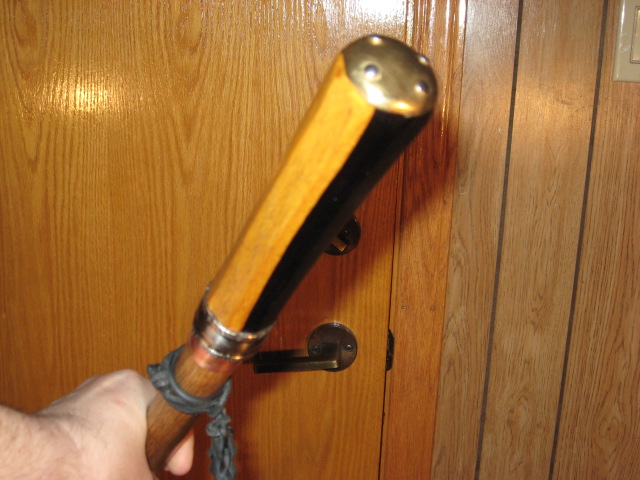
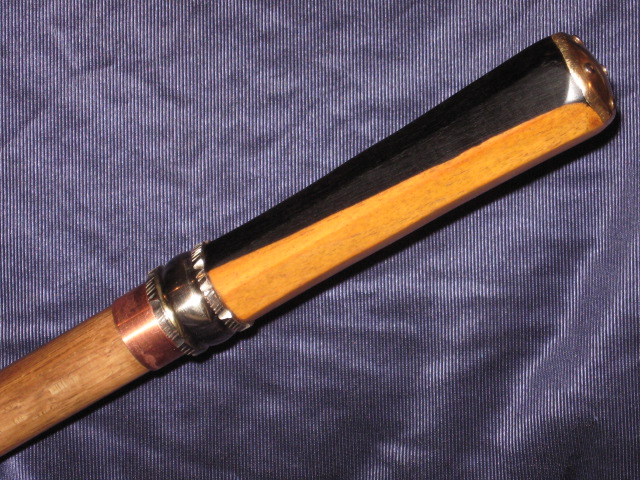
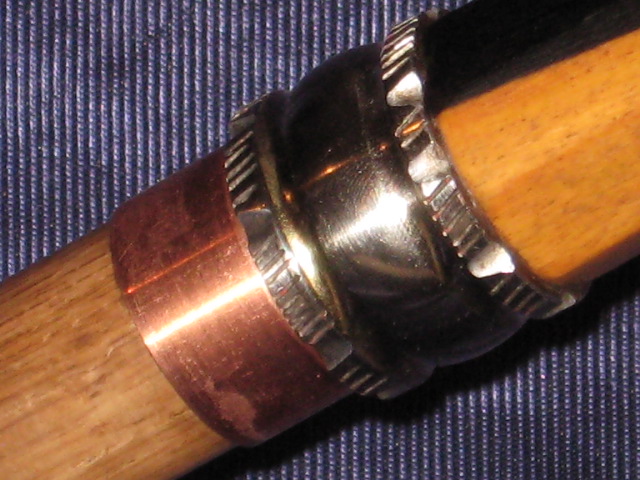
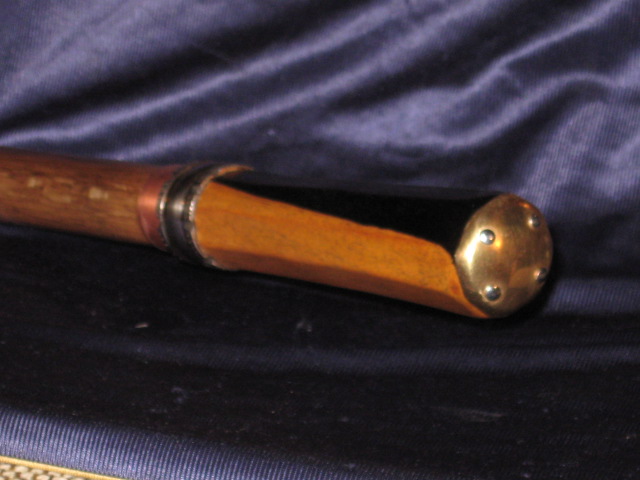
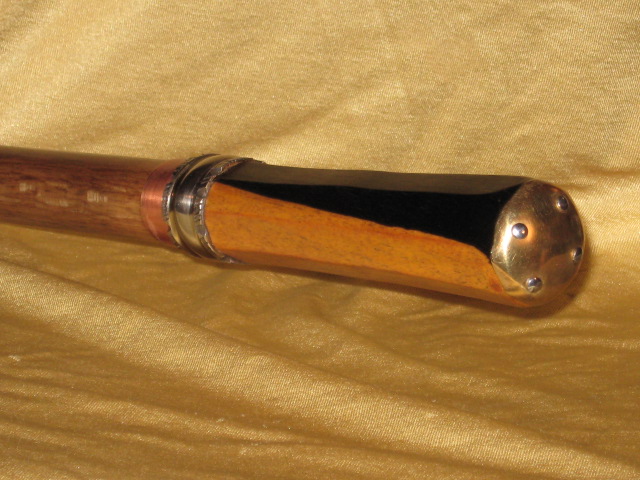
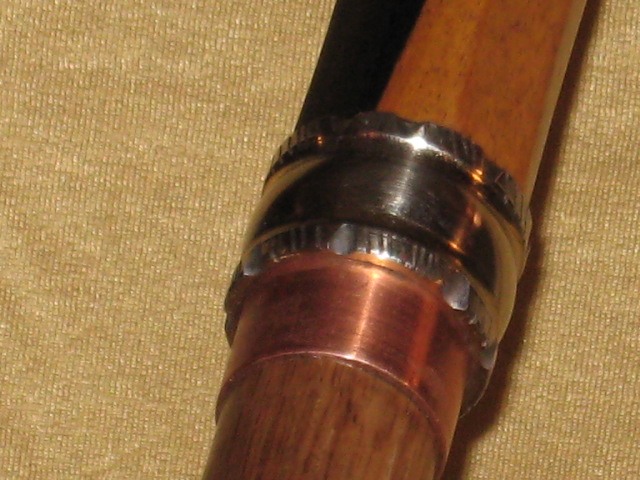
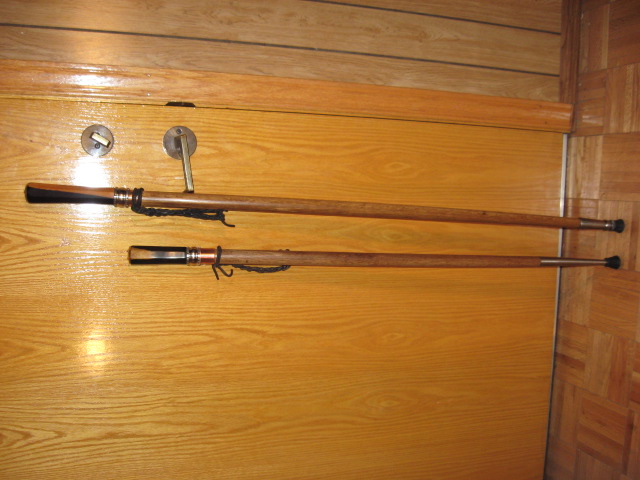
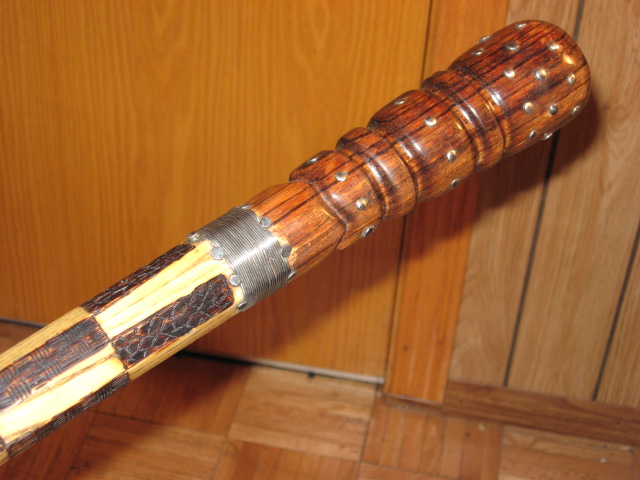
Zebrano carved head, wire wrap between head and Octagonal Hickory shaft, stainless steel tube used as ferule half hidden by crutch tip. The Octagonal Hickory shafts made by Ken Speed in the recent batch he sent me are extra stout and of larger diameter than the one's he sent me before.
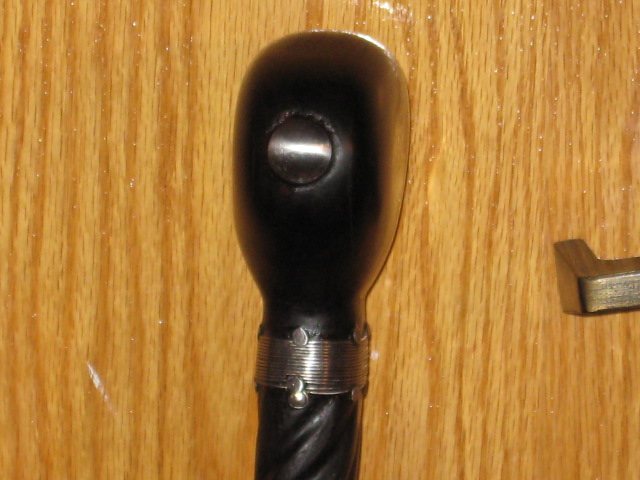
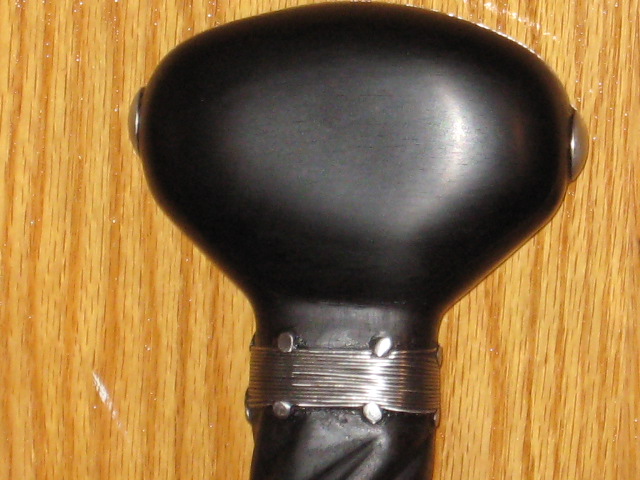
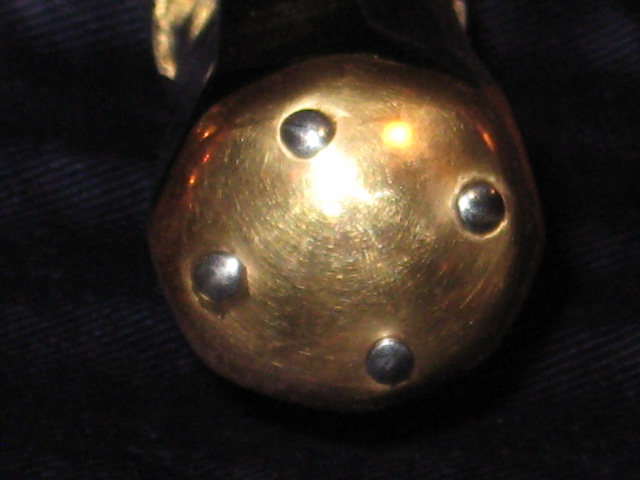
I think my Zombie Slayer re-handling sort of influenced the asthetics of this one: The decorative nails in the head does give it a sort of a wooden mace/warclub feel to it.
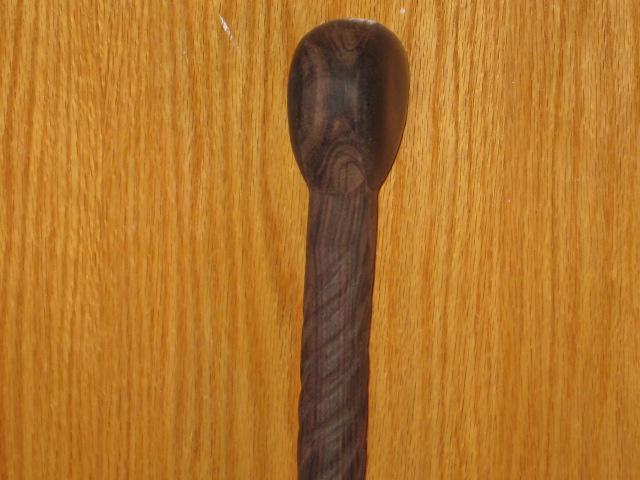
The Zebrano turned out this time to darken substantially after oiling, much more than the Zebrano slabs on a previous stick ? Strange when the same wood gives very different results after being treated in a very similar way ? My theory is that the Zebrano was very very dry as it seemed to soak up the boiled linseed oil like a sponge !
I think if I want to be sure that the Zebrano remains light in colour would be to seal the wood before oiling so that the oil only penetrates very shallowly.
I think that Weldbond can be diluted 5 to 1 to use as a filler.
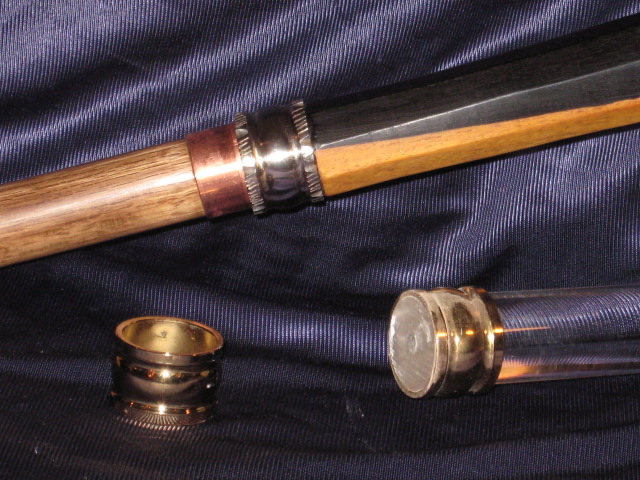
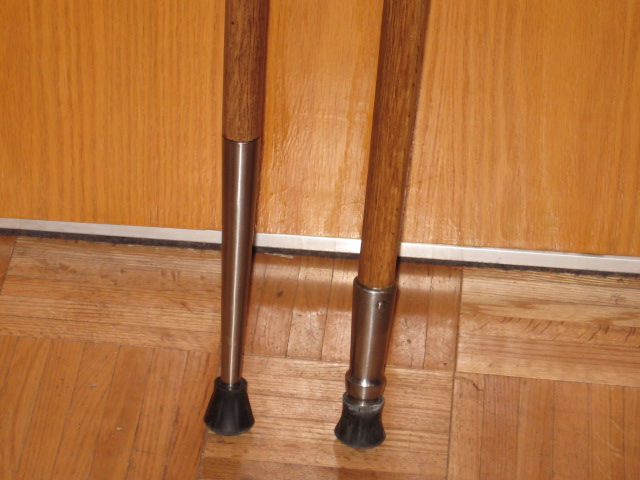
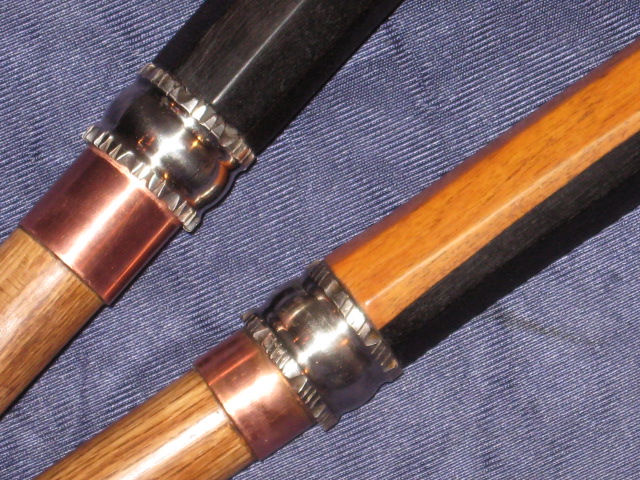
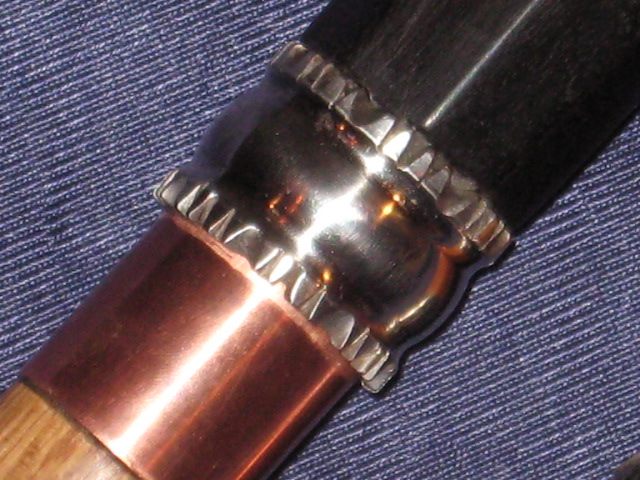
The tip has a cut section of stainless steel tubing instead of the usual tip furniture: I made this twice as long as I usually would because after putting on the crutch tip at least half of the steel remains visible. This was to avoid the metal tip being completely hidden like the copper caps end up being hidden by the rubber tips.
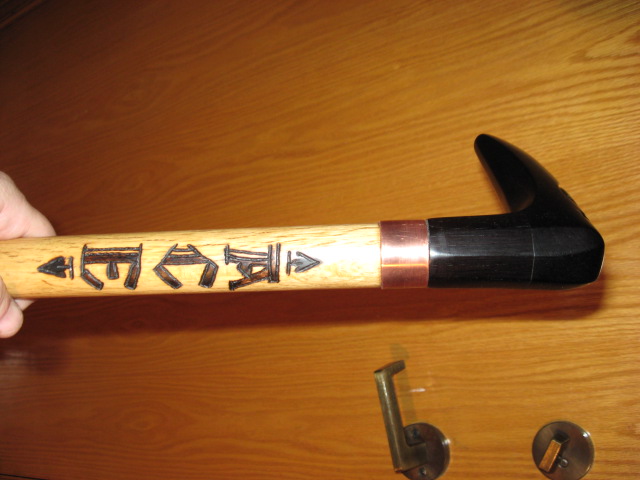
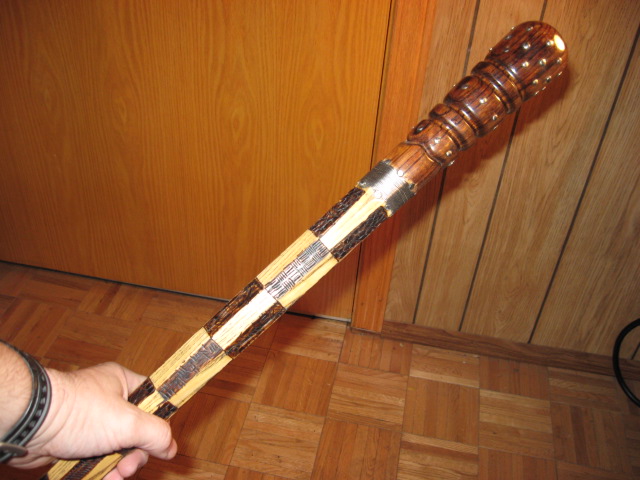
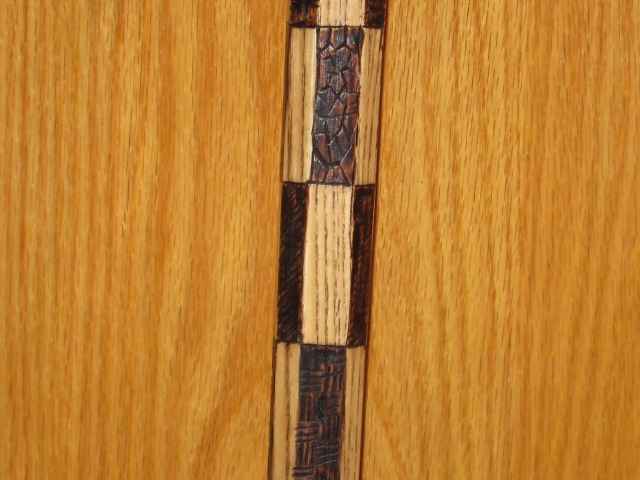
I did a series of varied wood burning patterns as deep lines in a checkerboard pattern on the shaft, and after darkened the entire rectangles to give it more contrast.
The lines are still visible but they become texture in the dark areas. The light rectangles sort of look " Ivory like " I think.
After using the boiled linseed oil for many applications I decided to use something else that seems to dry faster and gives a more glossy surface: CIRCA 1850 (
Brand name ) Antiques Danish Oil.
Still building this up and will use MINWAX Paste finishing Wax as a last finishing step. (
By the way used this wax on another stick and it gives a very nice gloss that seems wear resistant ).
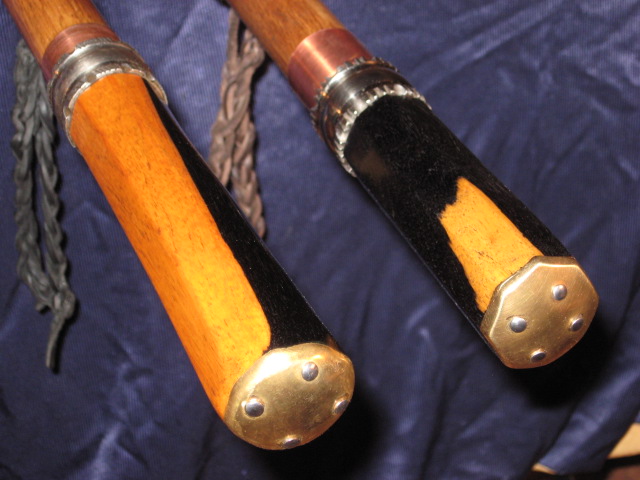
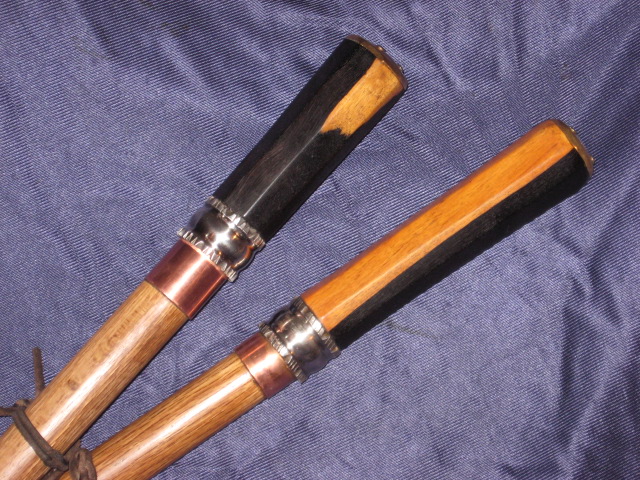
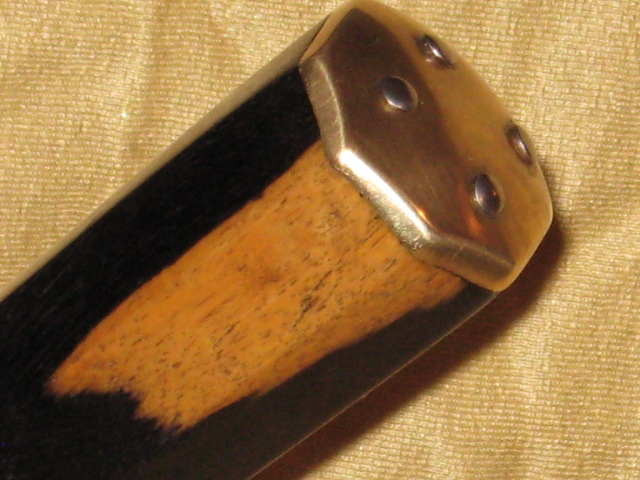
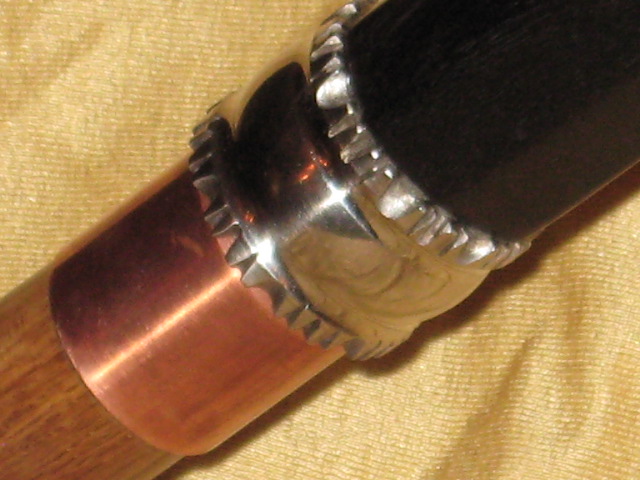
As you can see a series of decorative nails in the head and some tacks holding the wound stainless steel wire: The wire wrap was easy to do as the wire would bend and change shape on the corners of the octagonal as I pulled it tightly around the shaft. I first drilled a pilot hole for the first nail holding the wire looped around it at the top and did the same for the nail at the end of the wire. I then added smaller tack nails around the shaft at top and bottom of the wire wrap to keep the wire tight.
I also use Weldbond glue below the wire and wiped some over the wire and cleaned off the excess with a wet wipe.
Each pilot hole for nails or tacks was filled with a drop of Weldbond before I hammered the nails/tacks in the head and shaft: The wire is firm and has no creep or looseness to it and I managed to wrap without any large gaps.
 Attachment: 99.71 KB
Attachment: 103.45 KB
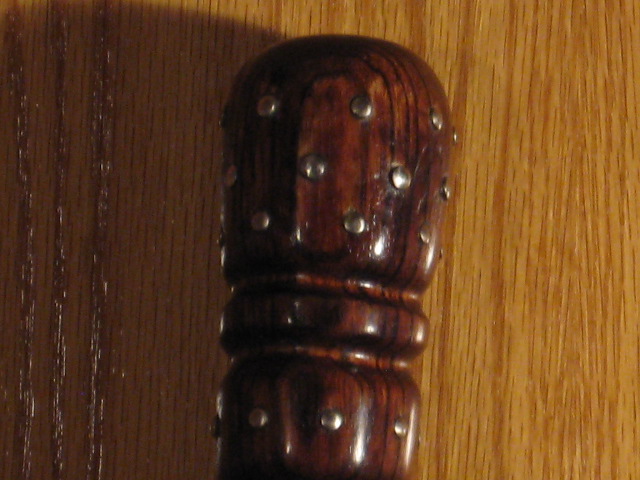
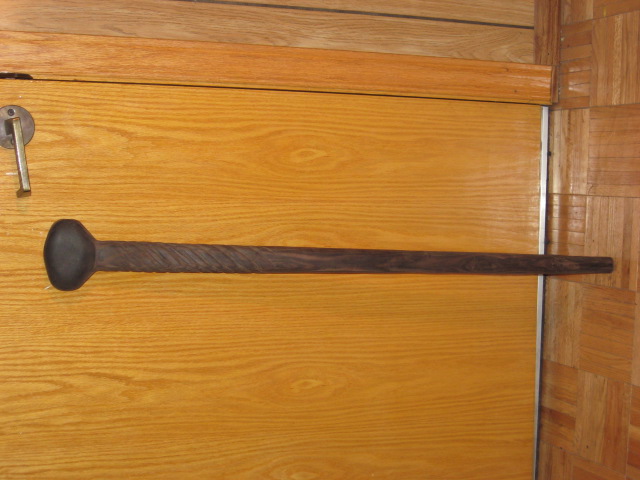
Pic a little dark in this one.
Attachment: 127.46 KB

Close-up of wire wrap and tack heads.
Attachment: 92.99 KB
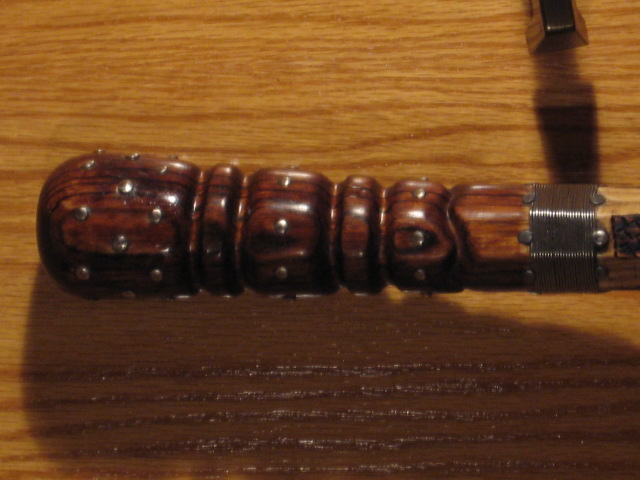
Head and wire wrap + a bit of the shaft.
Attachment: 134.9 KB
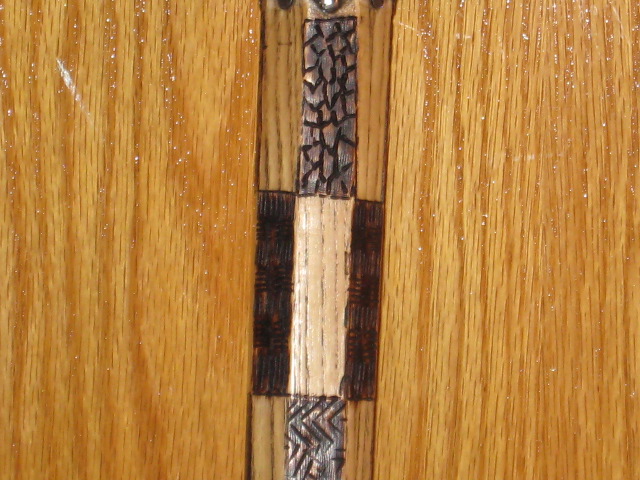
Checkerboard woodburning close-up
Attachment: 106.84 KB
Attachment: 134.83 KB

Attachment: 95.24 KB
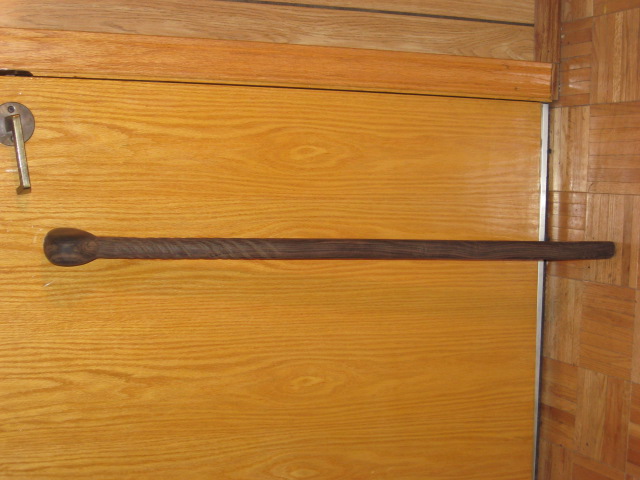
Better lighting on this pic shows wood grain better and looks more like the stick looks like in hand.