Posts: 411 Location: Madison, WI
Thu 06 Feb, 2014 11:31 am
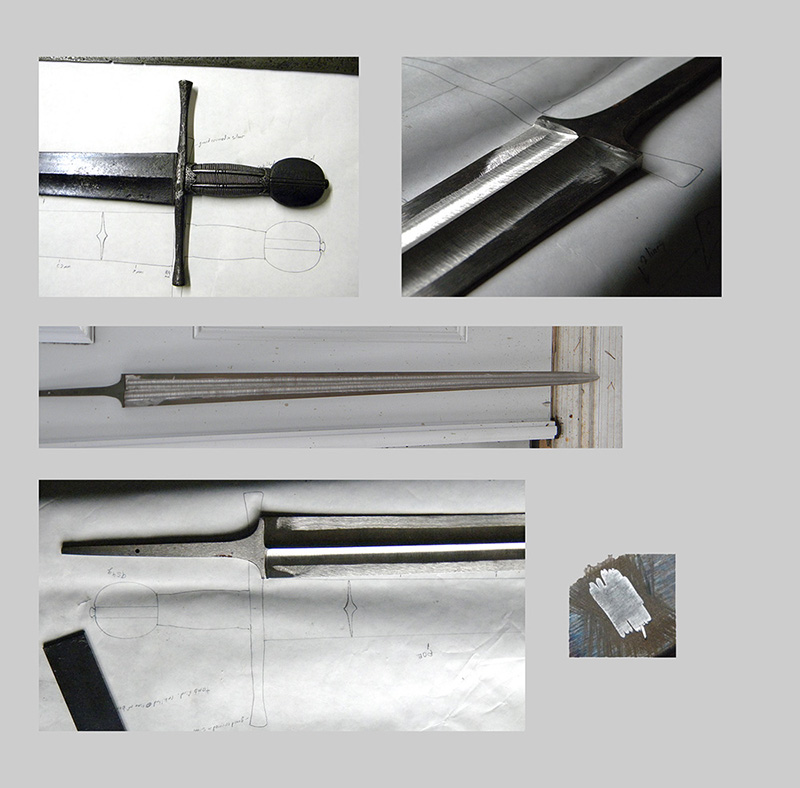
In regard in overlay, I started working on the guard yesterday and snapped some progress pictures so that I could share more of the process and how I go about it. This is by no means the only or best way of going about it, but it does seem to work for me and get good results. If anyone would like to play with the process feel free to borrow bits and pieces, or reinvent the process however they see fit. It really isn't the most difficult process, but requires lots of time and patience.
First off the most important aspect is to make sure that the piece is very secure. Any kind of bounce and vibration in the piece being overlaid will result in chipping the edge of your cutting tool, the cuts wandering, and all kinds of headaches that really make the process a pain. Here I am overlaying the end of the guard, which is clamped between two pieces of wood in a post vise. For my cutting tool I decided to use one of the Little
Seax that I had laying around the shop since it has a fine edge, great hardness, easy to sharpen and maintain. I rest a finger on the vise and keep the blade off the piece, the hammer blow forces the edge into the piece and the constant pressure brings the blade back up. This stamp action is very efficient, and slight movements make it easy to cover the entire surface.

The first pass is made.

The second is made at an angle to the first.

And a third is made across the previous two.

Next fine silver wire is set over the surface,

and hammered into place with a light hammer that has a polished face.

Once the wire is set, the Little Seax is once again used to trim the set wire from the stock. Cutting the wire off with a knife verses wire cutters saves a little bit of wire from going to waste in terms of becoming overhang, which can add up over the course of a project and yield significant savings.

I find that it is best to start at the middle and work out,

until the whole surface is covered.

At this point the silver is stuck to the steel, and work hardened. The surface is not completely closed so the steel and silver are heated with a propane torch to around 700 degrees, about when the steel picks up a dark blue color.

While still hot, the silver is gently planished and worked over until it is more or less smooth, and all the tiny gaps are closed.

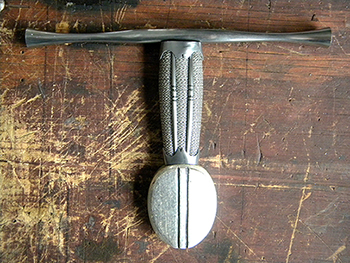
From the side you can see the dark color that the steel took on from the heat, as well as the silver that overhangs the edge.

Now the piece can be cooled, and the silver hanging over the edge trimmed away with the Little Seax, the little bits of silver of course collected and saved for either remelting, or sending to a refinery.

The final step is not shown, because it is the final step, but a burnishing steel will be used to go over the surface, pushing the high areas down, and creating a smooth clean surface which can then be finished by either buffing, steel wool, or a very fine abrasive, depending on the desired finish.
I hope this have been helpful in describing the process in better detail!
More updates coming soon.